Mk2 Fiesta Audio Wiring Guide
Ford divided the audio wiring loom into two parts, a power loom and seperate speaker wire loom. To upgrade the original paper coned speakers in the Mk2, it's best to use some higher quality modern speaker cable. Some models (XR2 and Ghia) were also fitted with a manual speaker fader joystick which is best removed if fitting a modern headunit. It's controls are somewhat crude, and modern headunits have speaker level adjustment built in as standard.
As always, if in any doubt, please consult a qualified vehicle electrician before attempting any work.
Mk2 Fiesta Standard Audio Wiring Colours and function
| Wiring Colour | Wire function | Location connected to |
|---|---|---|
| Red/Blue | Permanent Live (Radio Preset Memory) | Cigarette lighter socket via accessory piggy back loom. |
| Yellow | Ignition Switched Live | Yellow spade type connector on steering column |
| Grey/Yellow | Illumination | Cigarette lighter socket via accessory piggy back loom |
| Brown | Earth Point | Earth point on upper steering column support (attached with screw) |
Ford Radio Wiring Connections
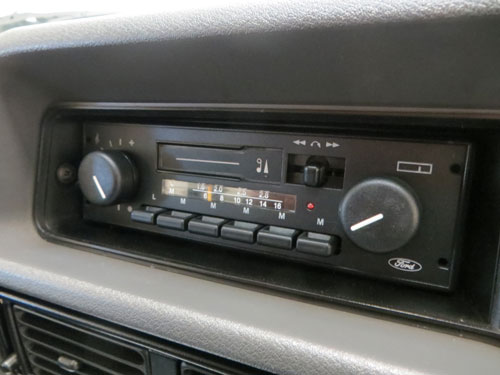
If your loom is missing the radio connector, the diagram below shows which wires correspond to the pins on the back of your Ford headunit. The unit shown is a ESRT 21PS, but this diagram also applies to the ESRT 32 PS and ESRT 22DPS radio cassette models.

Mk2 Fiesta Aftermarket Wiring Method
If you are fitting a radio from scratch and do not have the standard audio loom, you can use the guide below for general connection advice. It is suggested that a 15amp fuse be added inline to the permanent live wire in case of electrical faults.
| Function | Location connected to |
|---|---|
| Permanent Live | Splice into the top wire coming off the back of Fusebox location 1 |
| Ignition Switched Live | Splice into the top wire coming from fusebox location 4 |
| Illumination | Splice into the Grey/Yellow wires on the heater control illumination |
| Earth | Attach to earth point on black upper steering column bracket |
Please refer to the fusebox guide for more information about the function of the fuses mentioned above.