›
› Full Mk1 XR2 Restoration
Full Mk1 XR2 Restoration

Author: Leslie Haire | Photographer: Leslie Haire
A huge thanks to Leslie (xr2000) for providing the words and images.
Heater and loom
25th October 2010 • 03:52AM
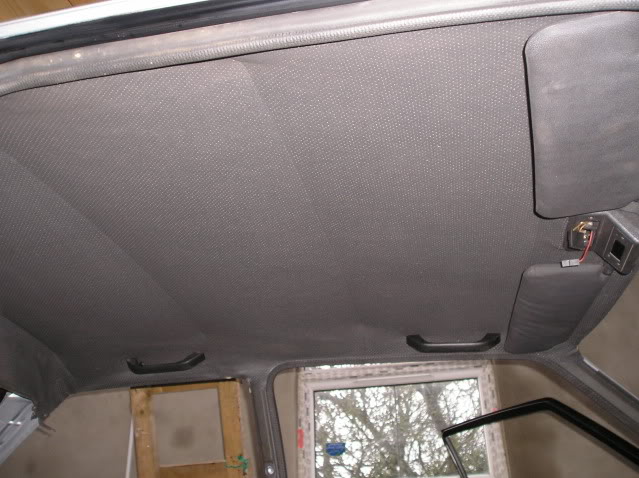
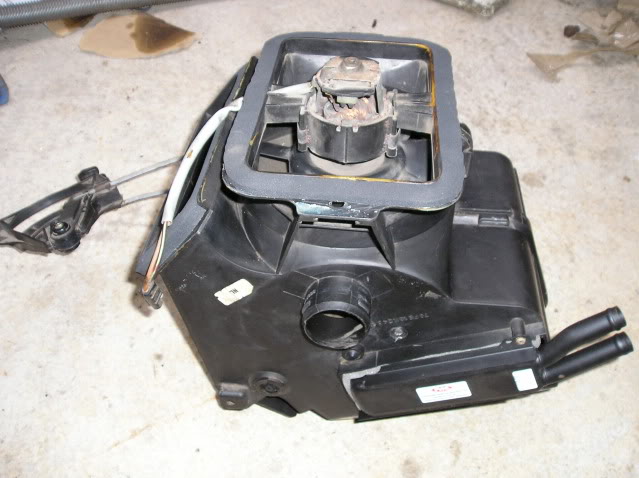
I put a new matrix in the heater box cleaned it up and added some new foam to the mounting faces , when I bolted it up I found the foam at the scuttle was too strong so had to change it luckily the new matrix came with some softer foam.
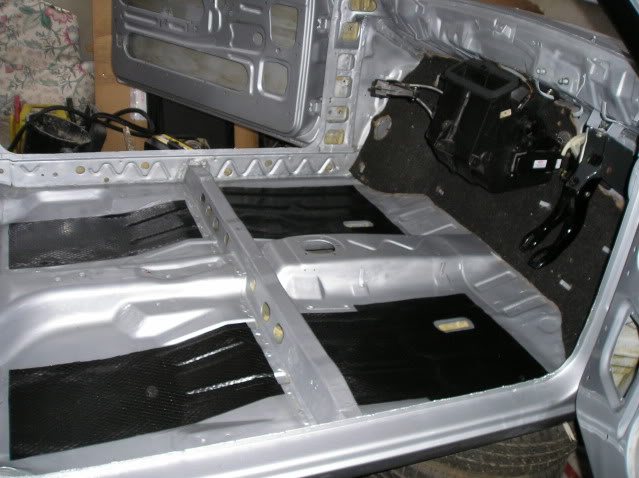
I then set about fitted the tar pads but it was 0 degrees c in the garage as there was a frost this morn and they would nearly shatter if you drop them I got the space heater on and made then toasty warm and heater the floor with a hair dryer to make things much easier.
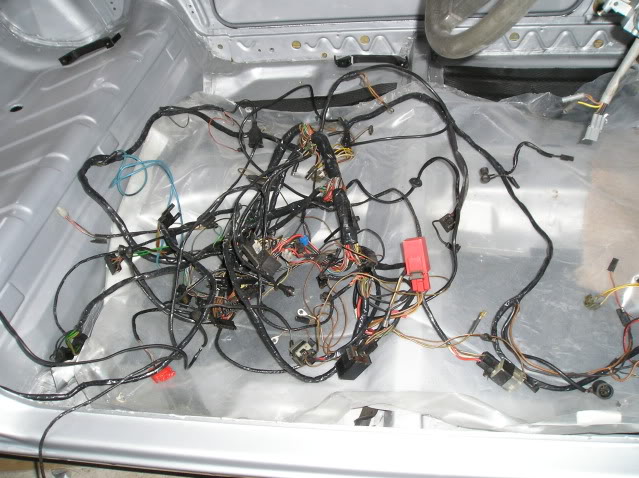
Next I started cleaning the loom but soon realised its a shitter and has been bodged to hell and me ripping the immobiliser out made it worse. Ive a better loom and started taking scotch loks out of it ( i hate those things) I also spent some time trying to figure the immobiliser wiring to refit it but soon gave up , Ive cut too many ends off to refit it and all the wires are black.
The engine is fitted
9th November 2010 • 12:44AM
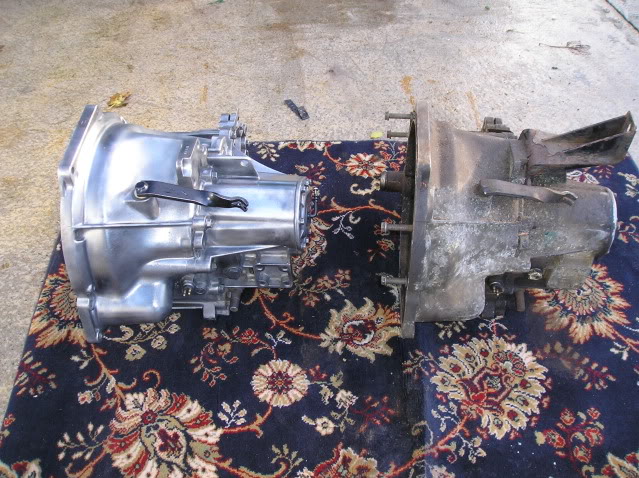
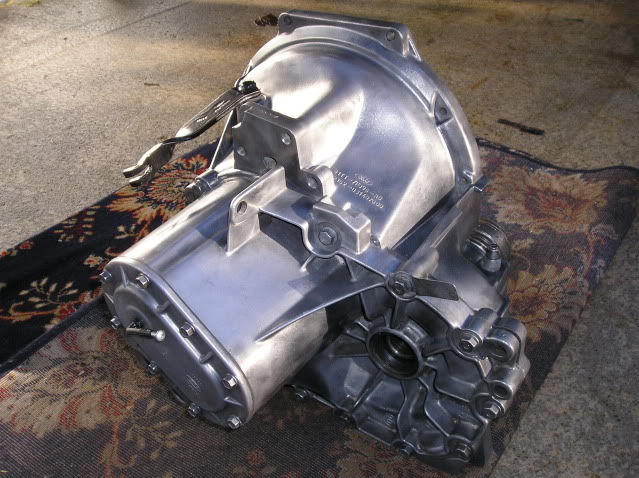
Yesterday got at the gearbox with the autosol and its came up as good as its going to get , bored polishing now. Not much difference between the clean and dirty one is there. I fitted new driveshaft seals in the box too just incase.
Ive the loom mainly sorted too after a solder-athon too.
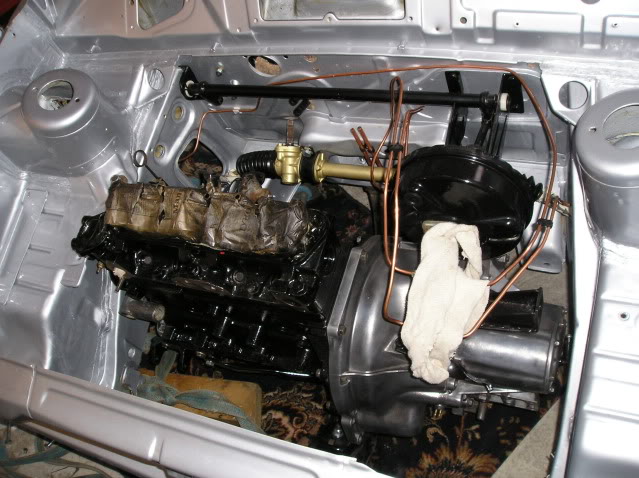
Today I got the engine fitted
I had borrowed an engine crane but there wasnt enough room to use it so had to go it the hard way.
I bolted the pulleys and bits on the block after fitting the gearbox up ,ive used another cradle for now so as not to scratch the painted one.
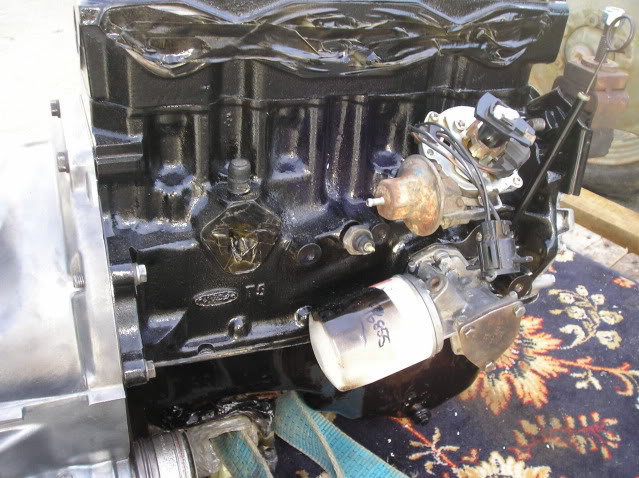
Engine painted and box fitted
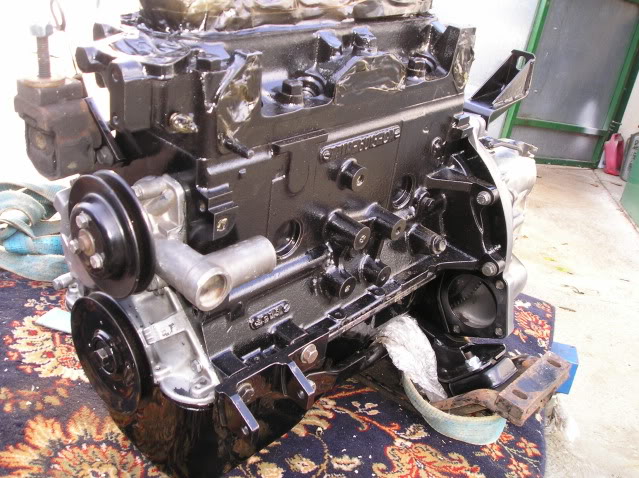
Dissy cleaned up and fitted too.
Engine under the car but I then found as it was only sitting on a mat it was far too low so had to get some bits of wood under it to lift it up and lower the back end as it was them too high.Health and safety wouldnt have been impressed as it was a balancing act.
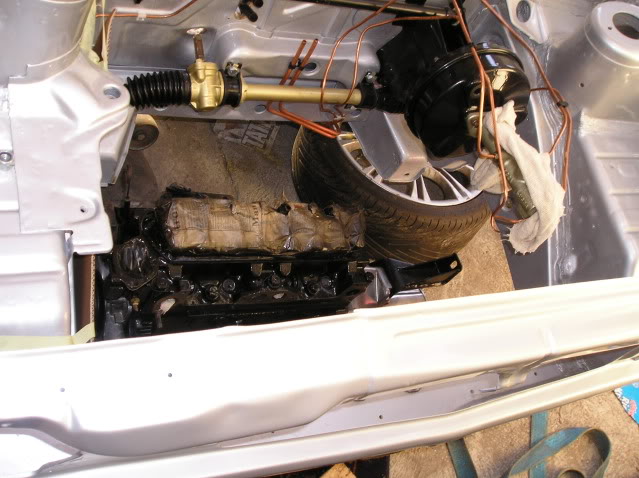
Lowering shell to meet engine with the trolley jack .

Engine bolted in place, Cant find the inner wing part of the mount for passenger side yet though. No idea where its got too.
Driveshafts
15th November 2010 • 07:49PM
Onto the driveshafts,
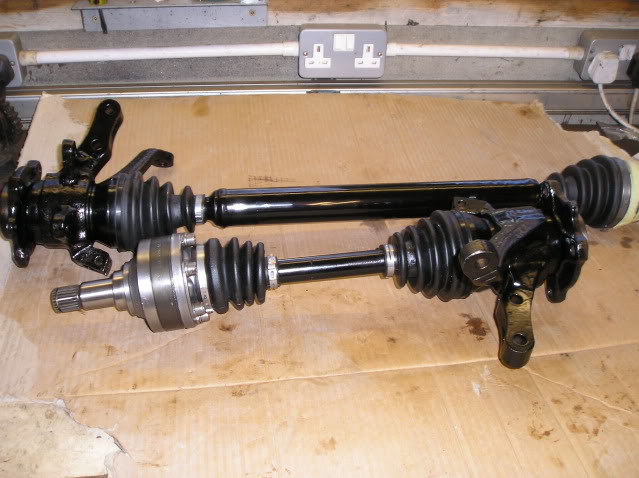
I stripped the shafts down , replaced 2 cvs , all new boots ,painted and regreased.
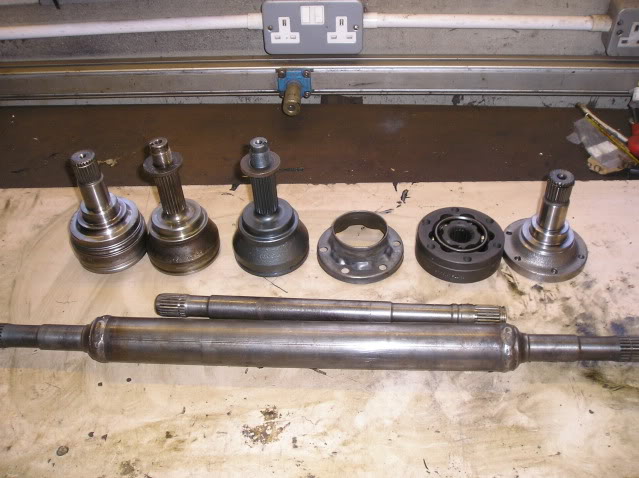
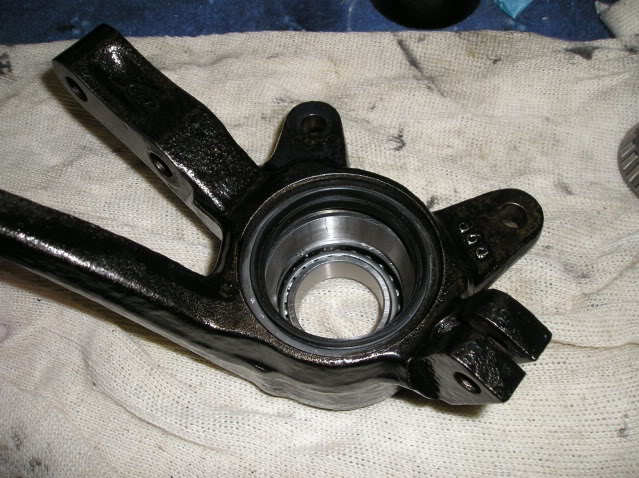
New bearing fitted in the hubs then onto fit the shafts , one spline on the new cv was very tight to get on the hub , down fancy having to take it off again.
Did anyone know mk2 xr2 cvs are bigger than base model cvs, I do now , Its not a lot but its important ,the cv wont clear the cradle which had already been modded for a base model mk2 shaft.
Hear are the shafts almost ready to be fitted , im waitng some more stainless boot ties and a crimping too to fit them .
Brakes
4th February 2011 • 01:50AM
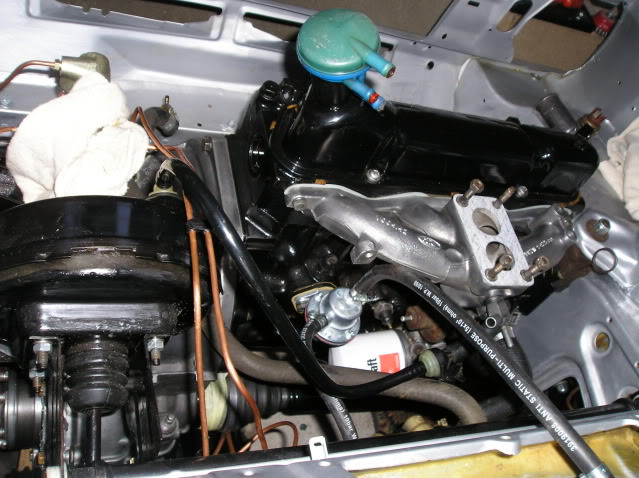
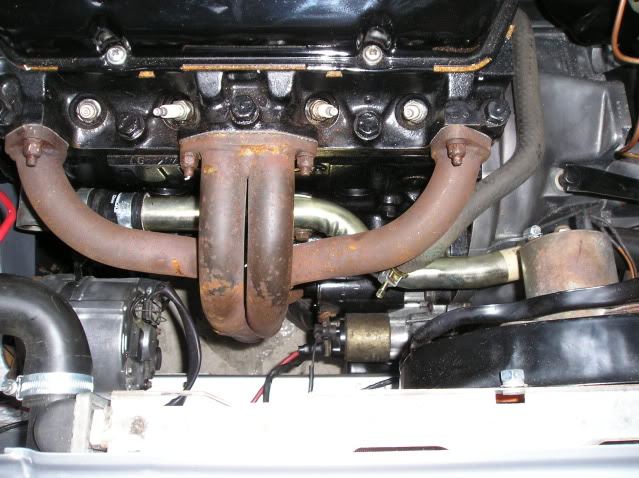
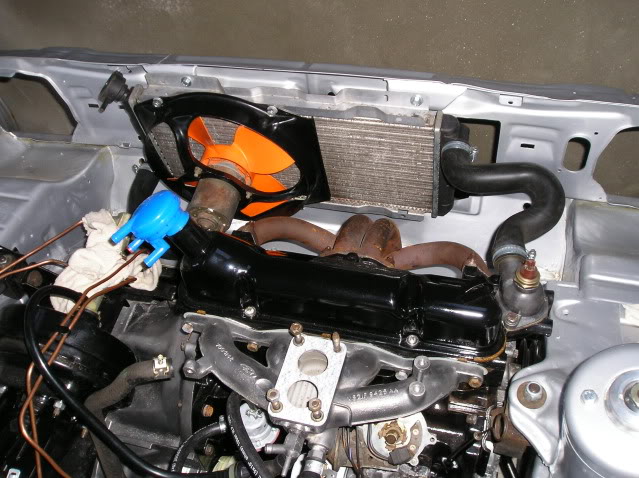
Got the Janspeed (i think) manifold fitted as well as the starter, rad and fan.I had a brand new rad cap but it wont fit cant be the right one. The motor needs painted but there's other things to do .
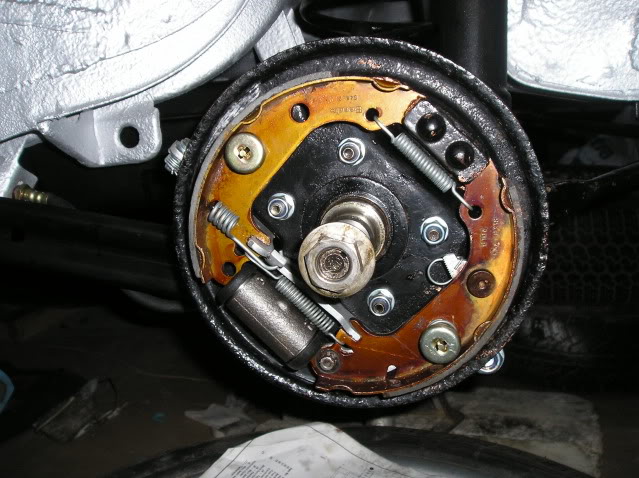
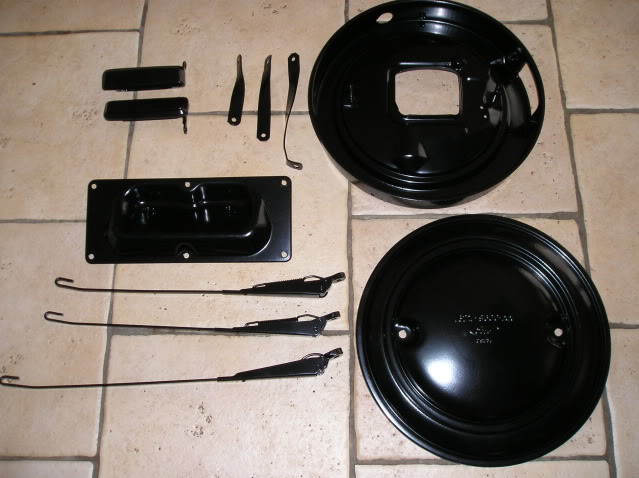
They I continued piping the brakes were id left of at the bias valve last time, it turned out ok ,should have had the shoes in but discovered the backplates are on the wrong sides, I had spend ages trying to fit the shoes and took the drums of another axle before i realised , its been a long time since i stripped them .

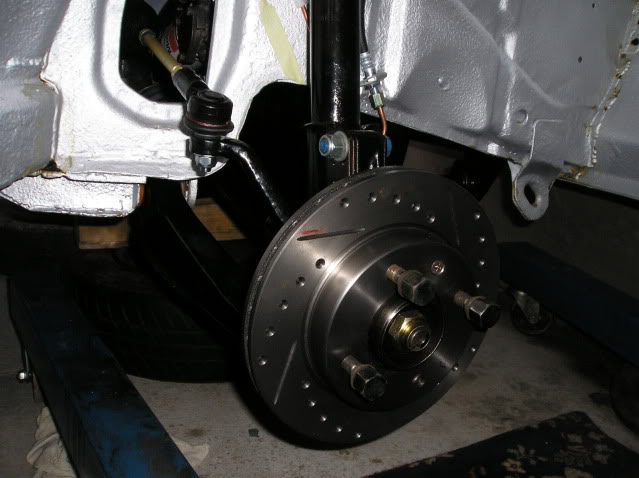
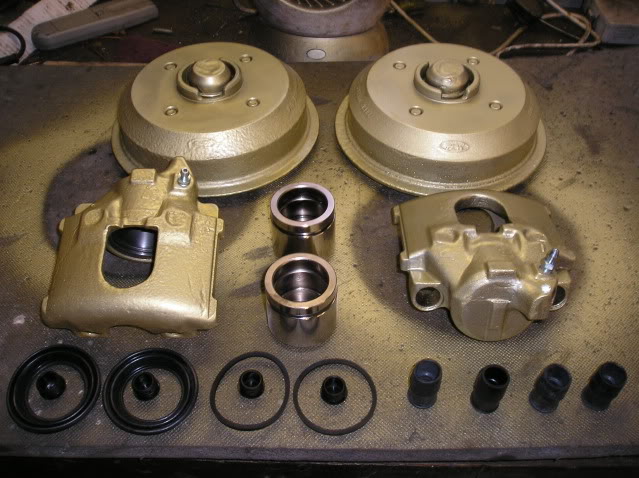
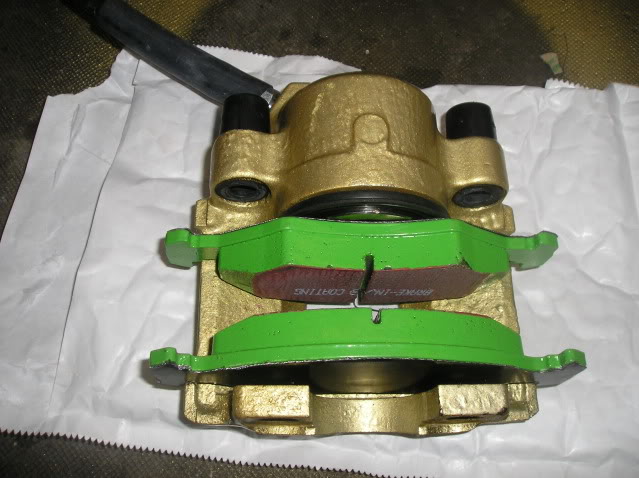
After that more work on the brakes this week, Calipers stripped and painted up then fitted with new seals , bleed nipples and new chrome pistons .I also cleaned the drums up ,I had new ones but as these have the ford logo and looked ok thought id keep them but changed the bearings. Also fitted nos genuine shoes with new wheel cylinders and springs, what a faff I had them of and on and the backplates on the wrong side then the adjusters on the wrong side. New green stuff pads, which I put the backing rubbber on then they wouldnt fit over the disc so I removed it of one pad rubbber and now it just fits but its tight, anybody else had that?
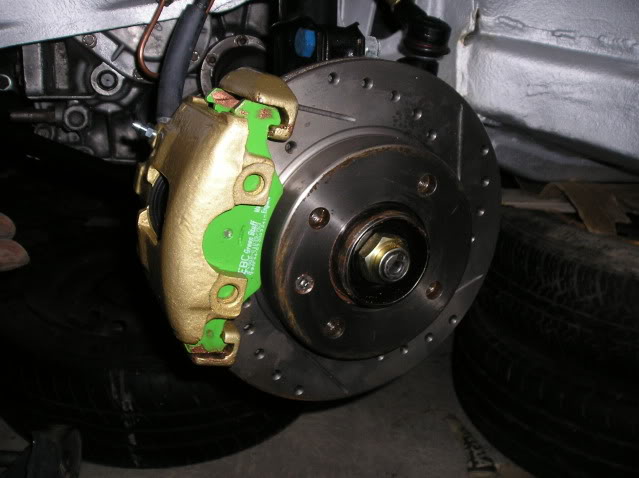
Calipers finally mounted and brakes bleed today with a pressure bleeder that uses air from a tyre but it leaked at the cap before I spotted it, got it wiped up before it did any damge I hope. No brake rod on pedal yet as its away for plating so no idea if the brakes work
Gear linkage and carb
5th March 2011 • 12:27AM
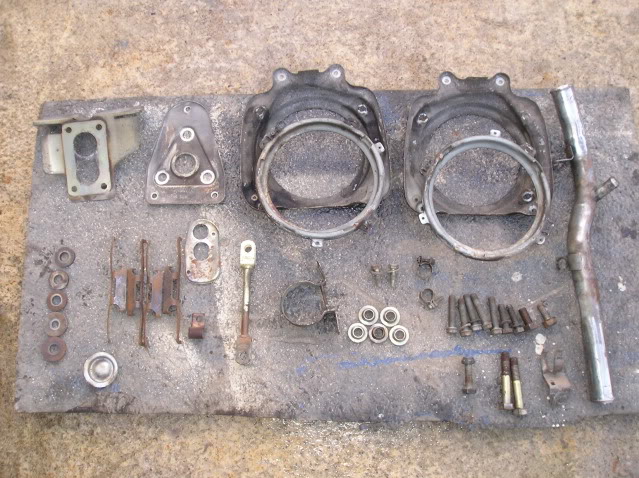
Got my plated and powder coated bits back, can't beat a bit of bling!
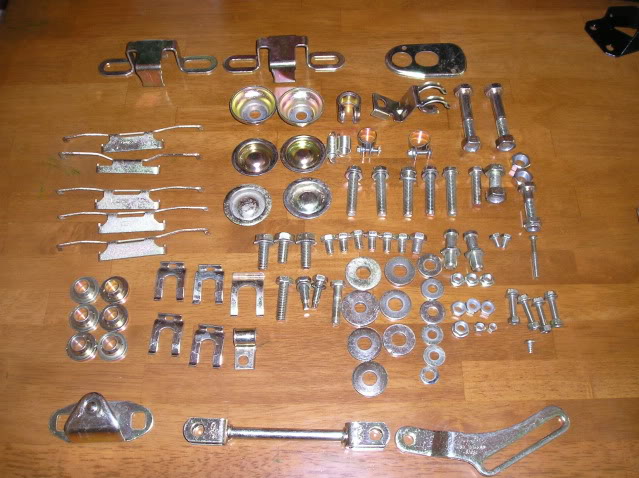
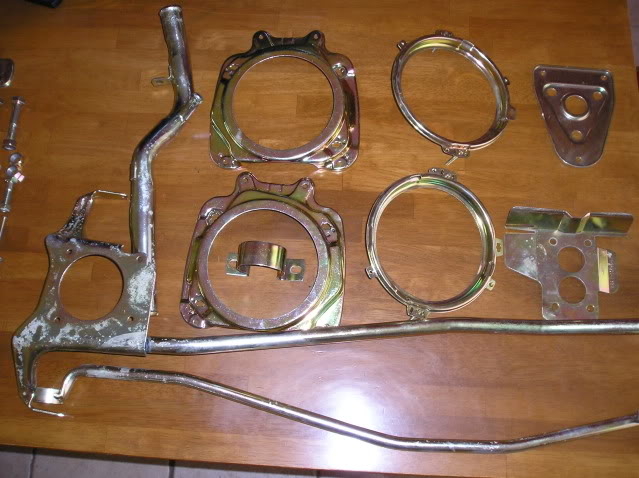
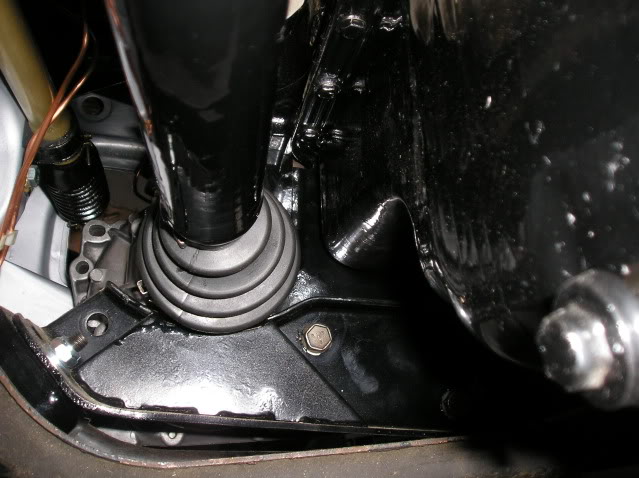
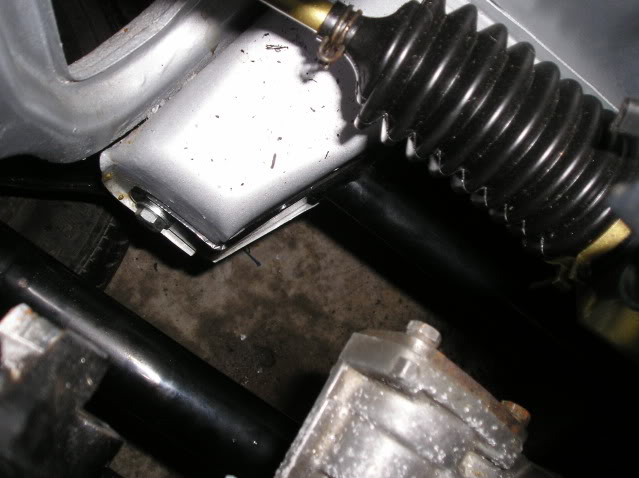
Did a bit more got the gearlinkage back together after plating and fitted after I cleaned the underseal of the housing ,but second attempt at setting the gearchange and 1st and 2nd are still impossible to find, there's no oil in the box though so maybe that has something to do with it.I thn fitted the clutch wrong as well (looped the cable over the metal catch you cant see at the back which would soon chew though it )after first finding the ratchet was on the wrong way round so pedal box out again .Then the brake bar sat to one side and not central the the pedal rod so after much head scratching it turns out the brake bar only fits correct one way round although it looks identical either side .
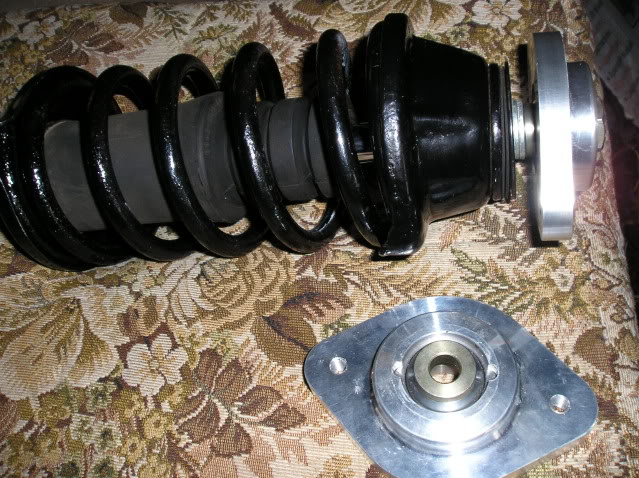
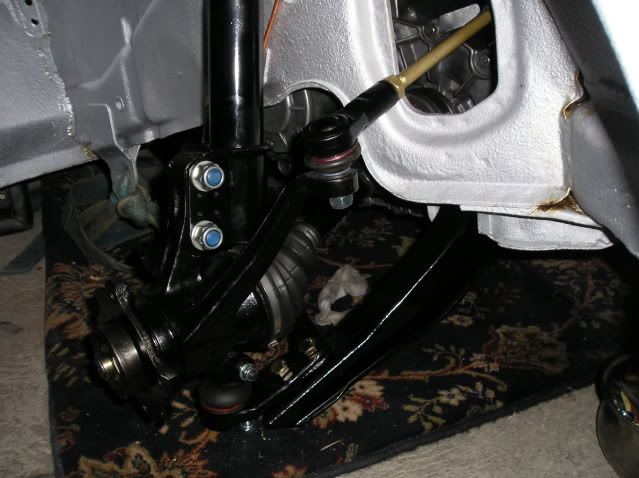
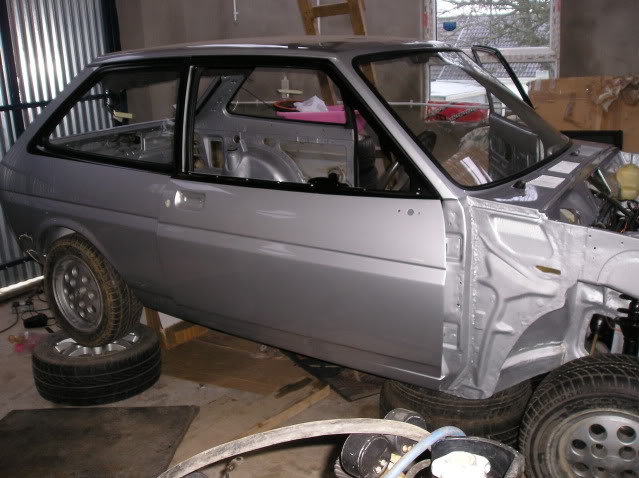
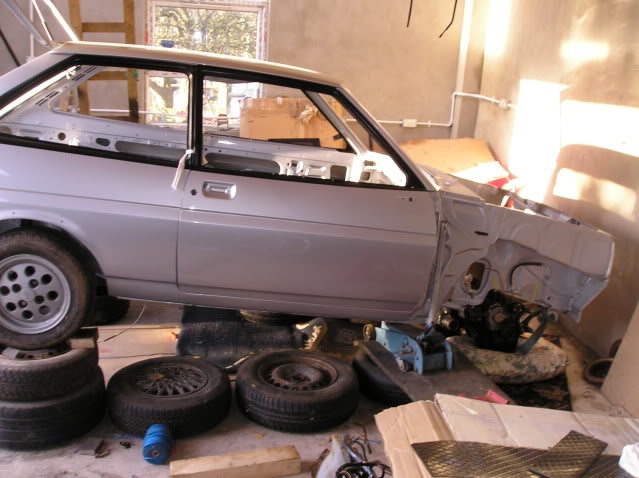
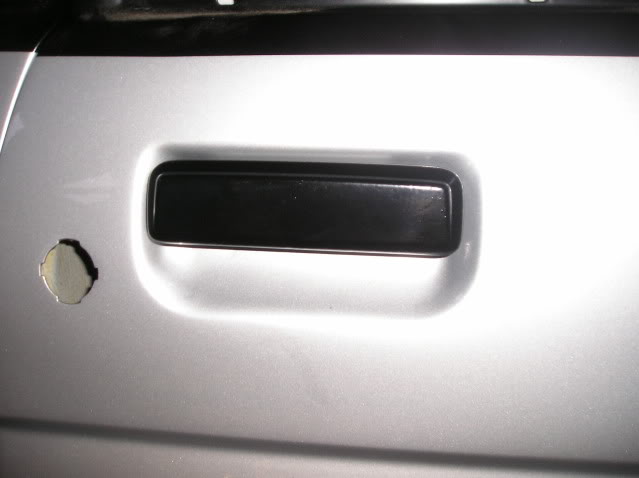
Got the group 2 replica lower strut brace fitted at last too , bit of a tight squeeze with the engine in then my newly powered coated door handles ,then fitted the locks and inner handles .It was a pain the doors swinging open after I fited the glass so had to get it sorted before it got scratched.
Then I started cleaning the carb but it will never be clean even with carb cleaner , I can see why people paint them.
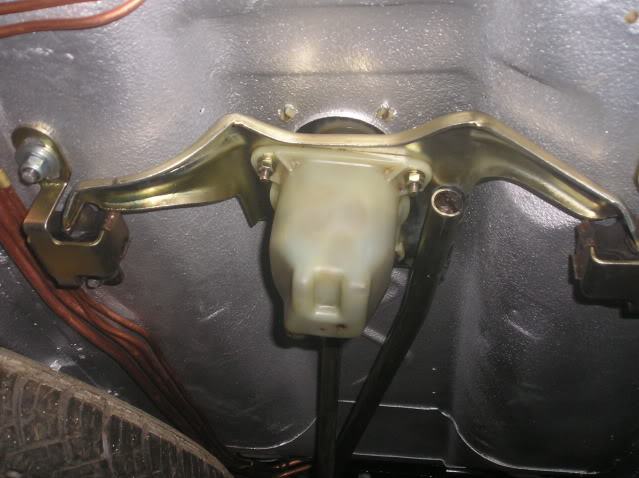
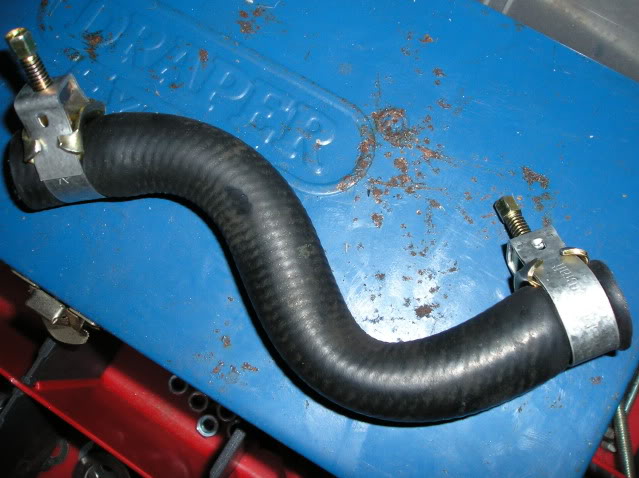
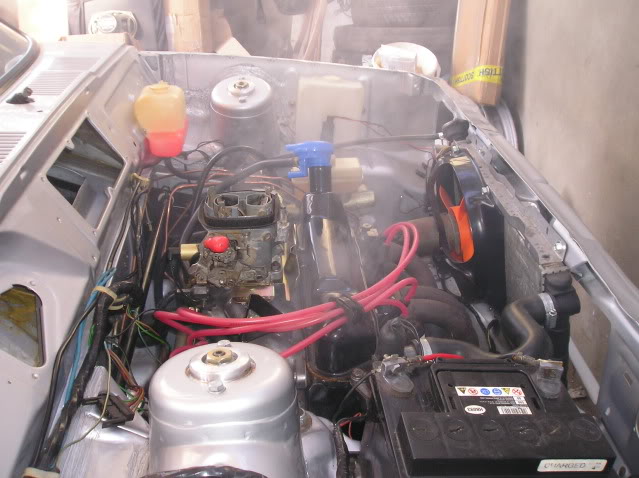
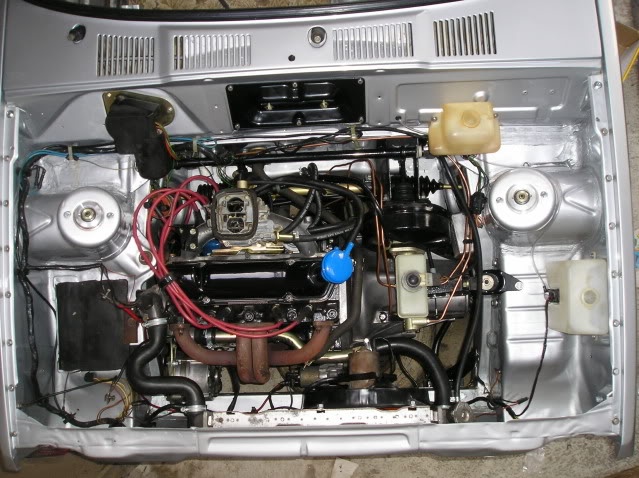
Fitted the carb, filled the gearbox oil , got the linkage adjusted at last and can get all gears now then fitted the exhaust then got the engine running yesterday. The first pic the the smoke coming of the exhaust. Its smoked a lot and then boiled over into the expansion bottle showing the enginebay with antifreeze , should have had the fan on by the time I did it was too late. I had a leak at the heater hose at the manifold but just cut 10mm of the hose and rejoined but the water pump is leaking now .Also changed the temp sensor as it wasnt reading . Today I got both doors aligned and both front wings fitted and the wiper motor .I had to take the linkage out again as the later motor uses a spined link and the one on mine was square, swapped the link over andf back in again.
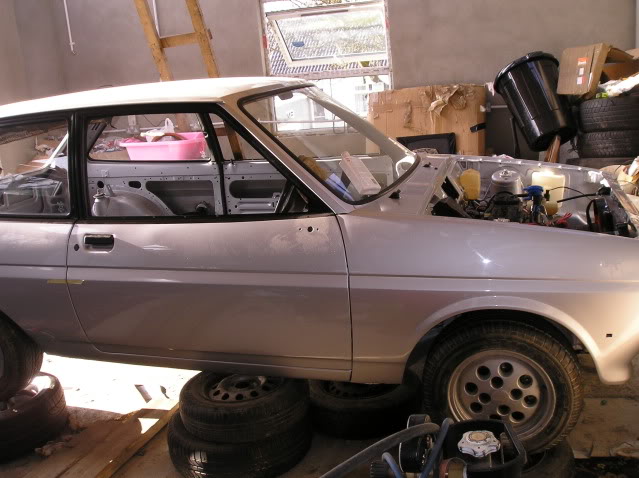
The last pic is as it sits now:

Add a Comment
Page Last Updated: Monday 18th of June 2018