›
› Full Mk1 XR2 Restoration
Full Mk1 XR2 Restoration

Author: Leslie Haire | Photographer: Leslie Haire
A huge thanks to Leslie (xr2000) for providing the words and images.
MOT pass
3rd April 2012 • 06:54AM
Talk about deja vu , 1 year on and it was mot day yesterday (it passed) and taxed this morn( queing from 9am no online tax over here) all good drove 20 miles all good , went to drive home wouldnt idle and running like a bag of spanners hesitating etc ...........Yes its the bloody carb I fitted 2000 miles ago thats been perfect till today mot day has took a hissy fit. Luckily I got back to my folks house before it conked out so I could get tools and the original carb I rebuilt last year. I fitted this Rs steering wheel I got , its been retrimmed already and fitted the genuine boss the right way this time and the wheel is central not an inch off to the right, and gave the car a good polish
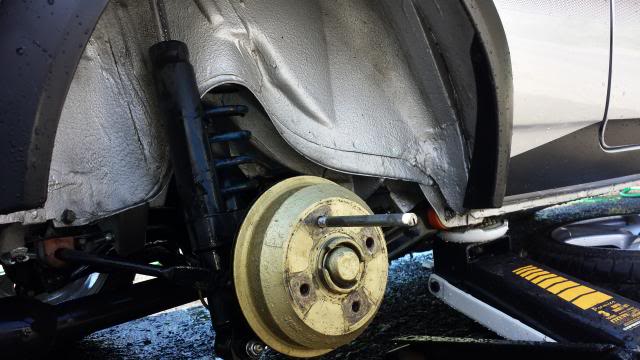
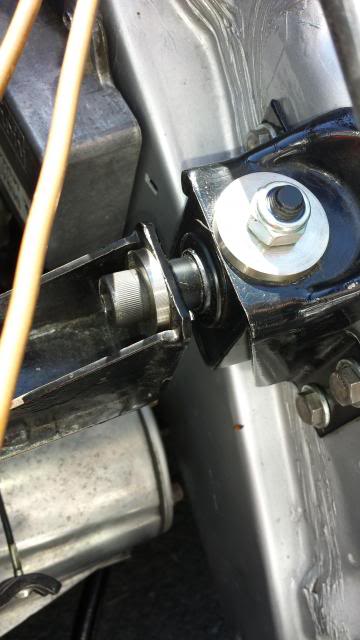
New mounts
30th June 2014 • 02:44AM
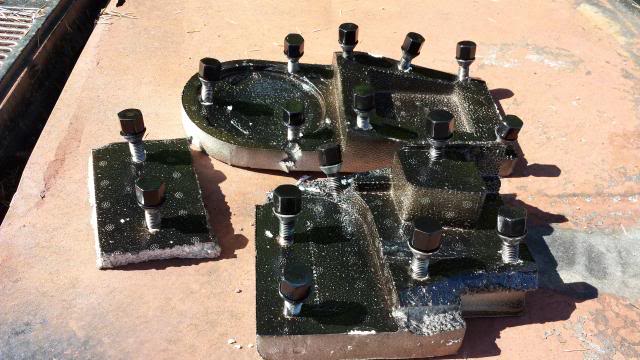
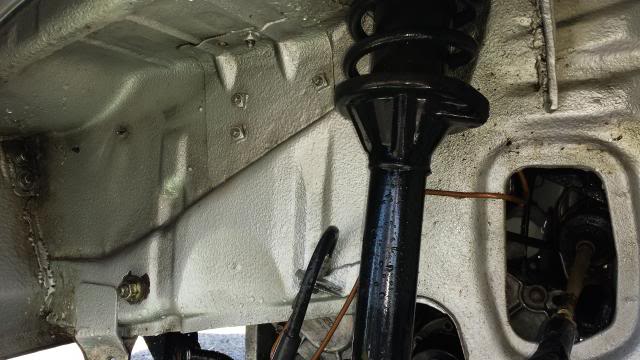
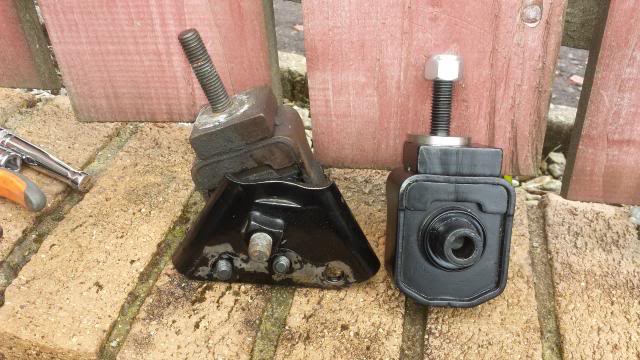
Got some new Engine mounts fitted , the top 2 are ones Gary made for me using the original xr2 housings modified for new bushes . :thumbup: After these were fitted there was no movement at all at the top but the lower mounts shook like hell and I had to turn the idle speed up to save my fillings, so today I swapped the lower gearbox mounts for rover v8 type ones and that stopped the shaking and it hardly moves at all now ,a bit more vibration than before at idle but fine when driving although I have only went 20 miles yet .The old lower ones despite not having covered more than a few thousand miles seemed very soft maybe the oil got to them. The drivers mount was a proper bugger to change as there is hardly any room but by taking the coil out I was able to take the outer bolt of to get to the centre one.The 3 bolt had to be inched out a flat of the bolt-head at a time, took ages.
ROVER V8 round lower mounts :
XR2 Drivers mount :
XR2 passenger upper mount:
Old and new XR2 drivers mounts:
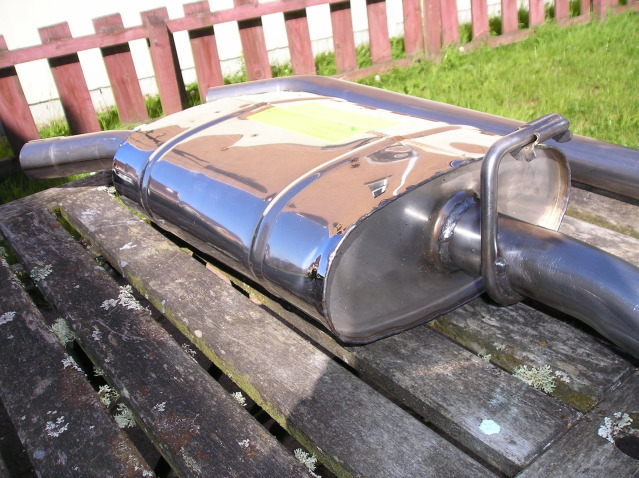
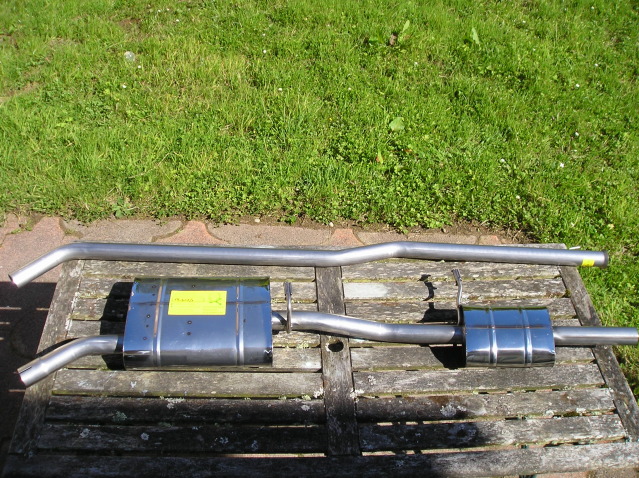
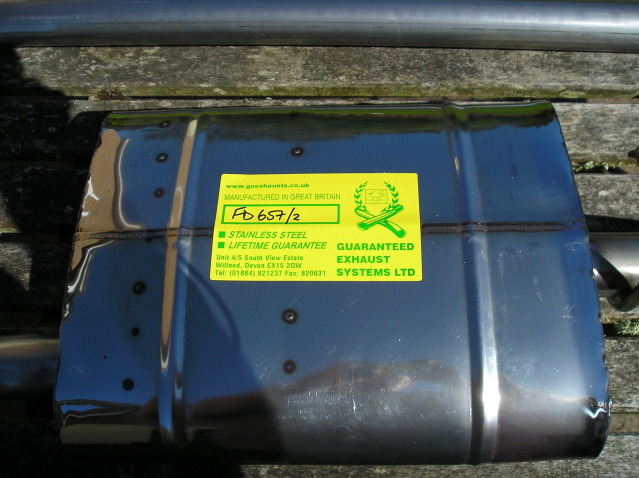
Sportex exhaust
7th July 2014 • 02:32AM
Got a new shiny bit fitted today between the rain showers , it only rains after you start work.
Low rider sportex speed bump scraper
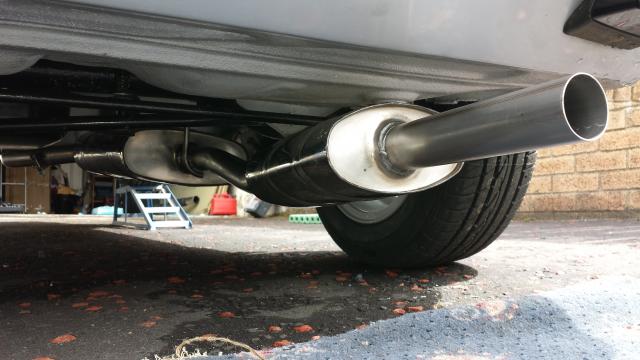
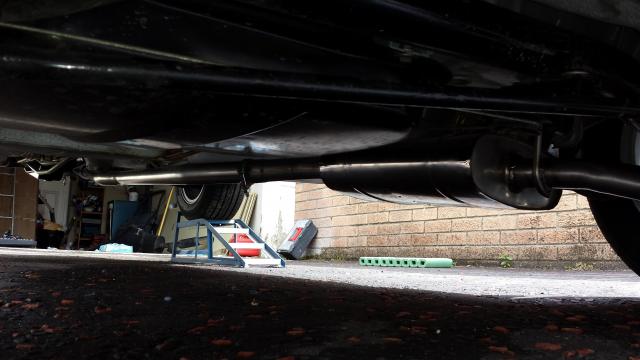
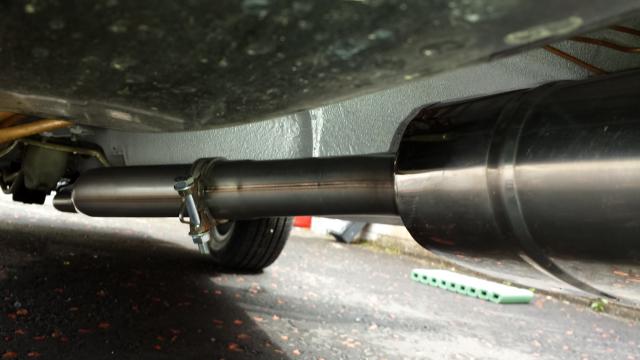
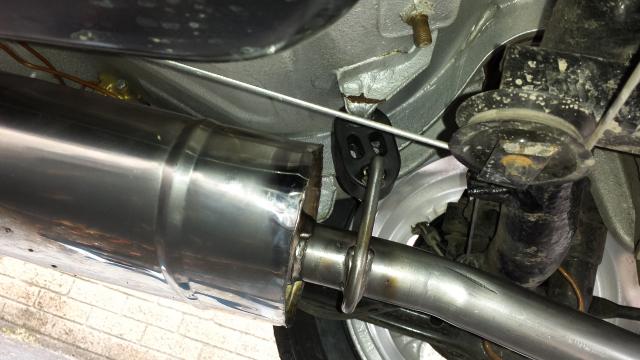
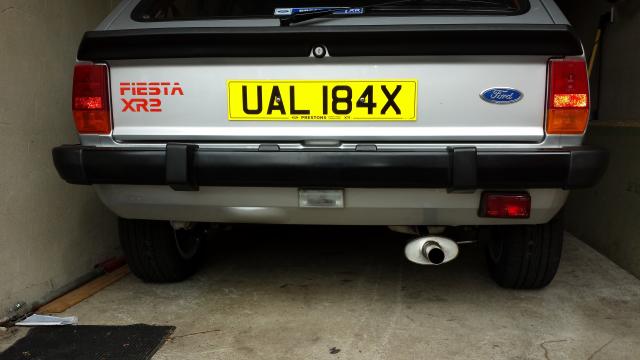
The last pic shows the rubber hanger is a bit out of alignment as the mount seems too far back , the rear one is straight , bit disappointed with that. Had it all done and went to drive of the ramp and forgot I had but the ramps under the back wheels, was in a hurry and got distracted and promptly drove of the back of the ramp :angry1: followed by a loud bang and a sudden touchdown .The 2 ramps were wedged under the car and one had put a nice bend in the sill flange. I've in straightened out again, could have been a lot worse if it had went up the side of the car :shocking: A quick test-drive drive and it does have a nice little rasp of it
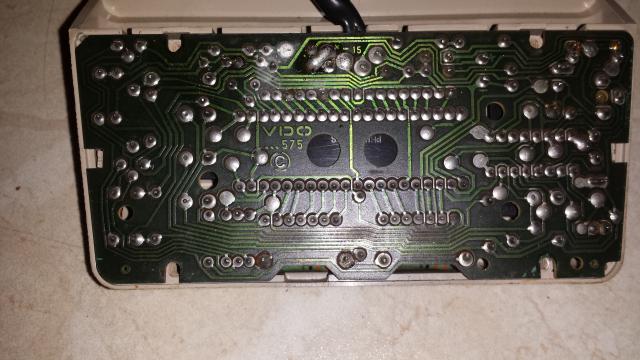
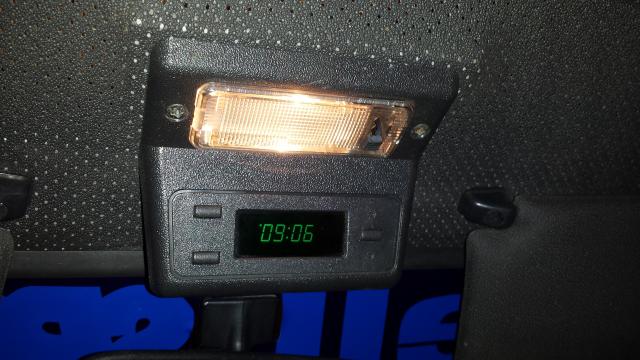
Roof clock
18th August 2014 • 05:45AM
My roof clock only works a few times a year plus some of the segments have failed so I took ones out of other cars but only one worked and went off when the wires moved so I tried to open it and one screw in the case the head had rusted of but wd40 and tightening it more eventually shifted it.I found two of the supply wires had come loose so bought a cheap maplin's soldering iron and tried to sort it .Not having soldered a a few years I bridged a track and made a mess then scrapped it back off and cut though another track. Then I soldered a new path with a big blob and it worked, swapped the good gubbins into a correct grey case and after some fiddling even got the time set :geek1:
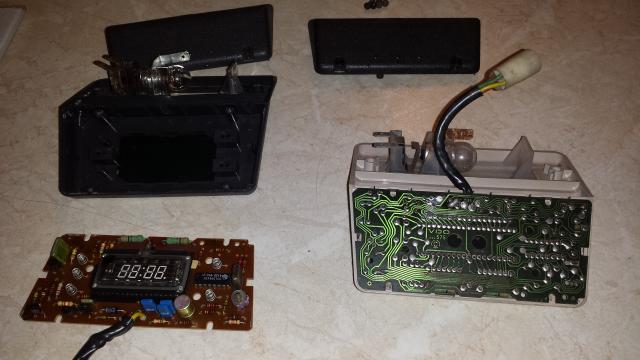
High tech in 1981
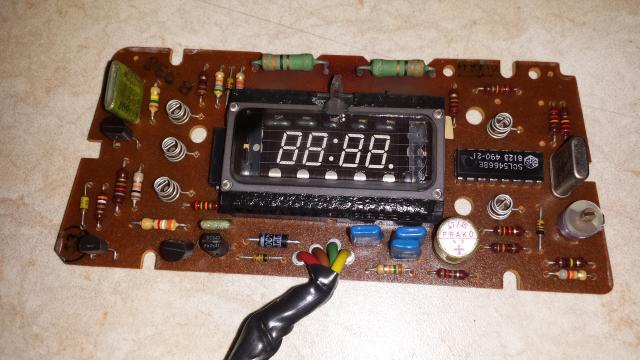
Bodging:
Working :
Add a Comment
Page Last Updated: Monday 18th of June 2018