Fiesta inner wing panel fitted
12th June 2008 • 06:04AM
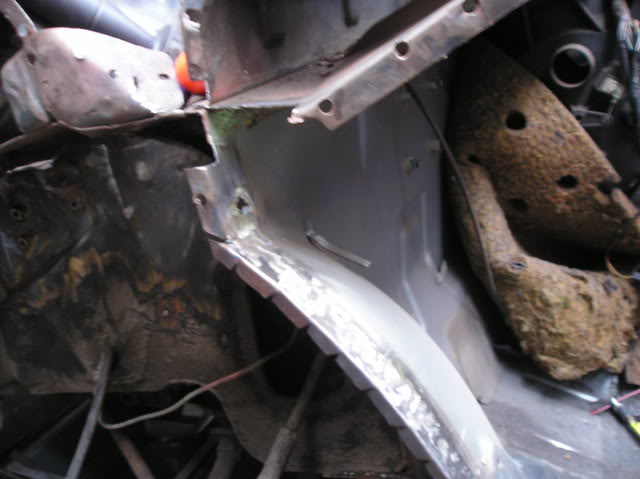
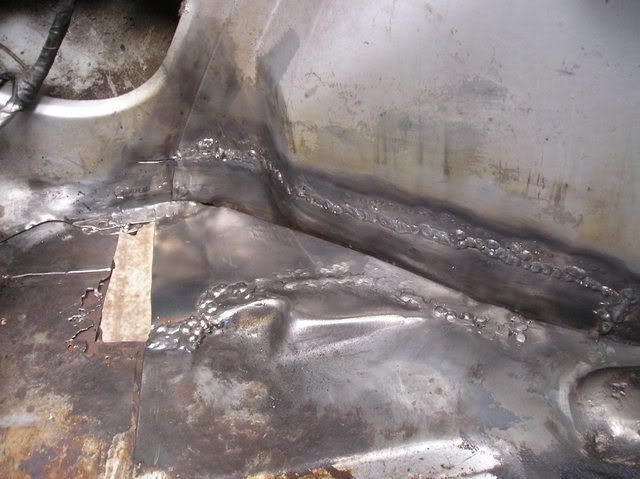
Some more welding.I now have the inner wing panel on after making a few patches for the inner arch:
Its been slow going.
"Saving Ford's hot hatch from becoming a fridge"
A resource site for owners of the Mk1 & 2 Fiesta


A huge thanks to Leslie (xr2000) for providing the words and images.
Some more welding.I now have the inner wing panel on after making a few patches for the inner arch:
Its been slow going.
Patience was tested today,the old welder would not feed the wire out when the torch liner was anything but totally straight.The wire was new and the tip as well. Burned back to the tip about 7 or 8 times then I bashed it against the car in a rage. .Put a plug on the new mig and tried to get it setup but need more practice.The panel is now welded in anyway.Suppose we all have weeks like this.
Made a start on the passenger side arch.Couldnt decide where to cut(hence all the lines,the outer one is where the kit goes,to go to here the welding would have to be good) at first but in the end cut just where the arch lip joins the flat piece of the arch.This made it easier to joggle as otherwise the joggler would have deformed the steel. Ther repair arches dont seem to line up properly as when both sides are level with the sill swage line the swage line up near top of arch doesnt line up so better to stay below the swage line.
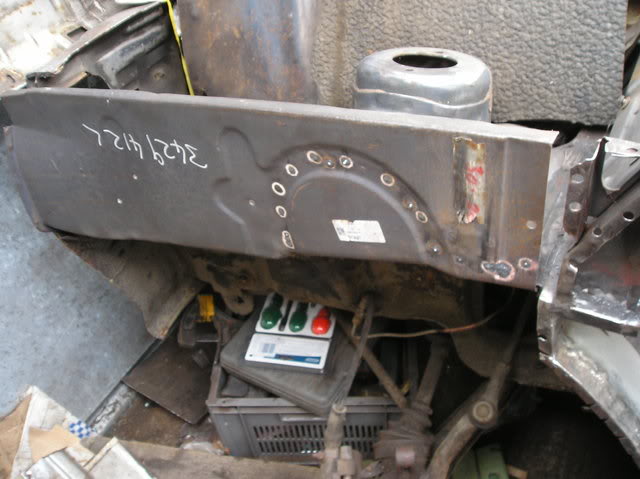
Looks like I will have to fix the area in the boot first as it will be hard to access when inner arch is on. Tried cleaning underseal of the inner arch.It is hard to remove.
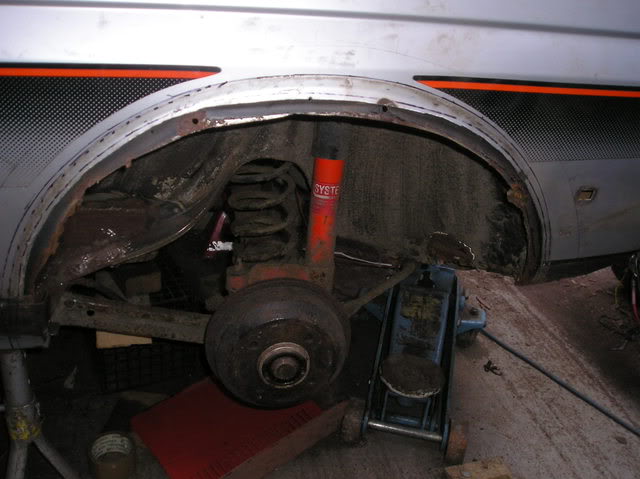
Inner arch crusty as expected.

New outer arch lapped down.
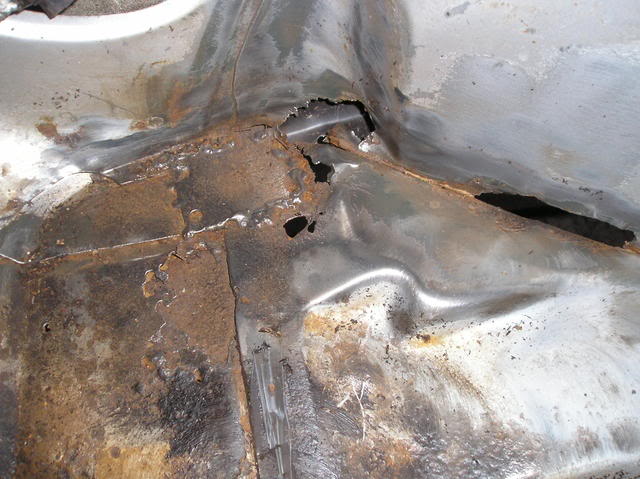
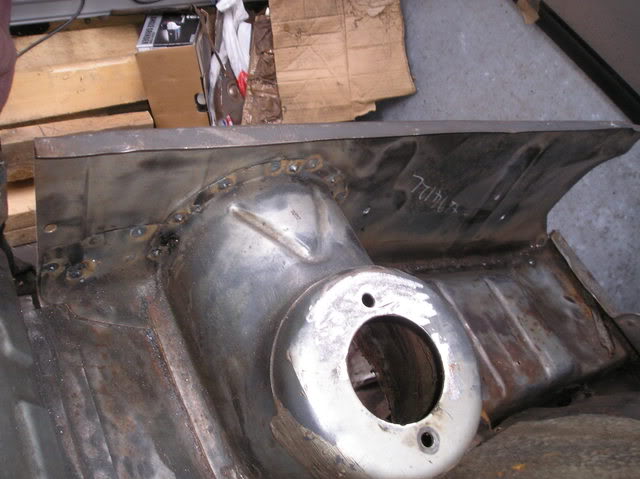
Boot floor mess.But it did get me an mot putting those patches on before.
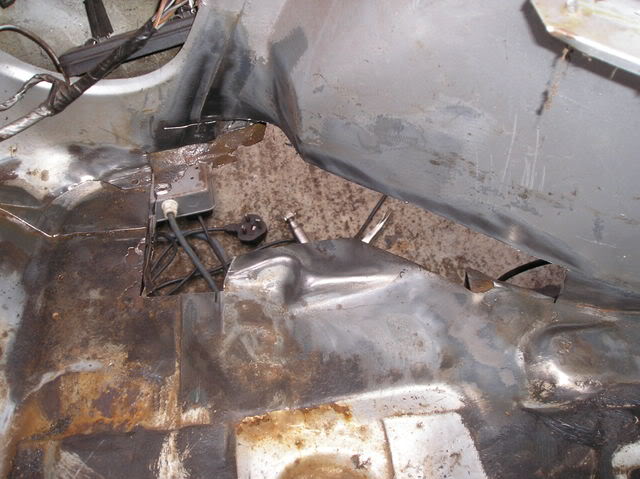
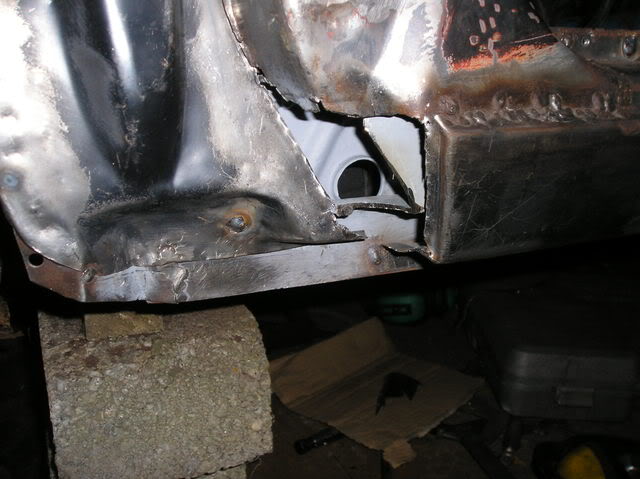
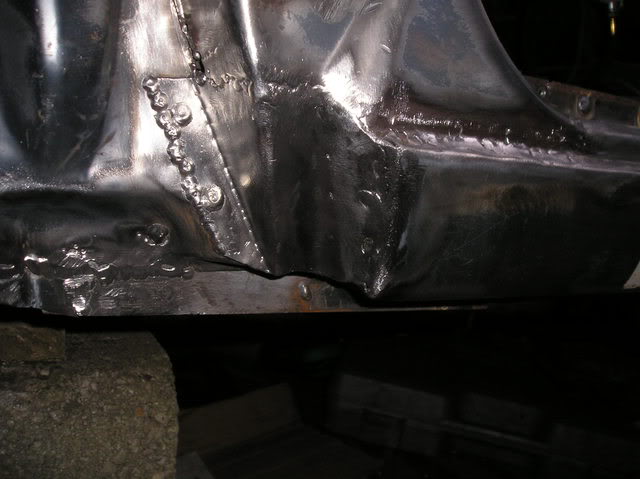
I got a bit welded up today.Cutout the bootfloor corner and made a few patches up.Very timeconsuming due to the curves but turned out ok.Needs grinding yet,but a lot more solid than it was.
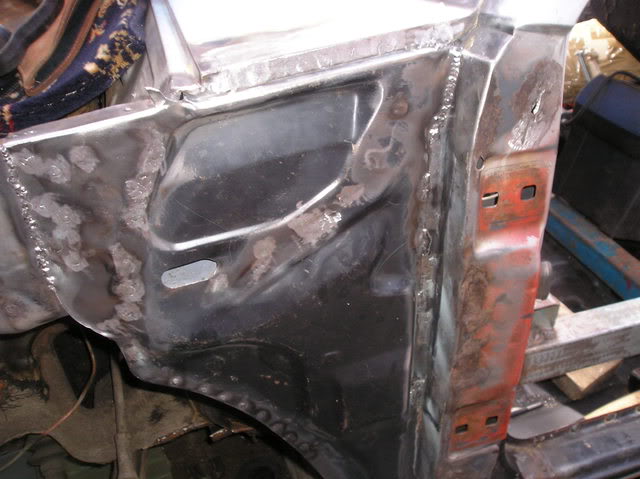
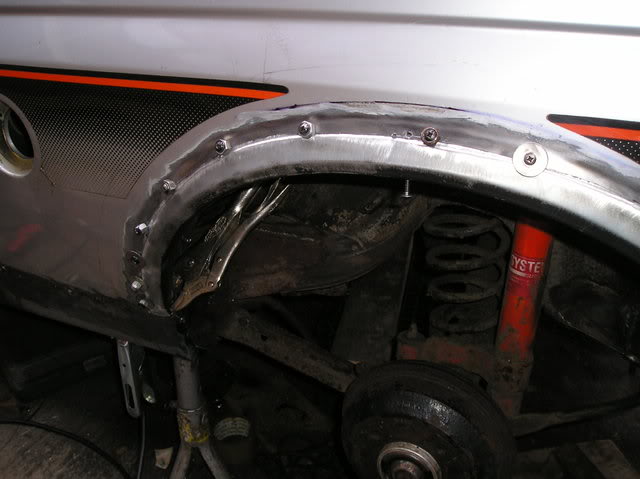
Inner arch fitted into place.I decided to lay it on top of the original arch as this puts the new inner much closer to the outer arch.Tried it the other way and the inner and outer were much too far apart.Had to cut a lot of the inner out to allow this.No big deal it was crusty anyway.Using a cutting disc from under the wheelarch is not the safest. Left a bit of the return flange on at the sill to add strength there.
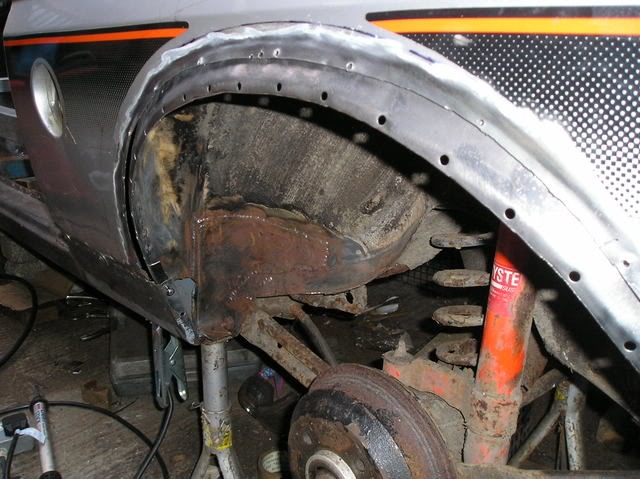
Inner tacked in place,then I cut the return flange off and punched a series of holes so I can weld the two together without creating a rust trap.Replacement arches dont have the quality of the originals so a tight fit is almost impossible.
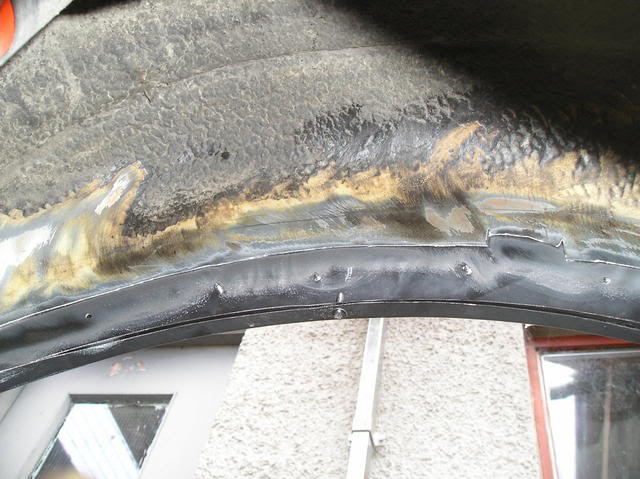
Outer trial fitted,after the inner got a light coat of zinc primer.I have only used a small part of the repair arch to keep the weld behind the bodykit.Most of the cut is along the actual arch part as the arch fold gives some strength and makes warping less likely.No time to weld today and no point hurrying it to make a mess.Arches are tough to repair well.The box of self tappers I got are so handy for these jobs.
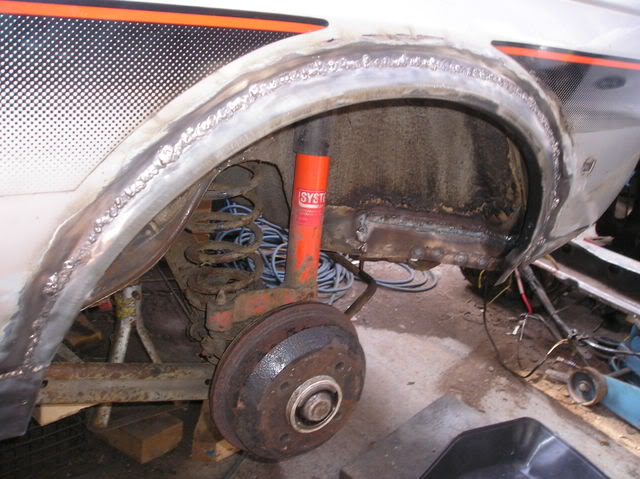
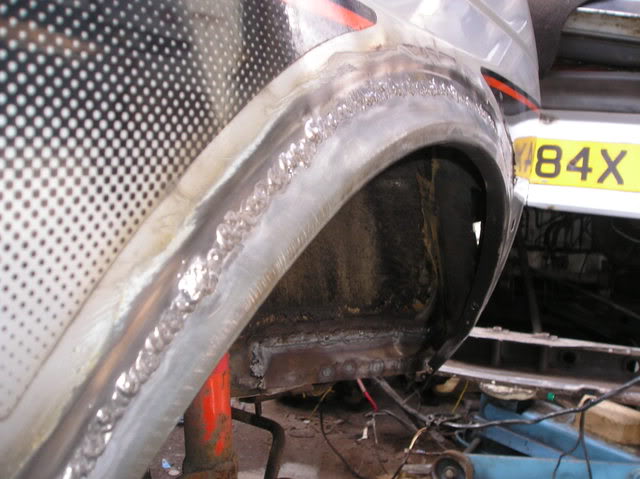
Got the arch fully welded on and it turned out quite well.I burned a few holes and got a little warpage at behind where the bumper corner goes which I tried to tap with a hammer and made worse but Im fairly pleased with it. Only had about 2 hrs today and it took most of that to weld it. Weld too much and it warps. Didnt even burn the sticker on the left side. Thats it for this week.Back to work tomorrow. Hope I get some time next week to work at it.
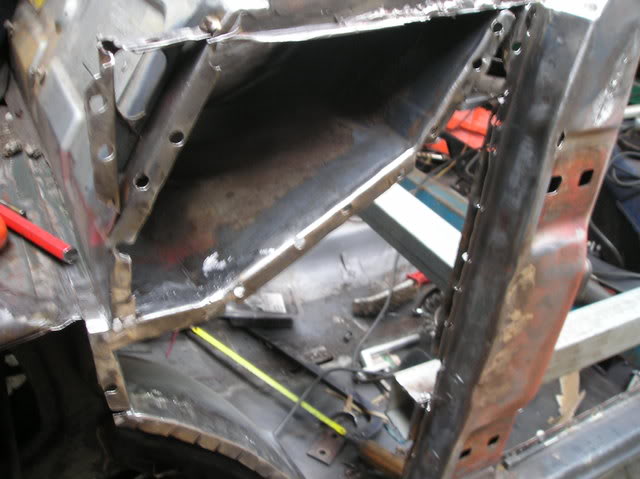
Got the doorpost repair welded in on the second attempt.I scrapped the first.A complicated piece to make and I think it would have been better to buy a new post as it needed so much work.
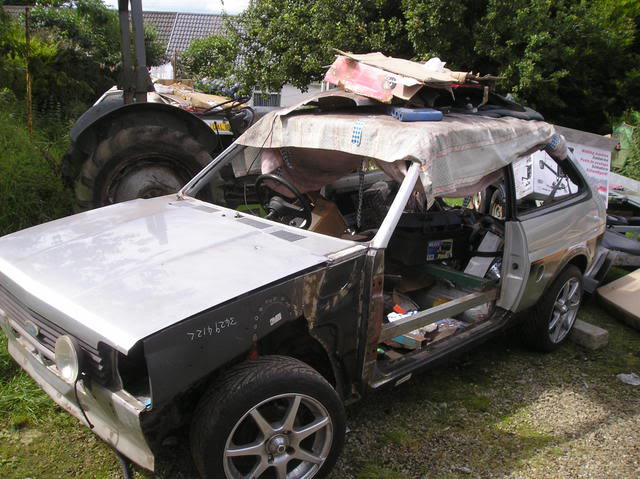
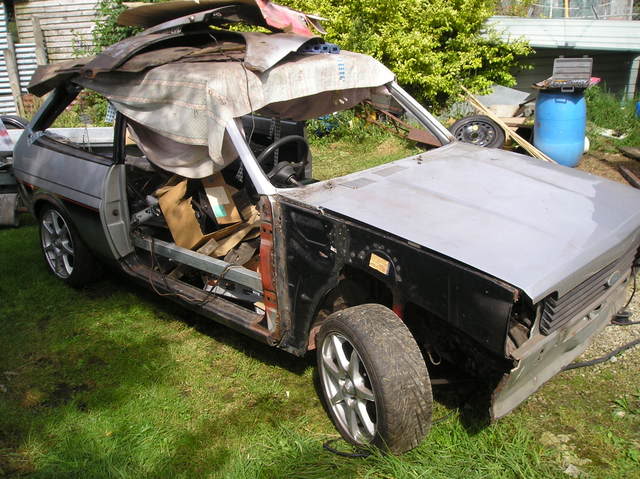
I moved the xr2s outside today as the one I work on was in at the back of the garage and I will be working on the front panel soon and there is no room. It is not easy to move xr2s in a sloping garden one with no engine and a siezed handbrake .Used my old grey fergie to drag them out and got help from a neighbour to push them back in the other way round. The garden was littered with parts and panels. Its the first the the ex revs car has been out since I started the resto at the start of 2007.