Rollover jig
10th March 2009 • 03:41AM
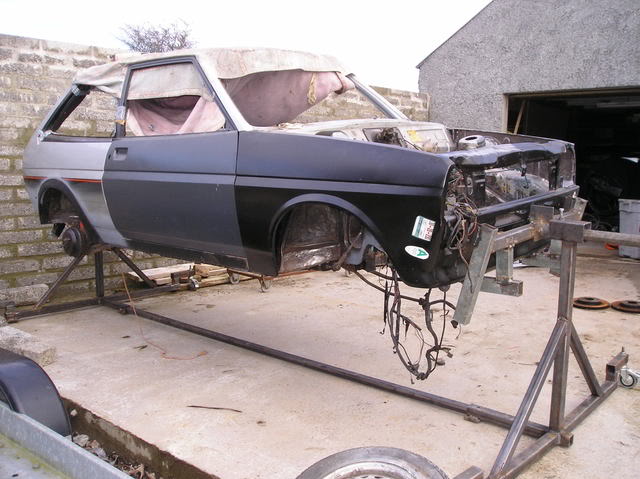
Here a pic of the rollover jog outside .I rewelded in the castors 10cm lower to be just clear of the ground( a lot of cutting and welding to sort it) so allowing it to get out of the shed.Hopefully I will get the other car out and this one back in tomorrow.Quite easy to move although the yard is sloping so you have to be careful.
Shed tidy
10th March 2009 • 10:56PM
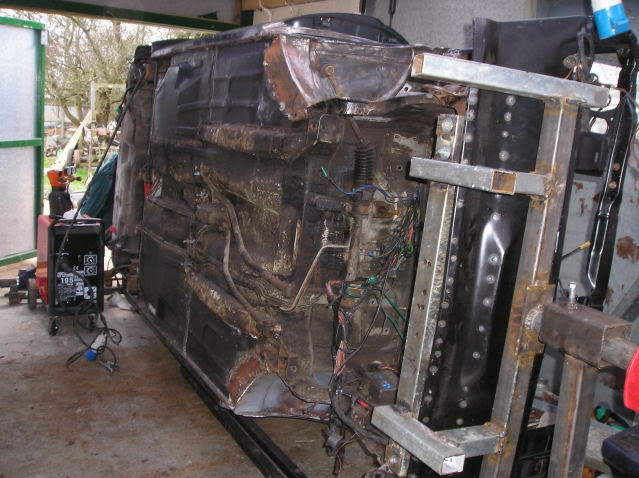
Today I dragged the other xr2 out with the tractor , turned the revs car on its side and removed the axle.Then I cleared the shed out a bit and put the revs car back in.Sounds easy but it took ages plus pushing cars about with soft tyres on a slope is hard going yourself.
Much more room now and a lot easier to work on.

Floor cleaning
12th March 2009 • 07:11AM
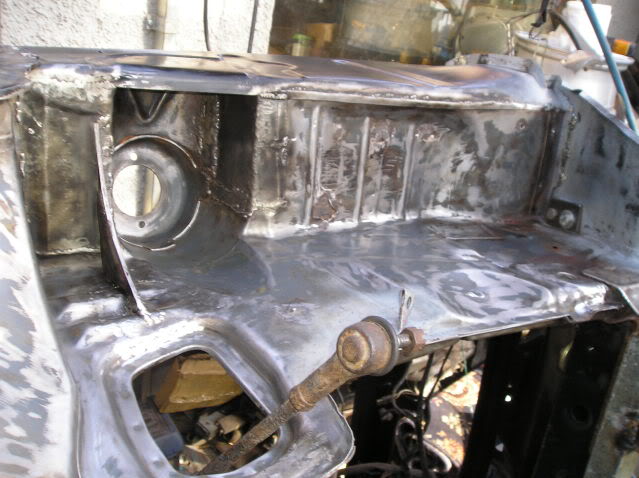
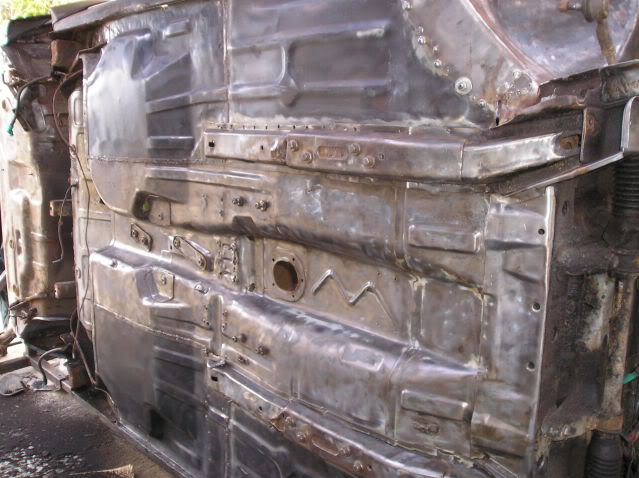
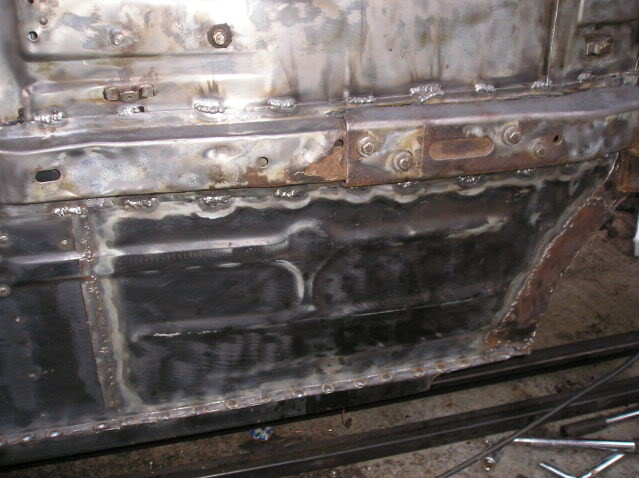
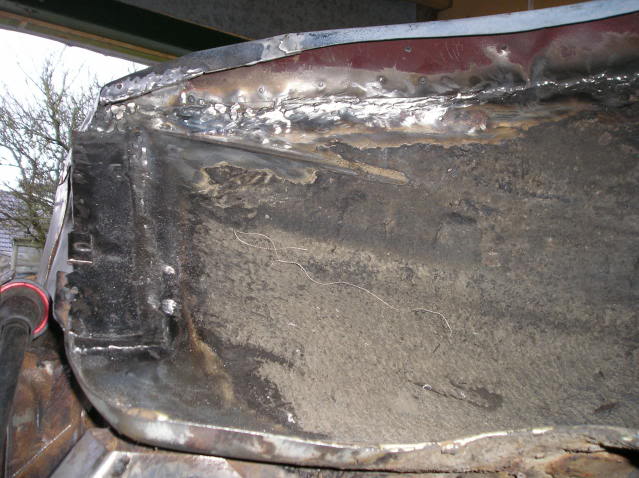
Main Floor cleaned up with a wirewheel in the angle grinder.Slow but effective.Lots more cleaning to do though and its a dirty job.
You can see in the pic the mk1 xr2 has reinforcing plates over the chassis rails and they have 4 bolts in each.Strangely they dont bolt off though as they are spot welded on as well. There is a rust hole in each rail just behind them too.
Chassis legs
16th March 2009 • 12:50AM
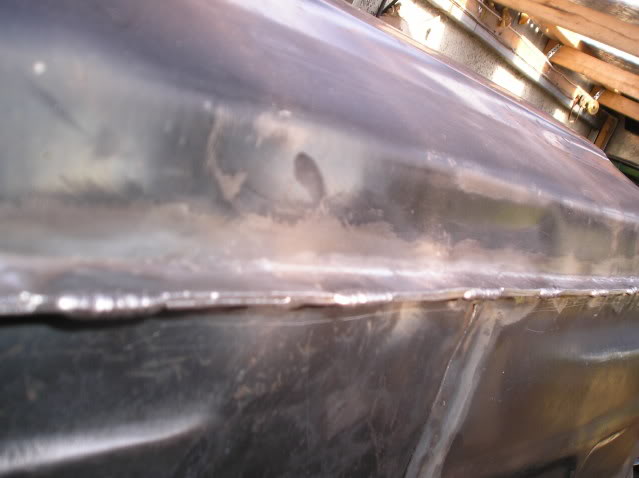
Got the chassis legs seam welded and the sill plug welded today.Needs a small patch but will sort later.
Seat reinforcing points
26th March 2009 • 08:55AM

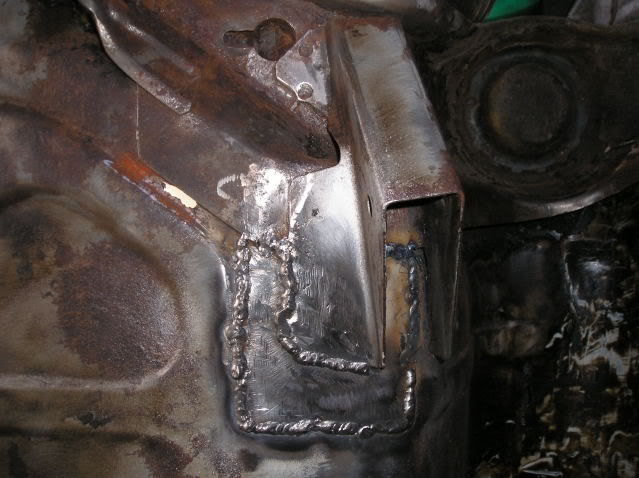
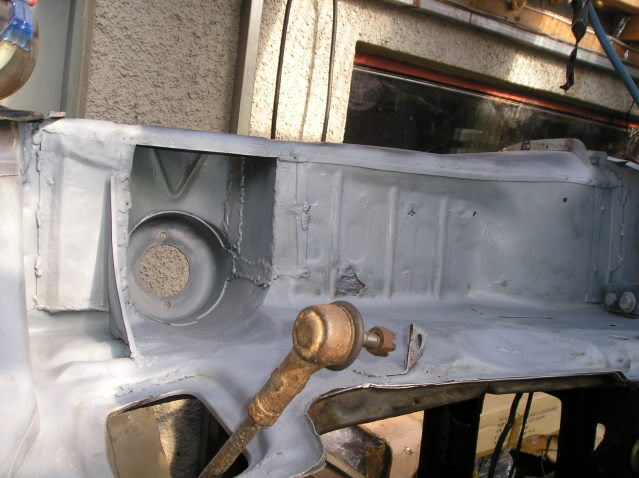
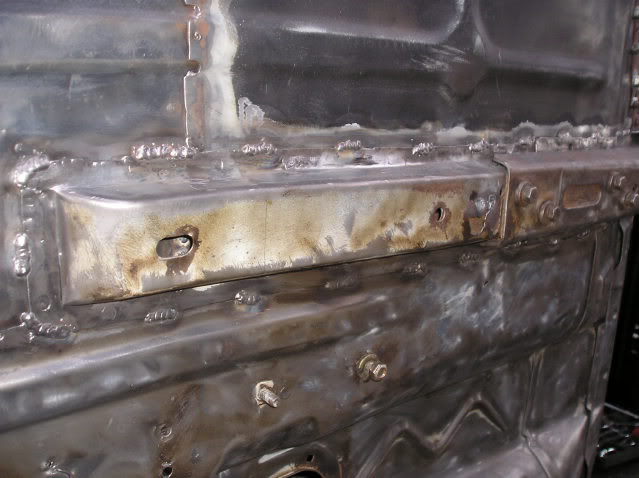
Got the 2 seat reinforcing mounts made and fitted one either side and then cut out the rust under the panhard rod mount.Thought it was sound but it was as rusty as everything else.I decide to seam weld it for strength and it will be double thickness too with this plate and another inside on top of it later.That should make it solid as if I had just ground it down it may have cracked again due to stress.
Needs seam welded to the chassis leg which will be done soon.
Seam welding
27th March 2009 • 01:38AM
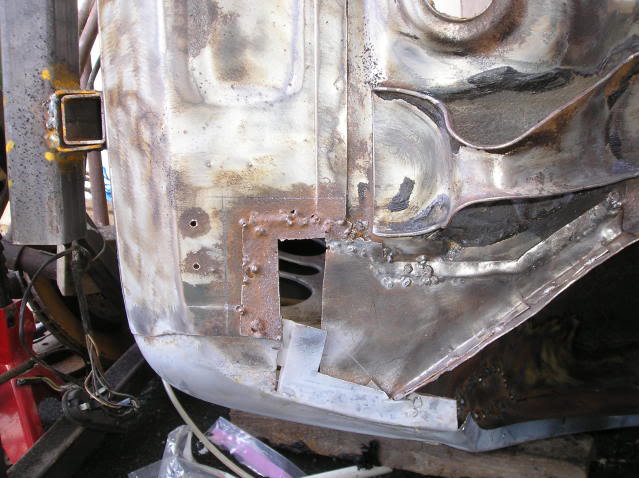
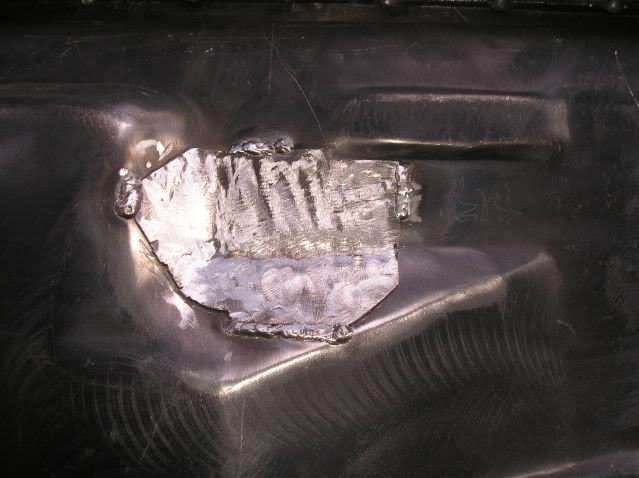
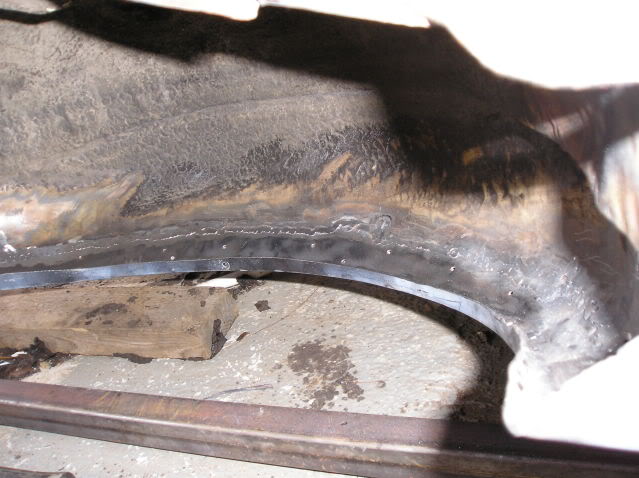
Seam welded the inner arch where I had tacked it before.Made a bit of a mess of it a year ago or so when I put it in and had a good few holes to fill with weld.Wont be seen anyway. The grinder caught and took a chuck out of the outer arch. Then ground too much off and wore though the join in the middle so had to weld it again. It will look better with a coat of primer when the underseal is off.Access into arch corners isnt easy.
Also seamed up a patch I put on near the antiroll bar mount to keep water out, seamed around where the rear corner joins to keep water out and put another patch under the panhard rod in at the side.You could hang the car off it now then seam welded it too.
There are quite a few minor jobs to do but most of the structural welding and patching is now done.
The seat crossmember needs seam welded , couple of patches in the boot floor , the track control arm mounts one looks ropey little bit of work on the silll flanges then the doors need modded to convert to mk1 handles then panel adjusting to get the wings to sit right and up at the windrscreen scuttle repair I welded is too low so needs sorted ,other wheelarch needs seamed up , bonnet catch mount fitted.....then minted up for paint.
So although its nearly there until its as good as I can get it then I wont be leaving it in for painting.Im spending every spare hour on it as I want it done but the car is 20 miles from me so a hassle to get too.
More welding
2nd April 2009 • 07:47PM
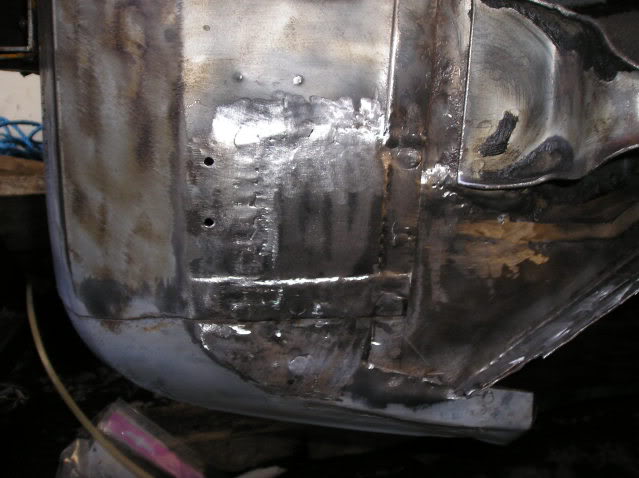
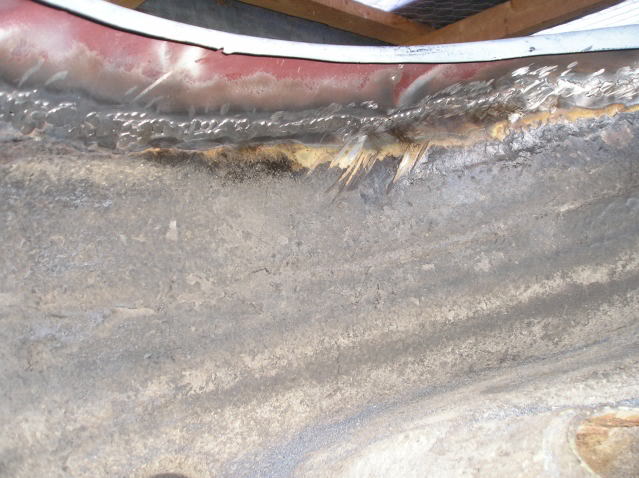
Got the driver sill seam welded yesterday , turned out ok shame my camera is shite. Got the pass inner arch welded together today and plug welded to the outer arch, then the last few inches at the corner the inner and outer seamed together to keep water out.I had removed most of the inner flange when fitting the outer arches so help avoid water traps but left the lower couple of inches on as the kit mounts there. Would make more sense with a pic but cant get a decent up close pic with my camera.