›
› Full Mk1 XR2 Restoration
Full Mk1 XR2 Restoration

Author: Leslie Haire | Photographer: Leslie Haire
A huge thanks to Leslie (xr2000) for providing the words and images.
A day without welding
10th April 2009 • 12:47AM
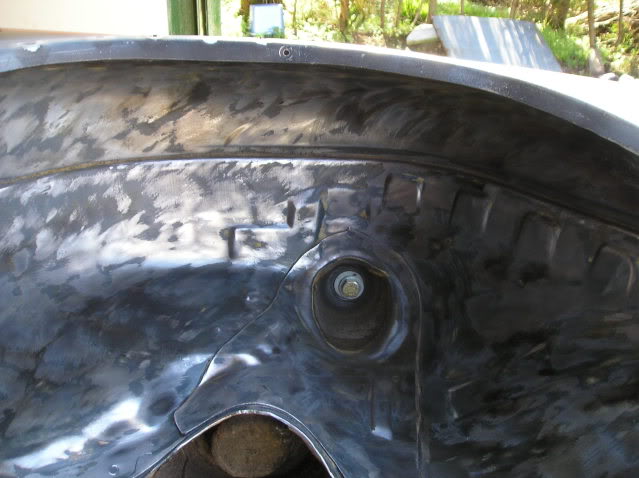
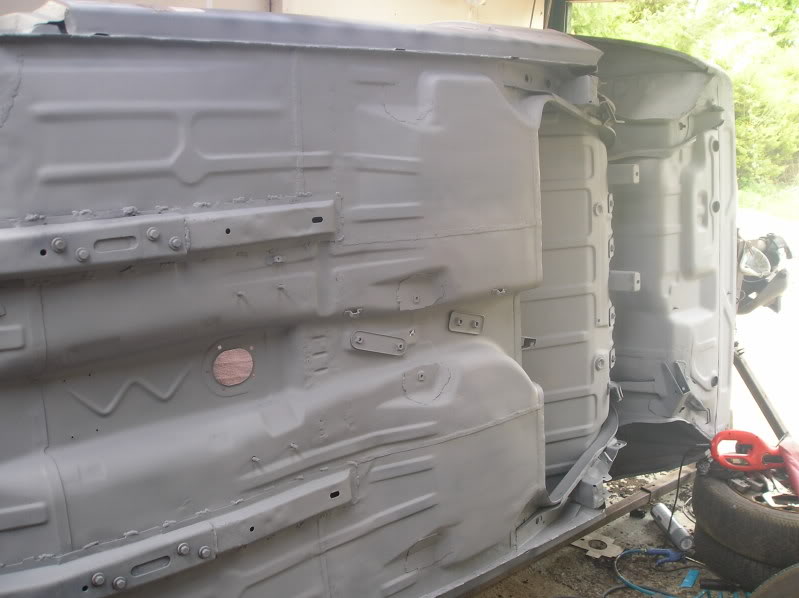
No welding today , just cleaned the sealer of both rear arches , what a nasty job.Tried to melt and scape it of with a blow lamp but not getting anywhere so used a flat wirewheel in the grinder.Much quicker but need to be very careful at edges as it would be easy to get ther grinder puller out of your hand.Sealer smokes like a goodun. my new grinder got so hot the vents at the brushes started to smoke too.
Had the shell pulled outside and it started to rain and one arch was rusty in about 10 mins so recleaned it later and gave a coat of primer.The spit makes things so much easier.Maybe should have left the sealer on as there wasnt a spot of rust under it.
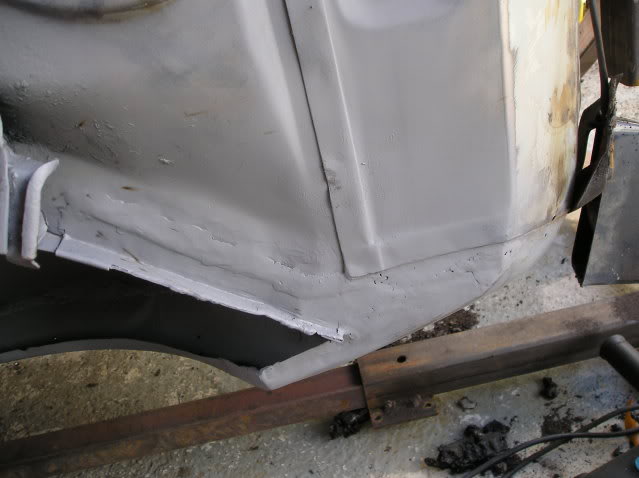
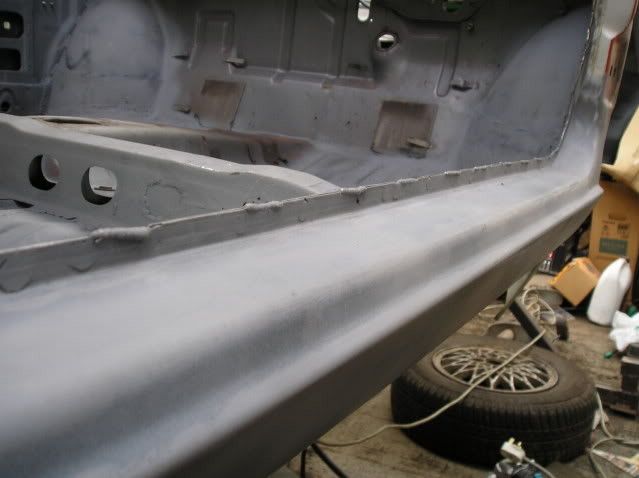
Drivers arch:
Passenger arch:
A bit of primer
17th April 2009 • 04:47AM
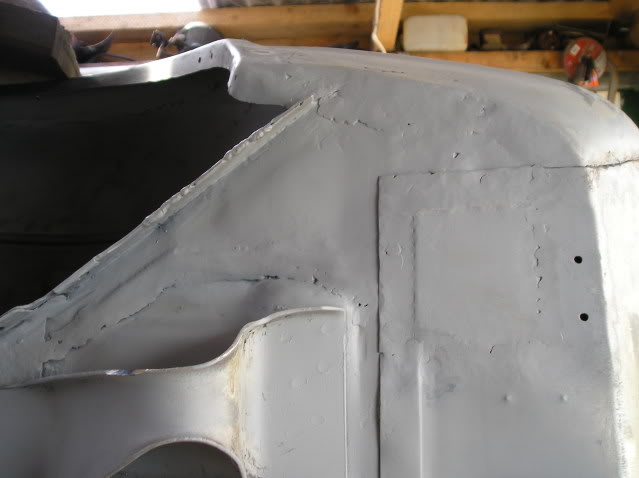
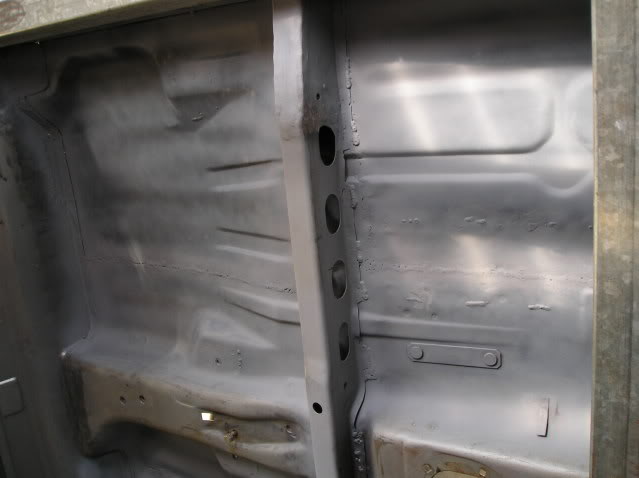
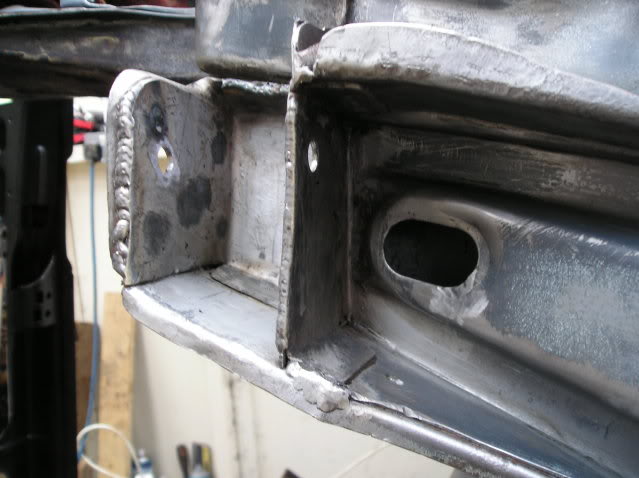
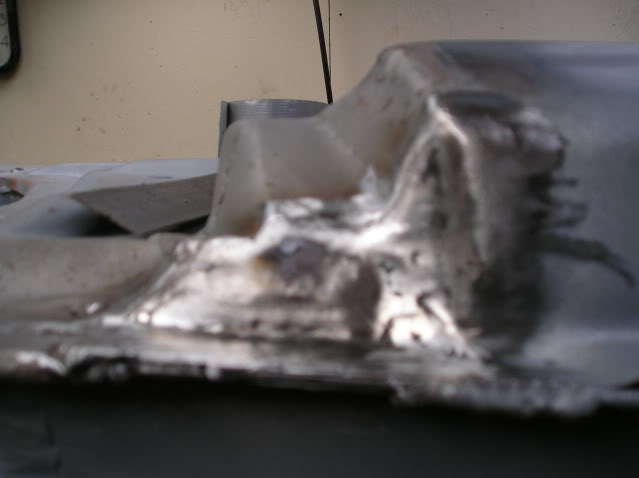
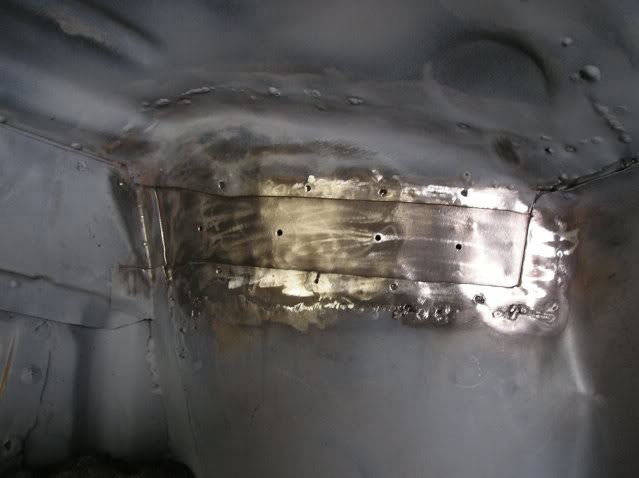
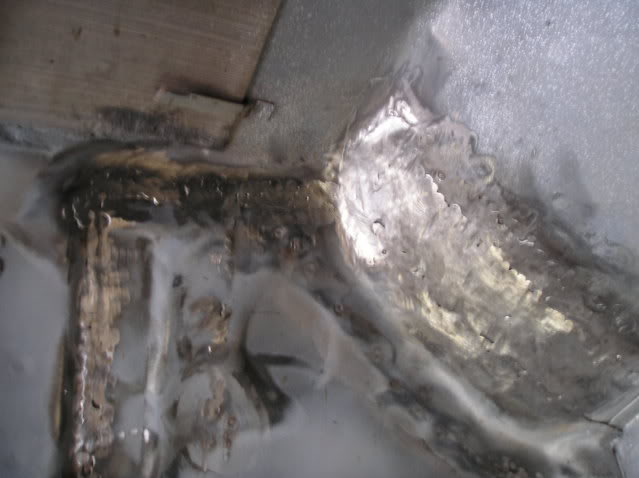
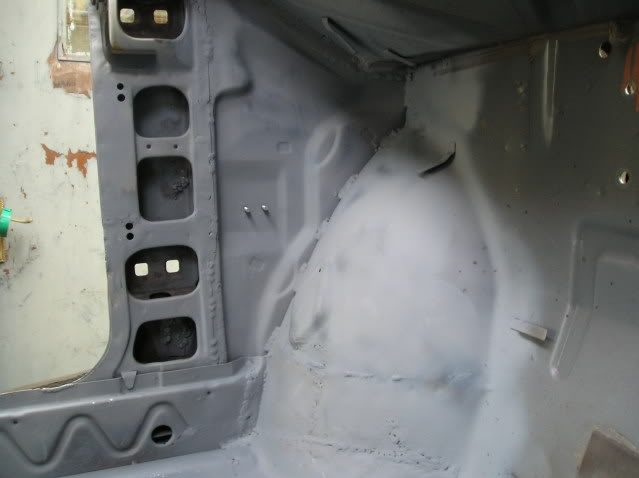
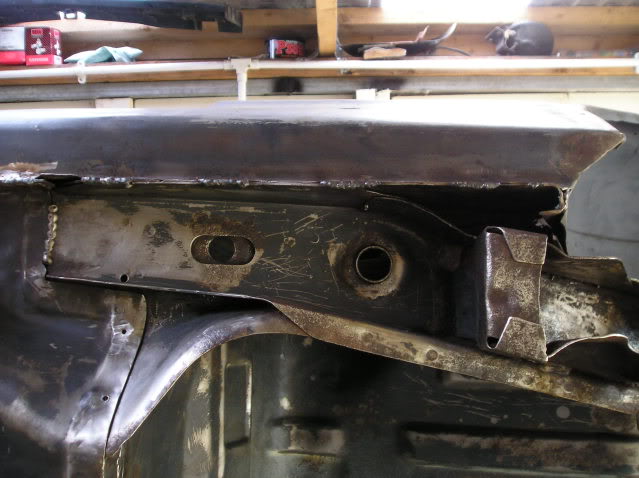
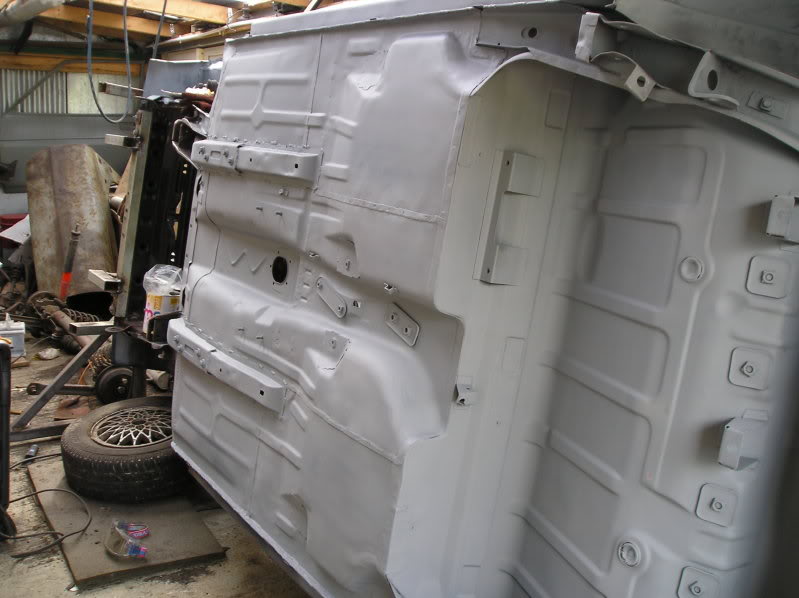
Got the passenger side inner wing cleaned down and primered after seam welding the patch to keep water out.I also seam welded the pass sill and fixed another hole in the seat mount.Found holes in the chassis leg side in this side now the car has been turned over.Not easy to sort either as its hard to get too.

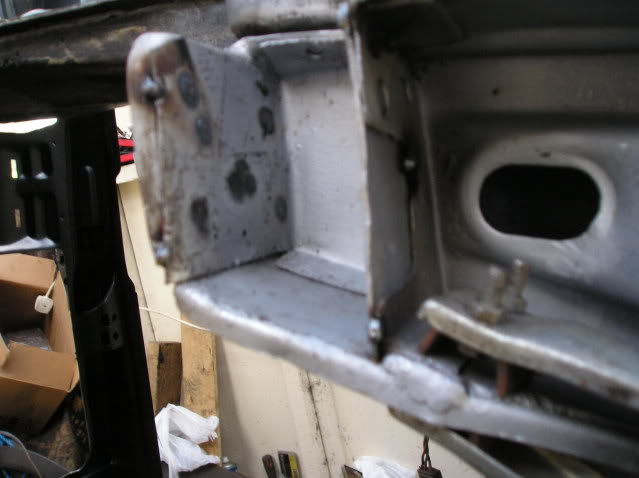
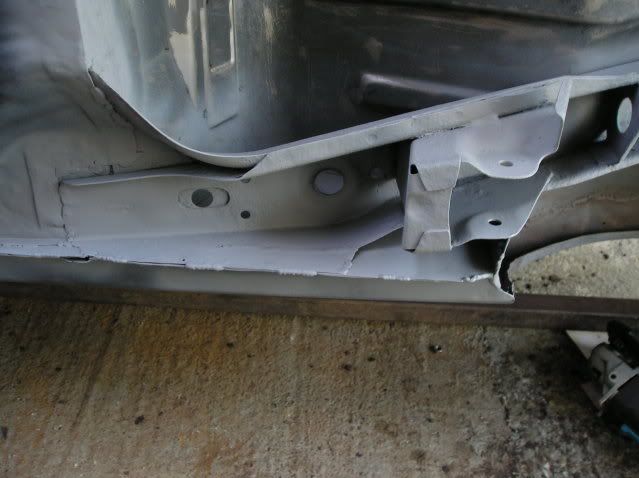
Chassis legs
20th April 2009 • 08:20AM
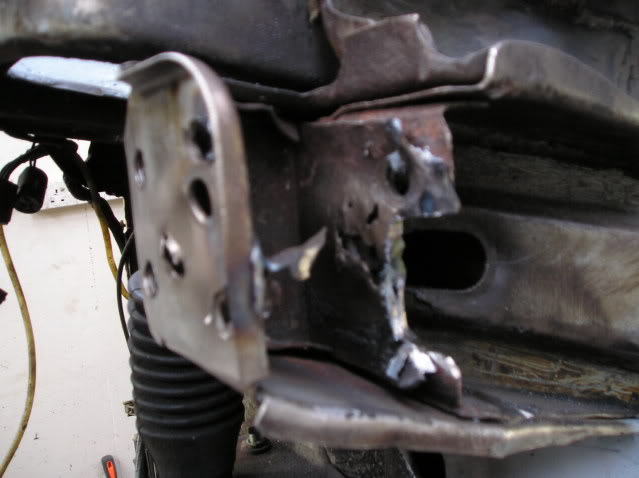
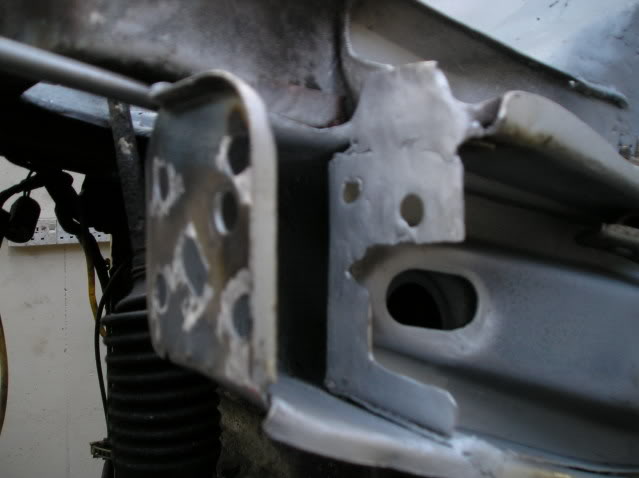
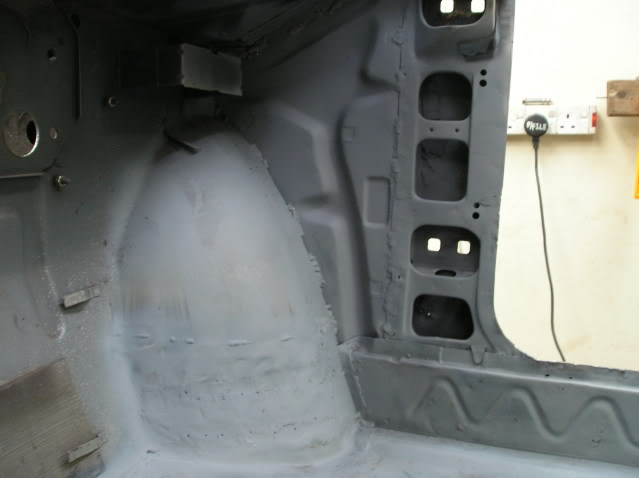
Cleaned up the chassis legs today they looked seriously rusty but cleaned up ok, the front parts were mint the bits were the axle mounts to less so.
Used wirewheel in the drill plus a large screwdriver to chip 27 years of rust off then cellulose thinnners to clean what was left of the underseal off.
Then welded a patch on the leg that I had cutout about a year ago or more and gave the legs a quick coat of primer to keep then from rusting again.
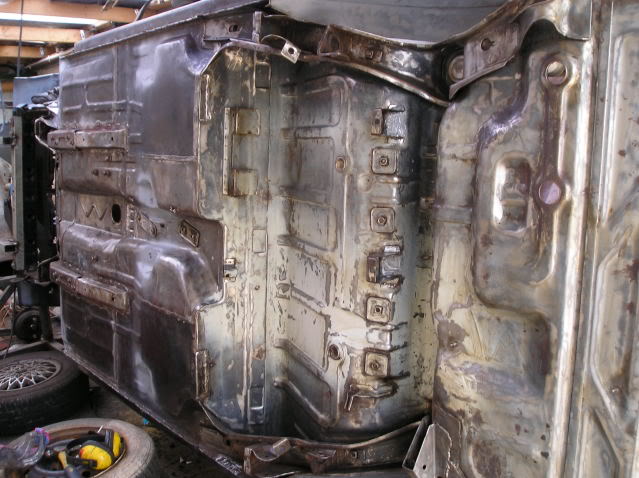
Floor primering
21st April 2009 • 12:47AM
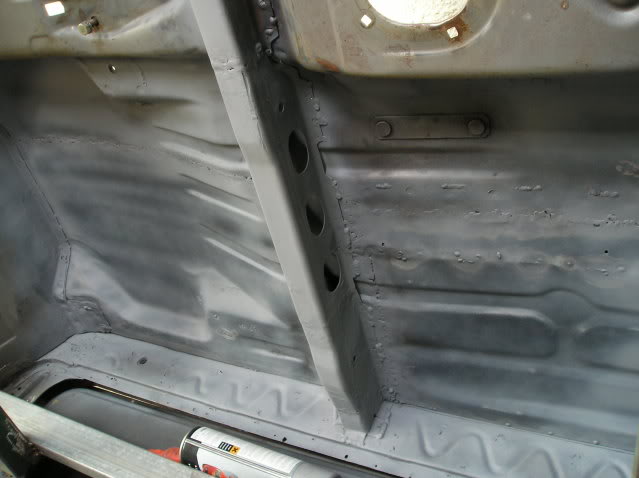
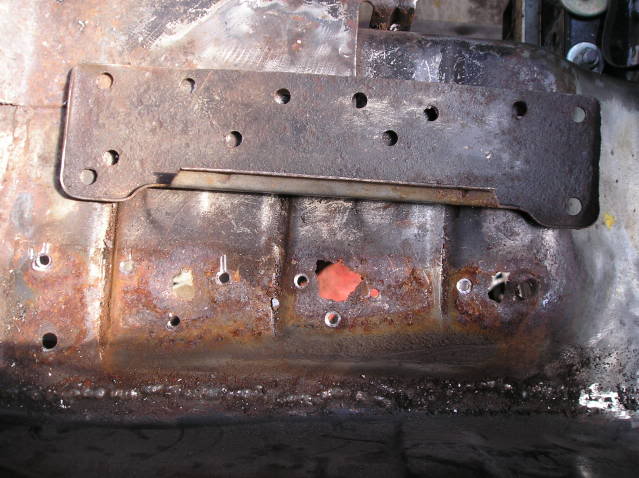
Got the main floor primered up today plus welded in the side on one chassis leg that was holed that I missed when the car was sitting on the other side.Welded the other rear arch inner to outer as well .Bit of primer certainly improves the look of things no end.Just some underseal in the engine bay to remove and that will be it all cleaned undeneath.
Add a Comment
Page Last Updated: Monday 18th of June 2018