A new Fiesta Supersport
30th April 2010 • 10:13PM
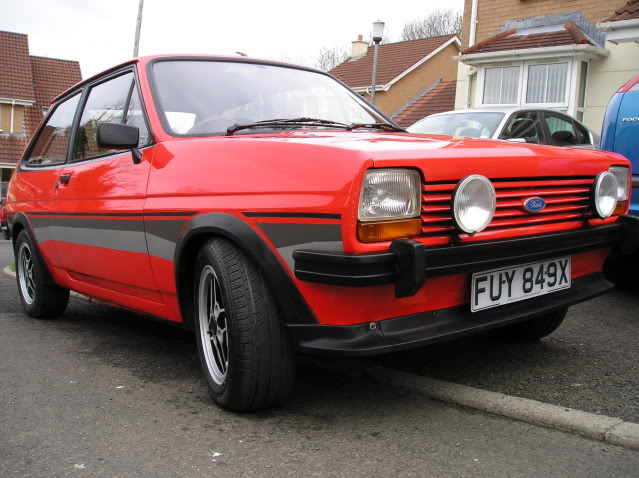
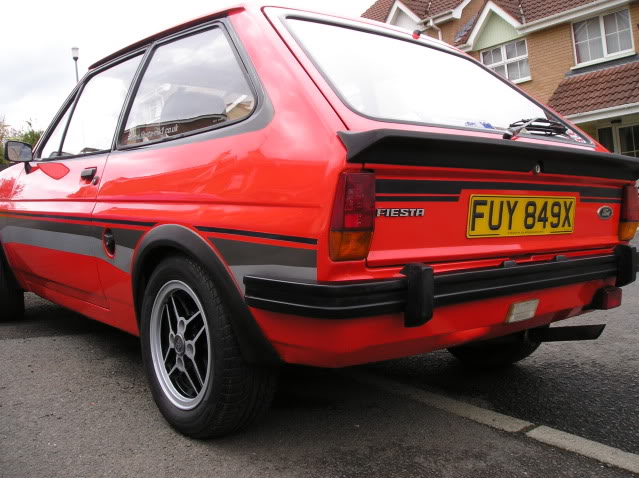
Lost the plot and bought another car, its a supersport.
"Saving Ford's hot hatch from becoming a fridge"
A resource site for owners of the Mk1 & 2 Fiesta


A huge thanks to Leslie (xr2000) for providing the words and images.
Lost the plot and bought another car, its a supersport.
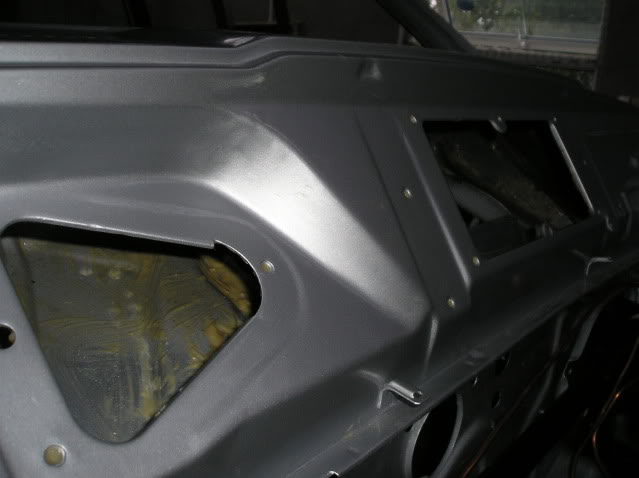
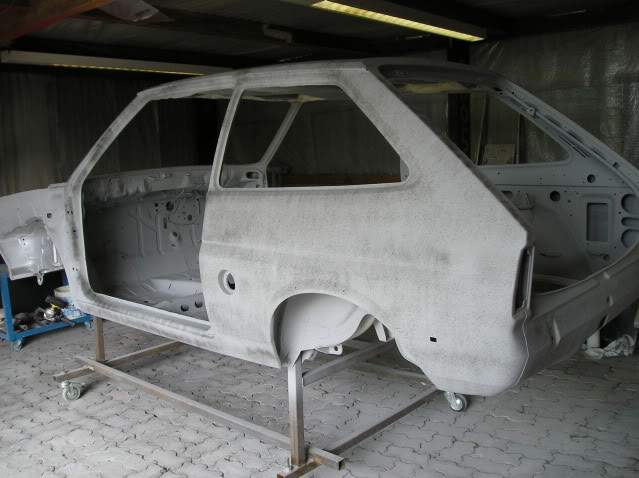
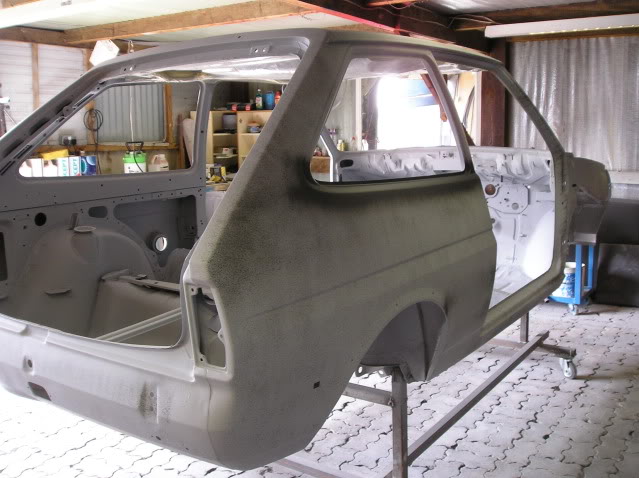
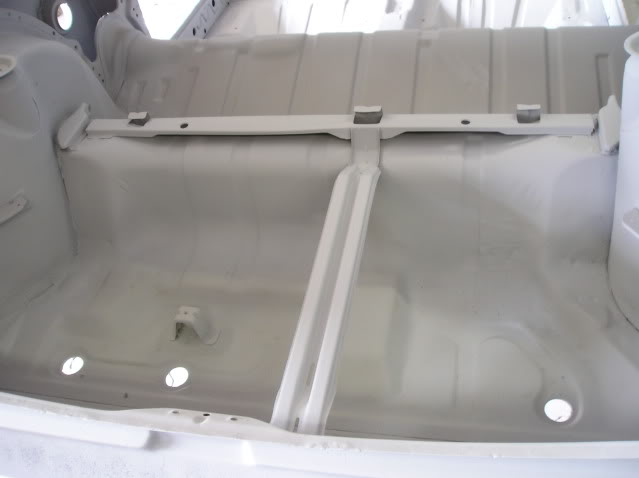
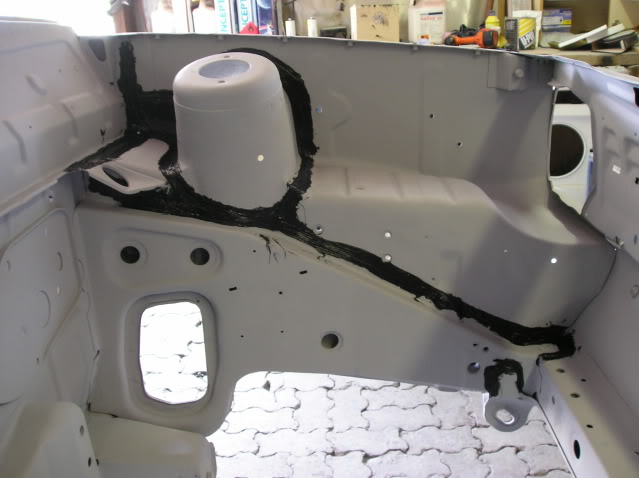
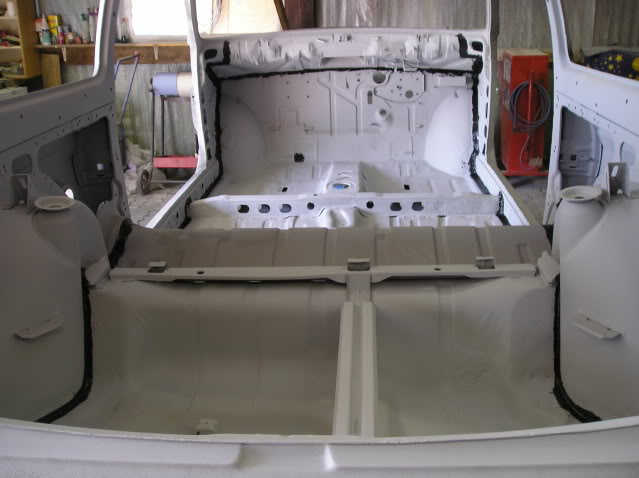
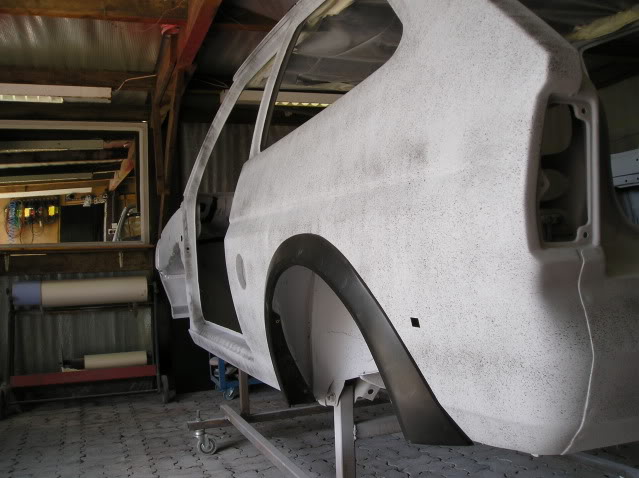
Car is now in 2pac primer, went up to see it and do some seam sealing before the colour goes on.A lighter colour of seam sealer might have been a good idea. Redrilled the arch holes and checked the fit of the rear kit ones side is mint the other needs a bit of adjustment to fit right.Starting to look like a car again.
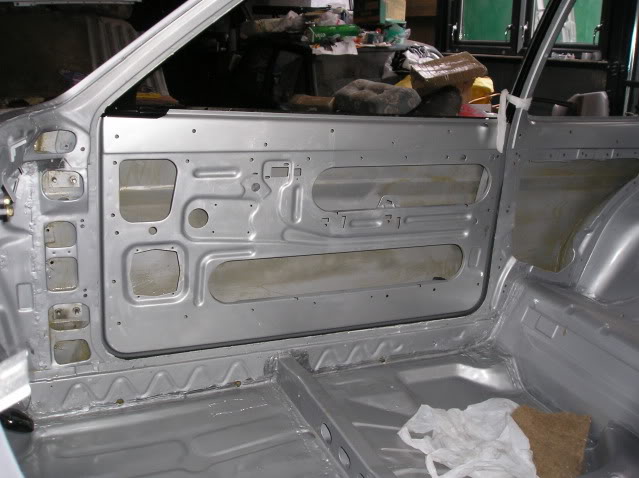
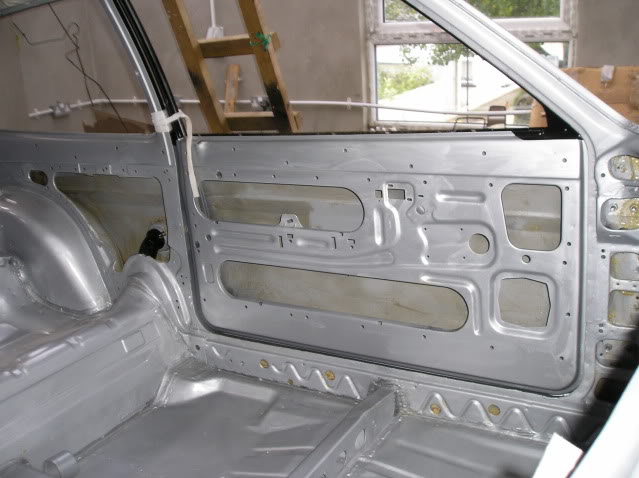
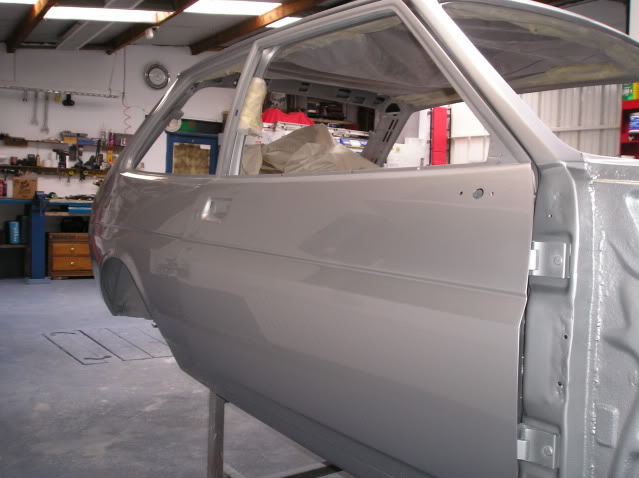
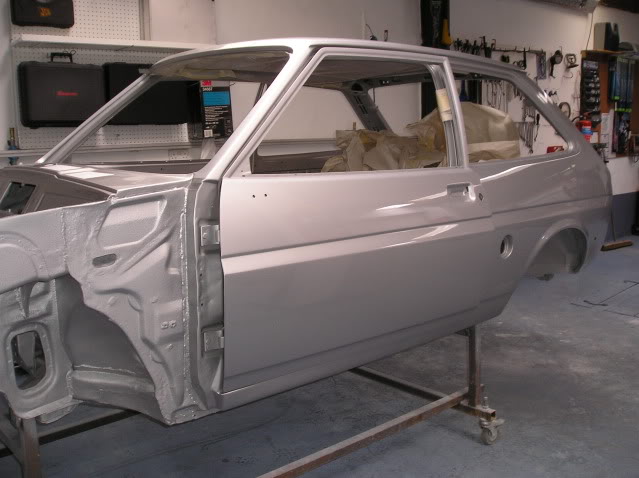
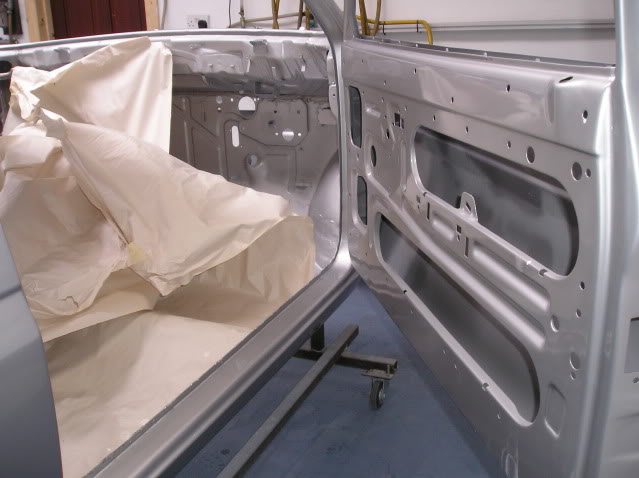
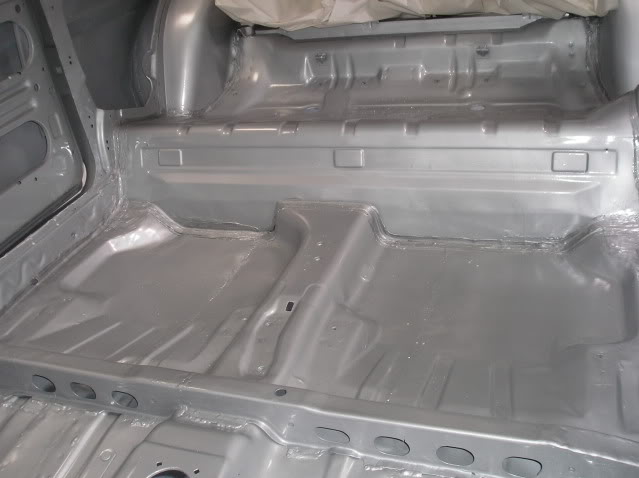
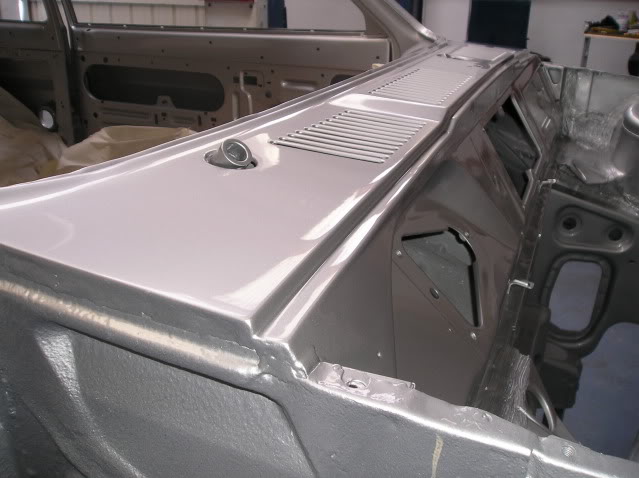
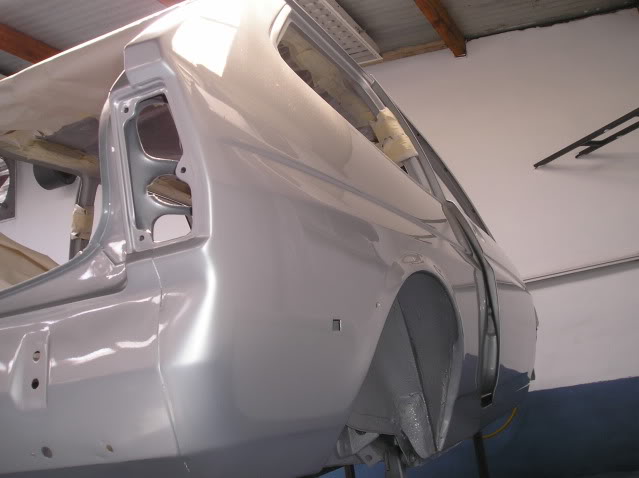
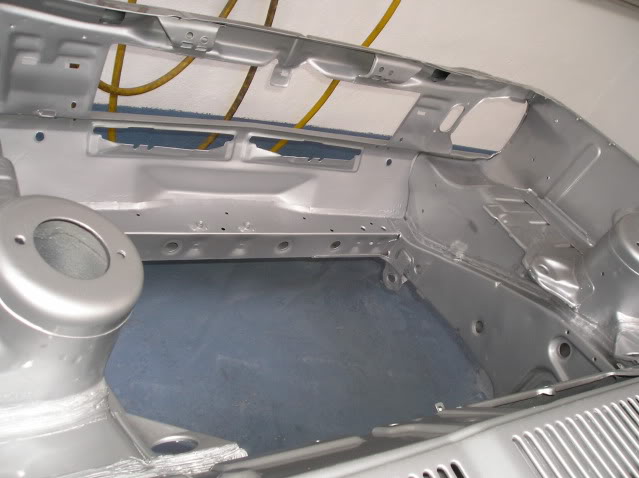
Painter had a a cancellation at no notice so Ual got a nice coat of strato silver much sooner than expected,Got the call yesterday evening so went up today for a quick look.The quality of finish is superb , there are a few minor flaws but that's to be expected . Bonnet , boot and wings wil be painted later when he has time but at least I will be able to start the build soon. Enjoy the pics

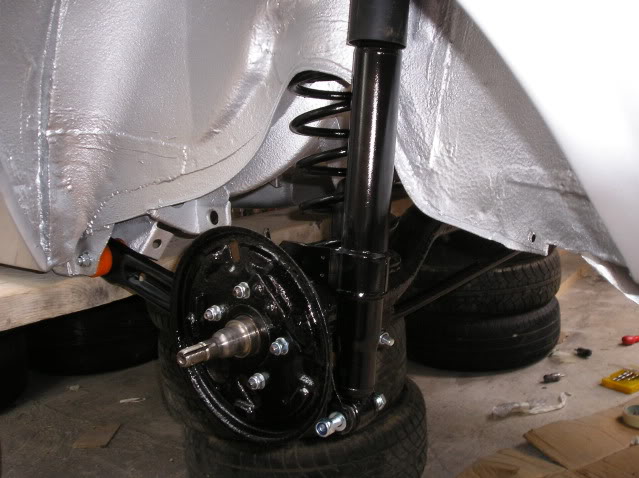
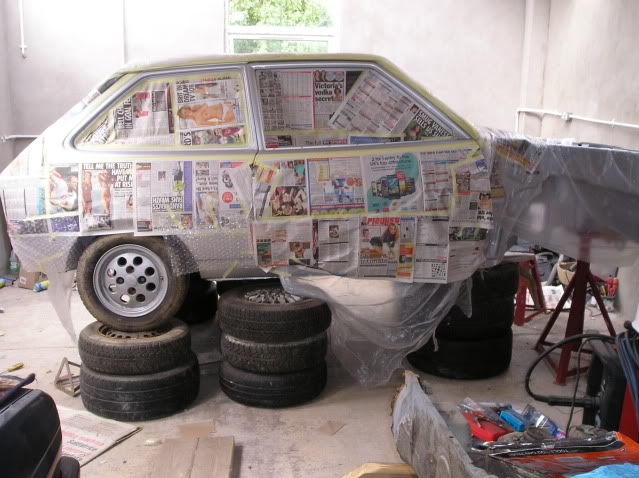
Got the axles fitted, the underside has had fresh coat of silver, and I've been painting bits to go on like tank etc. Tank has had at least 5 coats now as was painting silver bits for the handbrake beside it and got overspray on, then did more and got some runs , then one of the holes was too small so had to file it and paint again, just gave up in the end cant be bothered doing anymore to it. I have spend along time masking up for the black round the windows what a ballache you have to cover everywhere Its very hard to get the lines right too.2 dustsheets and 3 newspapers so far . Cant polish or waxoyl till this black is done.

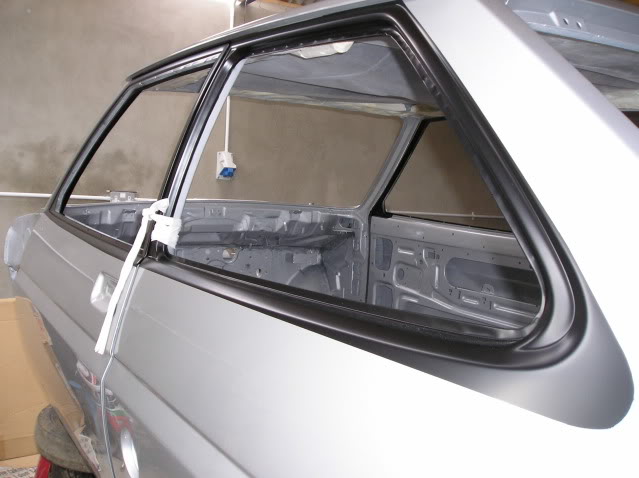
Satin black round the windows done
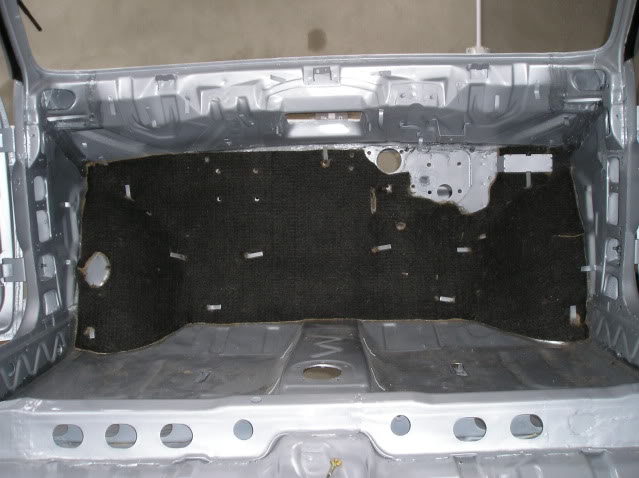
Got the bulkhead felt cut to size today , hard stuff to cut and reassembled the pedal box after painting the pedals .That was fun , I must have had it apart 5 times as each time if left something out or put it on the wrong way.Then the final spring pinged up and hit the roof and then the car then away. Don't think it scratched it though .Found it after about 1/2 an hour
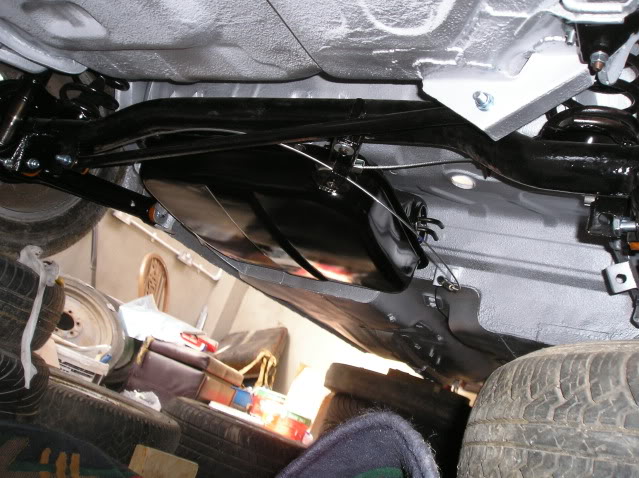
Pic of the tank fitted.
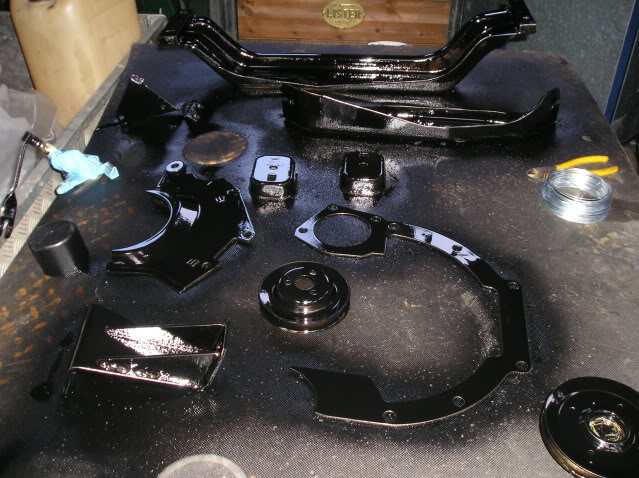
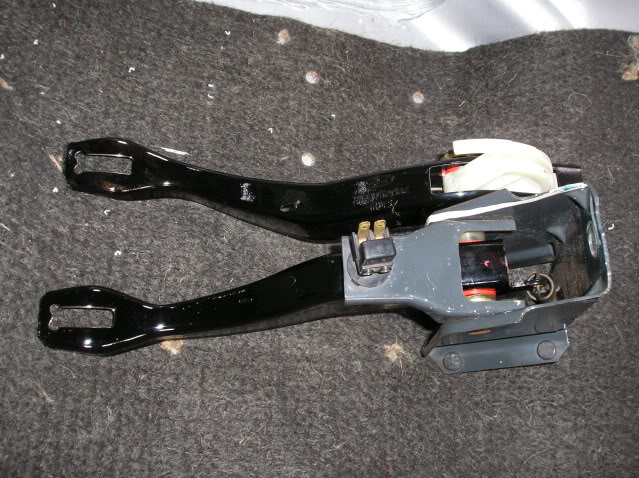
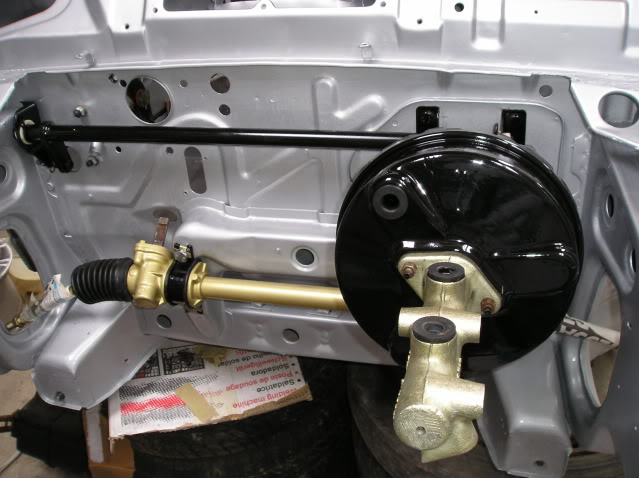
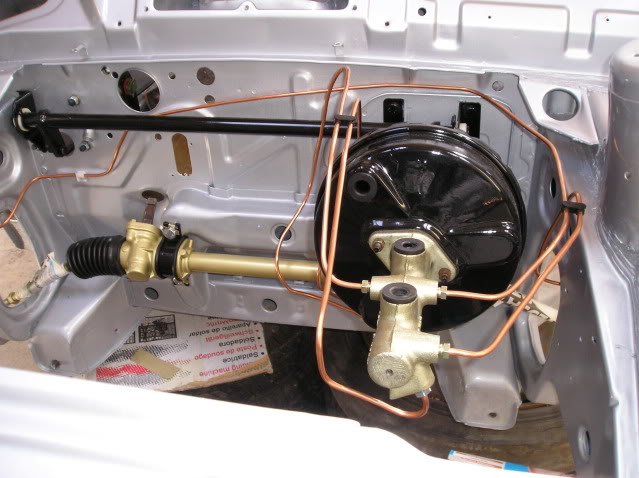
Pedal box, rack, servo, master cylinder and brake bar now cleaned up and fitted
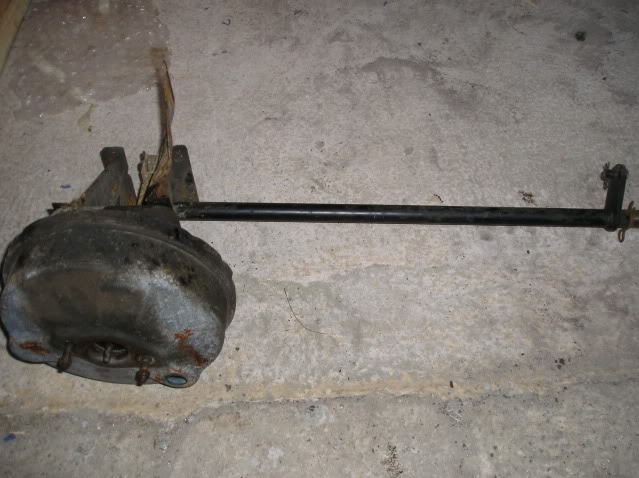
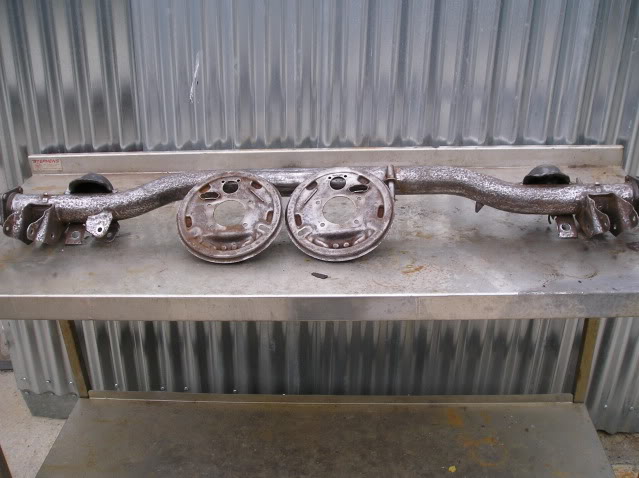
 I spent a good few hours on and off with an angle grinder with a flat wire wheel in it and a powerfile to smooth the worst pits a bit then sprayed it with smoothrite 3 coats .It was quite pitted at the ends but it turned out ok.
Looked like this but I did more to it after that as I still wasnt happy with it, wirewheel in the grinder is brilliant for this sort of work.Need the flat ones though to get a good bite the cups ones are crap.
Smoothrite can look great but it runs very easy not sure if brushing it on might have been better.
I spent a good few hours on and off with an angle grinder with a flat wire wheel in it and a powerfile to smooth the worst pits a bit then sprayed it with smoothrite 3 coats .It was quite pitted at the ends but it turned out ok.
Looked like this but I did more to it after that as I still wasnt happy with it, wirewheel in the grinder is brilliant for this sort of work.Need the flat ones though to get a good bite the cups ones are crap.
Smoothrite can look great but it runs very easy not sure if brushing it on might have been better.
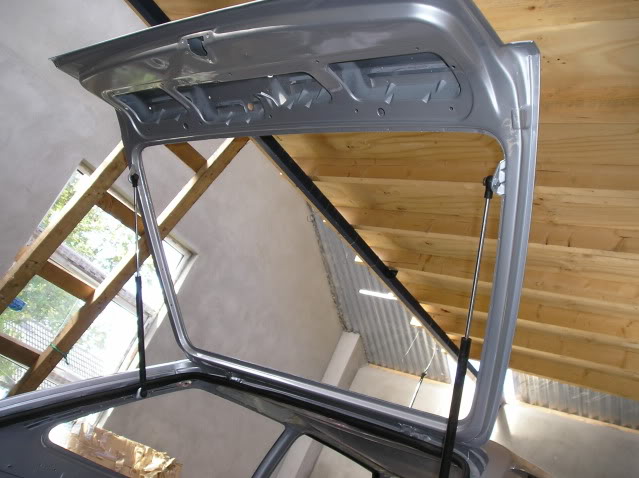
Got the bootlid fitted and made a good start on the brake pipes after a bit of practice with the flaring tool.Pipes are done down to the the bias valve, need this fitted next to do the others .The original routing of the pipes is an absolute nightmare to copy .Nothings tightened up yet just hand tight.
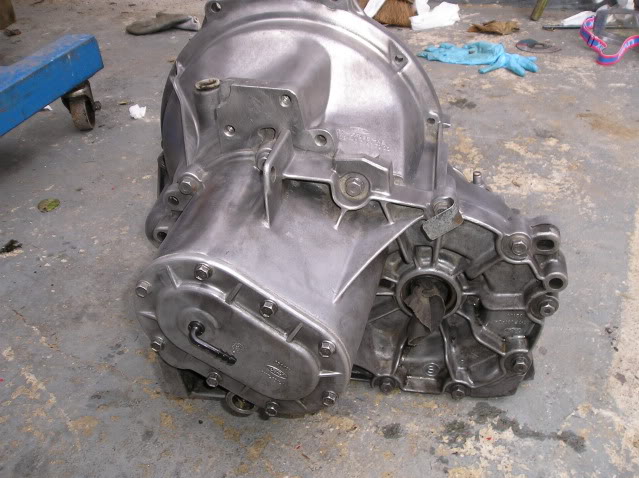
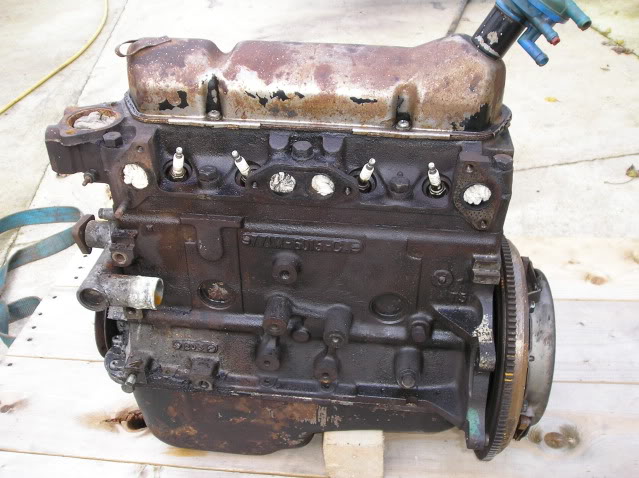
Fuel lines made up then onto the engine and box.

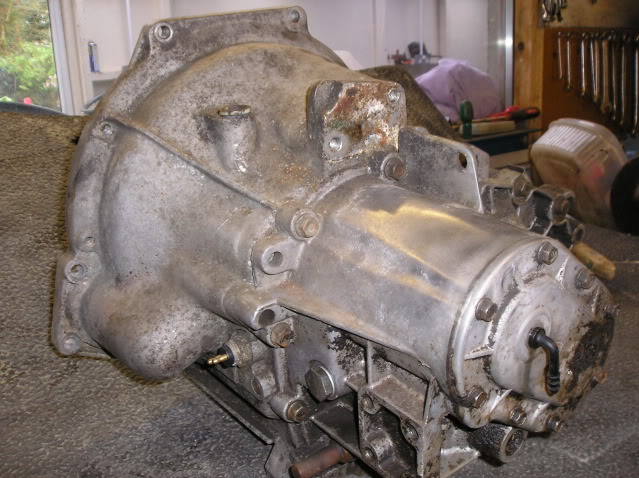
Got the engine and box separated and powerhosed down but it was still covered in underseal so wirewheeled it then I was covered in underseal. Gearbox still needs some work in corners when i get small detail wheels to reach but looks 100 times better.The engine is all cleaned down too and mostly painted except the bottom of the sump which I will do next week.An engine stand would have been handy but Id have had to remove the flywheel and didnt want to as I want to just fit this engine as a stopgap while the original is rebuilt over the winter.
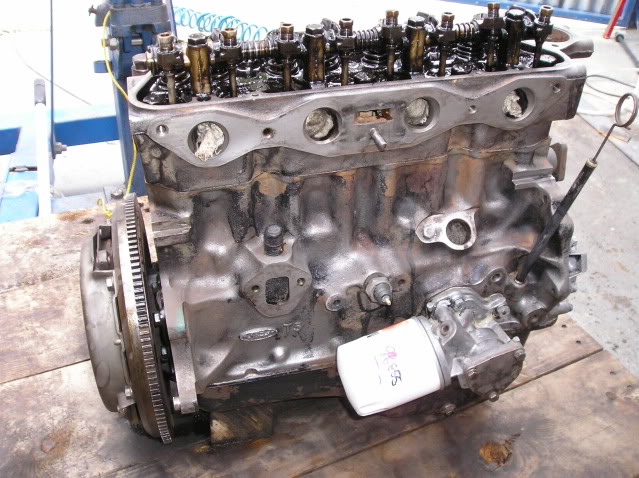
Only had today to get a bit done and not had much time as the SS needed welded for mot but got some waxoyl on today, one job id been putting off, did the scuttle , doors and sills, 1/4s , what a messy job I was covered in the stuff and the hand pump blocked easily too if you had to refill the tin. Just remembered the chassis legs need doing too and the closing panels at your feet underneath so will have to do them next time.Need to drill a couple of holes as I welded them shut . I got a few engine bits painted as well although Ive only painted one side yet as ive found If you hang up anything like a cradle the smoothrite runs everywhere. It's hard stuff to work with for sure.