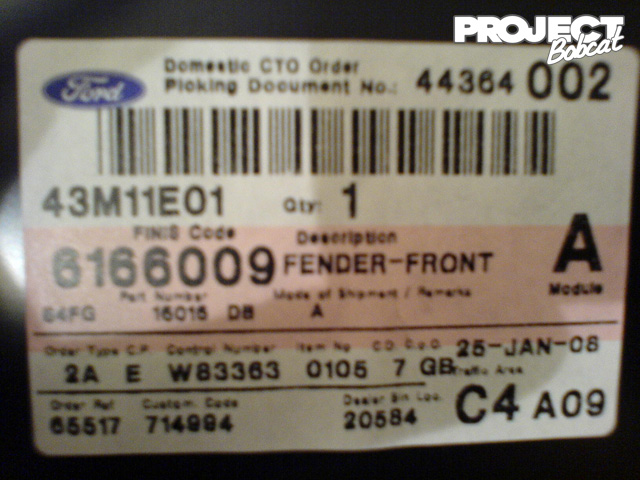
›
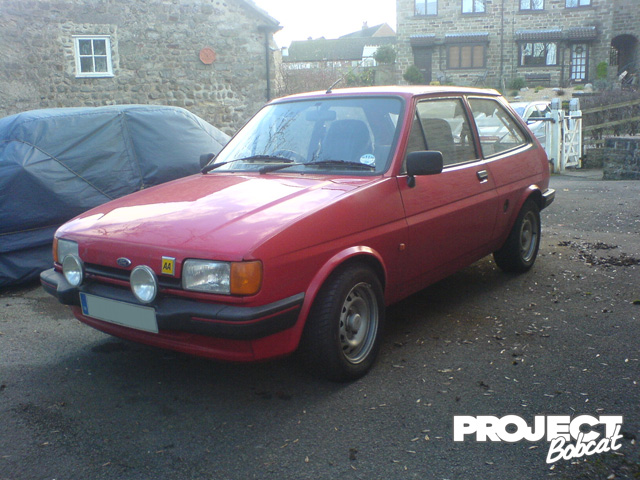
› 1988 Popular Plus 2.0 Silvertop Zetec Conversion
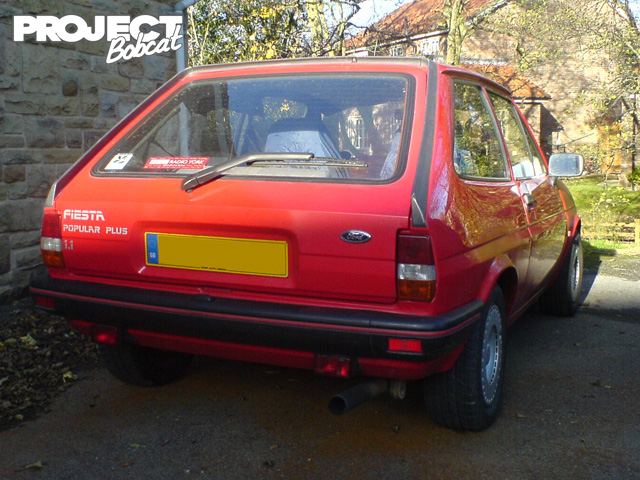
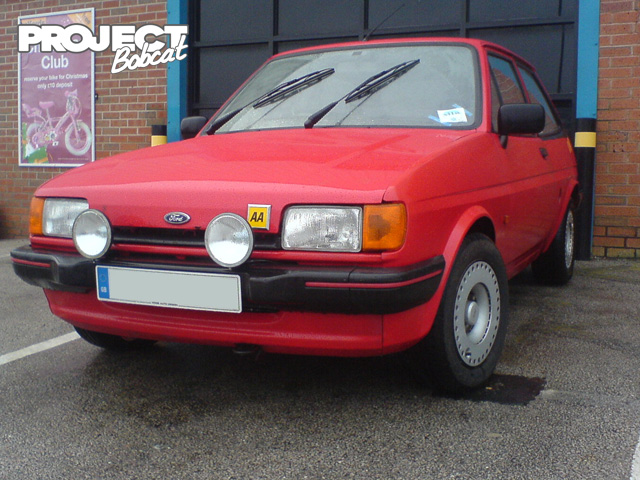
1988 Popular Plus 2.0 Silvertop Zetec Conversion

Author: James Ross | Photographer: James Ross
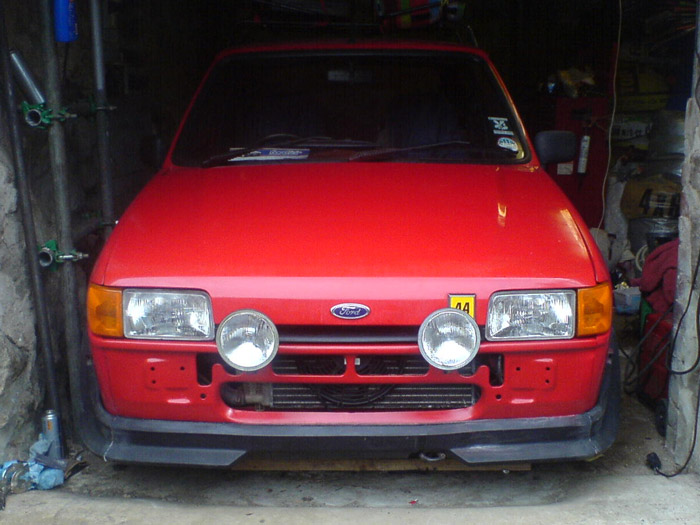
This project was initially upgraded from a basic 1.1 Popular Plus to full XR2 running gear, then on to run a 2 litre silvertop Zetec on standard Ford engine management.
The Zetec Conversion Continues
7th January 2007 • 01:47AM
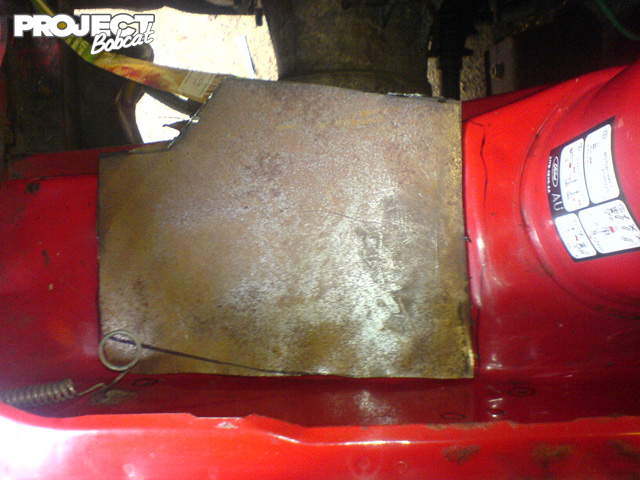
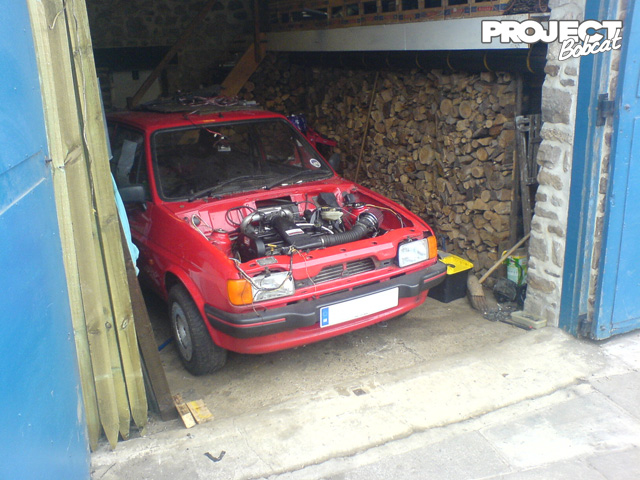
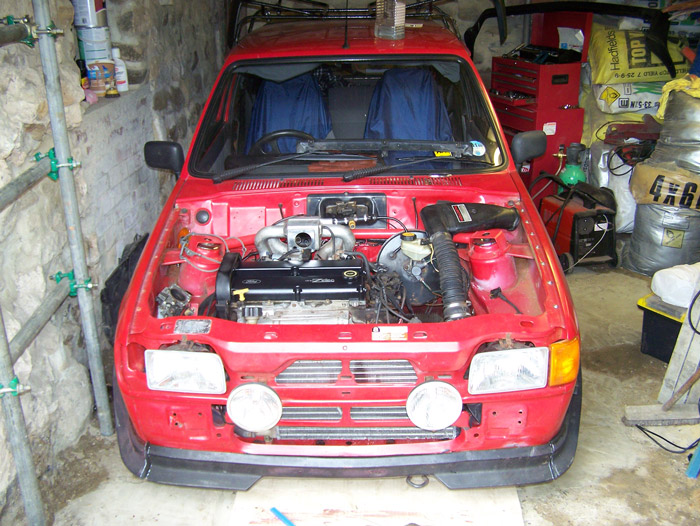
The engine is ready to go in now, im pretty excited about getting it up and running so I made an early start today.
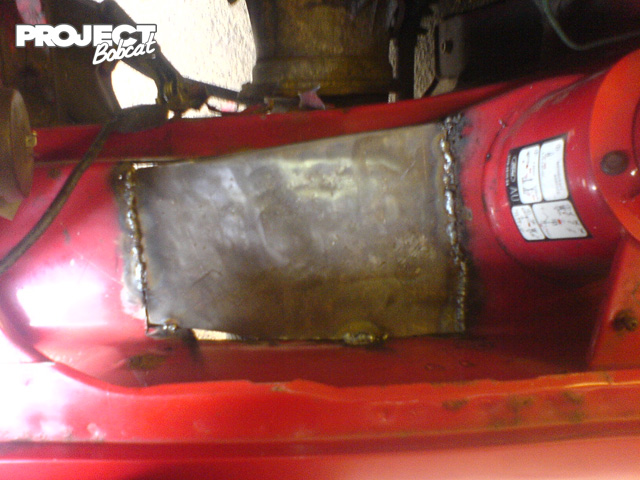
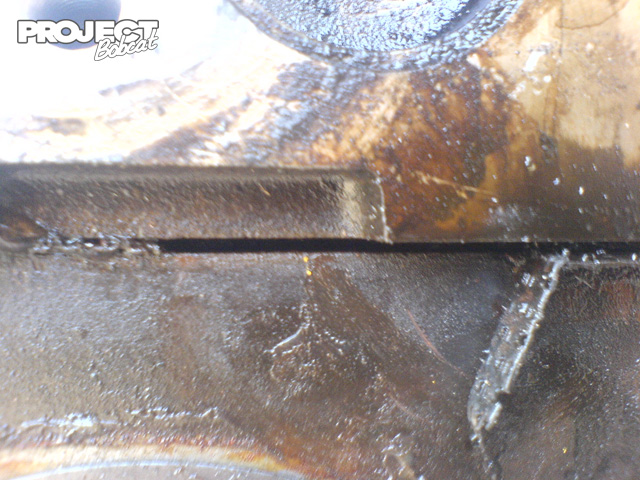
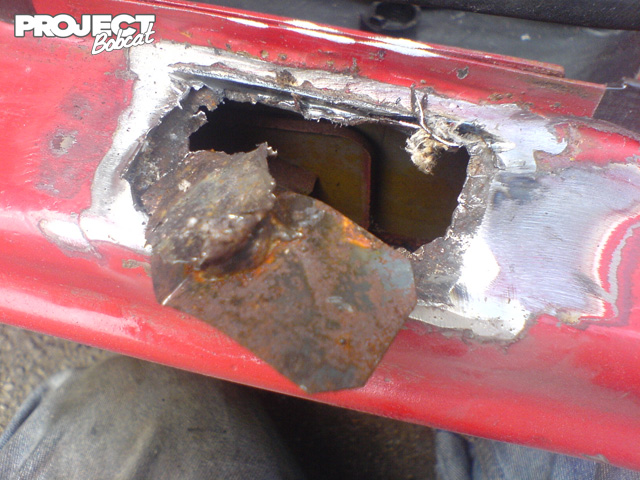
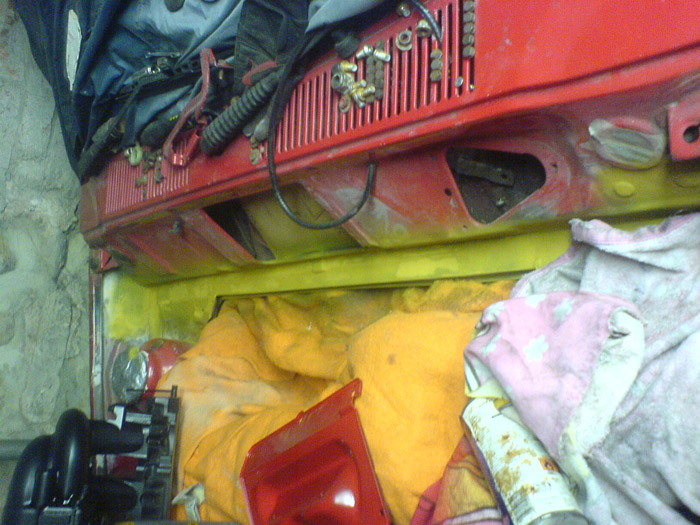
That giant hole in the inner wing needed some attention so I've welded in a plate
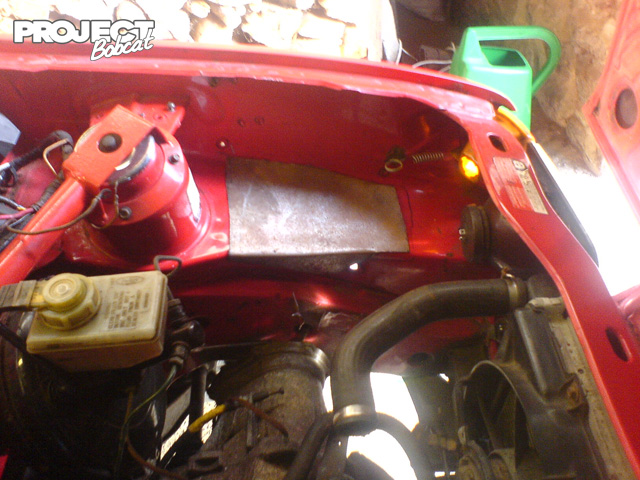
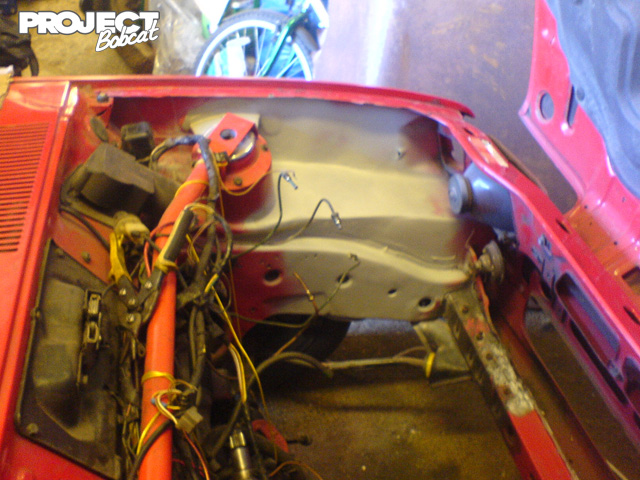
With that welded up I lifted the shell over the engine. Im going to use a Saxo VTS radiator with it so that I dont have to run a seperate header tank. I'd like this to be a minimal install if possible.
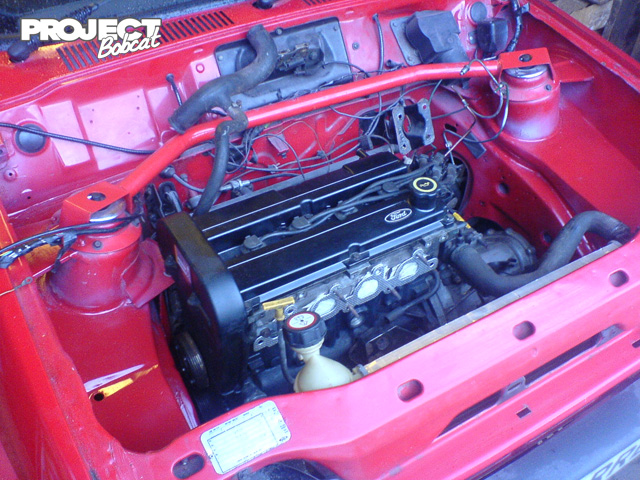
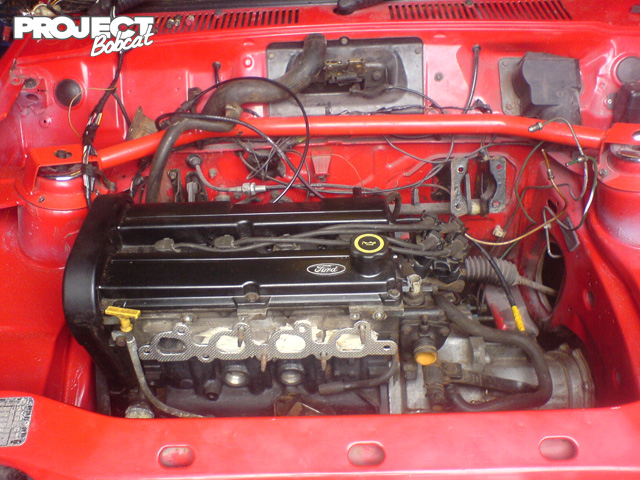
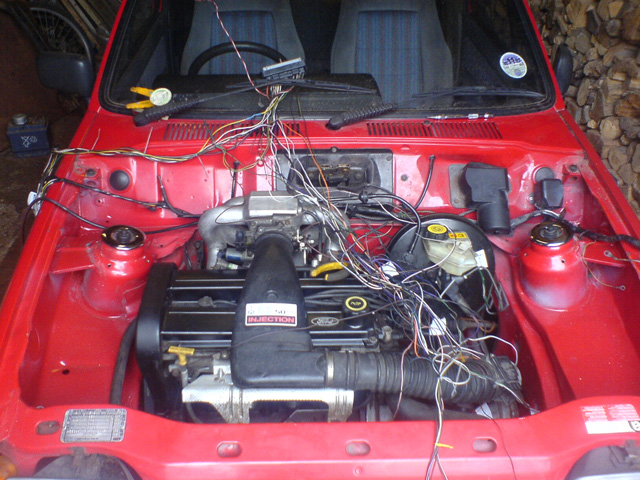
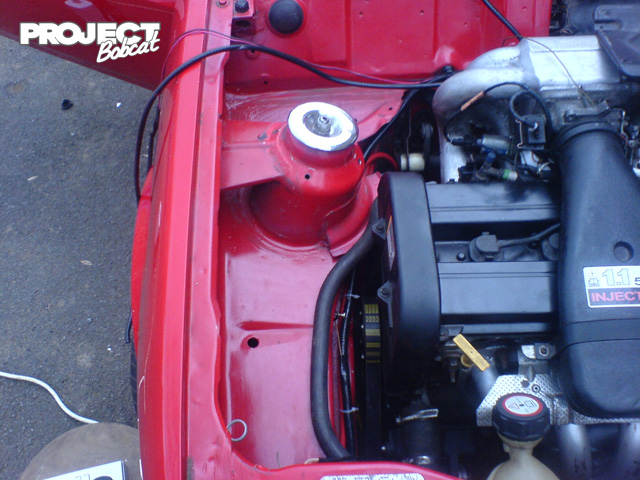
I fitted the Injector rail and Escort alloy inlet, this is a SO item which isnt the best for performance but it will be upgraded in time. I chose to grind the EFI lettering off it for a smoother look. The 2 litre injectors have been used.

It was time to go back to the scrapyard, this time to get a mondeo master cylinder and servo. I chose one from a mk1 mondeo with no ABS and no hydraulic clutch.
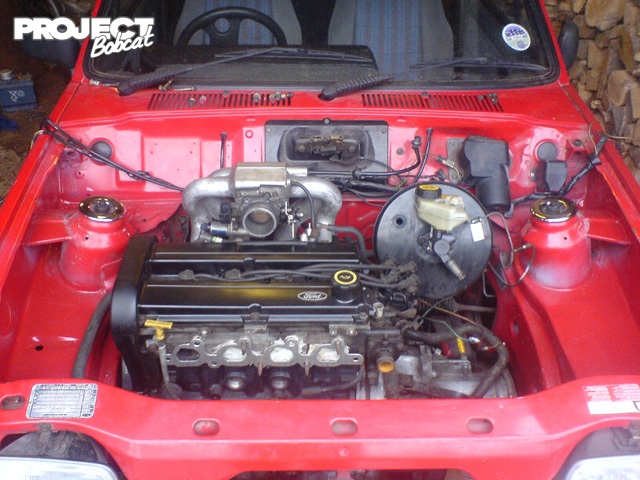
I then attached the Mondeo throttle body, I had to modify it and use part of the Escort linkage to get it to fit, with hindsight I would have just bought a Fiesta RS1800 item for a more factory finish.
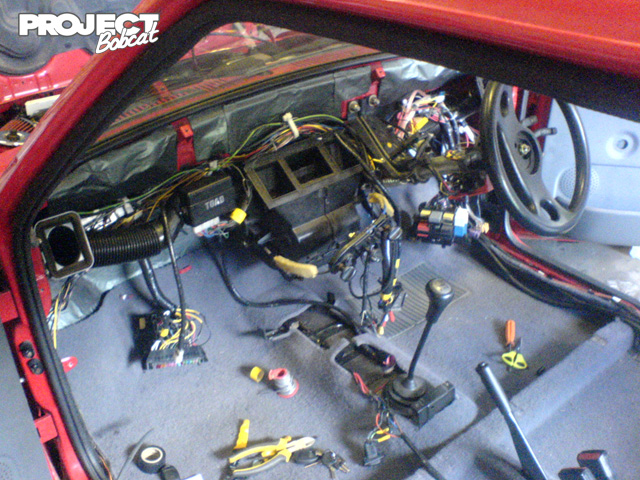
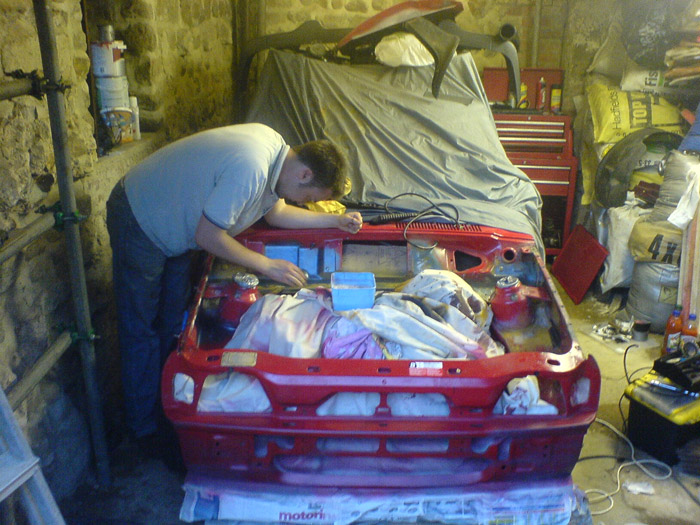
I thought I would have a crack at the wiring at this stage, I thinned out all the rubbish from the Mondeo loom to be left with the basics.
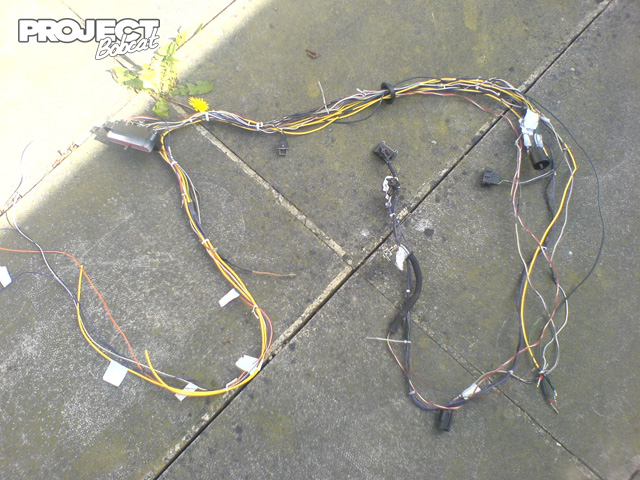
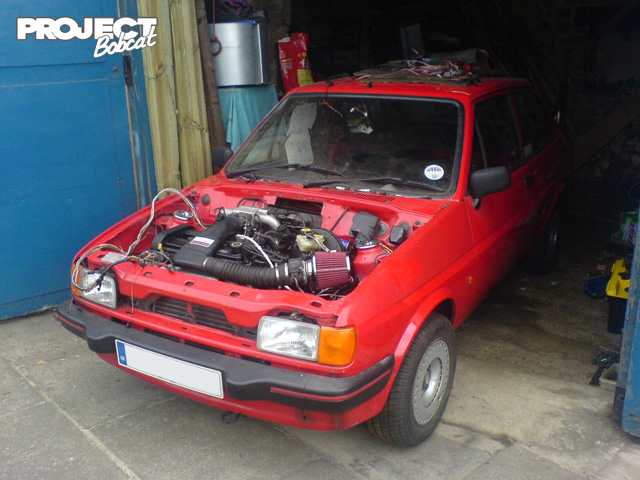

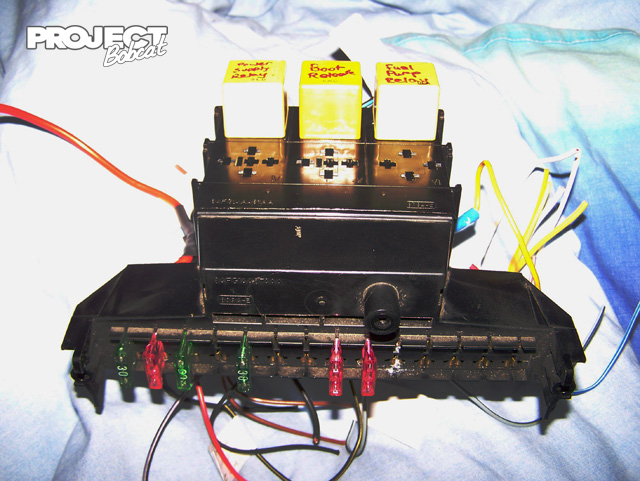
The car was now complete enough that it could be pushed outside into the daylight. I fitted a universal cone filter and continued with the wiring, splicing some wires into the fiesta loom. Where possible I tried to keep everything to do with the Zetec self contained and pinched the old fusebox from the original Popular loom to add as a second item.
With the car outside I could now feel the brake pedal was binding so I chopped a wedge out of the brake servo bracket to allow the arm to extend properly and the servo to sit level. Then went back to wiring. Another example of my short attention span i suppose.
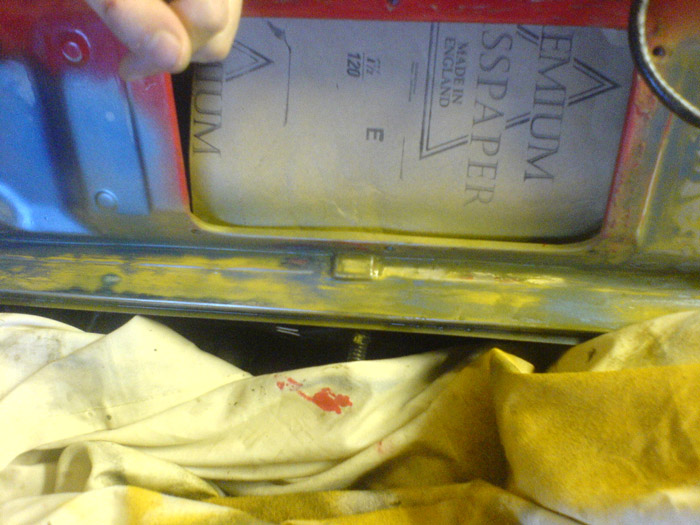
With the wiring done it was time to turn her over a few times in prep for starting. Unfortunately it didnt go to plan, coolant poured out of the thermostat housing as soon as I tried. I removed the thermostat housing and found that it wasnt the problem, the head gasket had gone so majorly that it had pushed out a chunk of the gasket right around the thermostat housing. There were some swear words! On removal of the head I found the head was actually cracked.
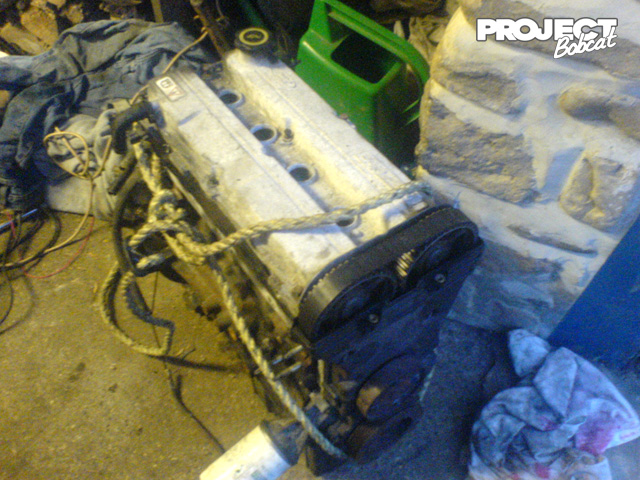
I didnt take many pictures of the next stages but in short the engine came out, the scrapyard sourced me a replacement, this time a series 2 silvertop from an automatic and I swapped things over. This one came from a low mileage car and was much cleaner internally despite a severely oxidised rocker cover.
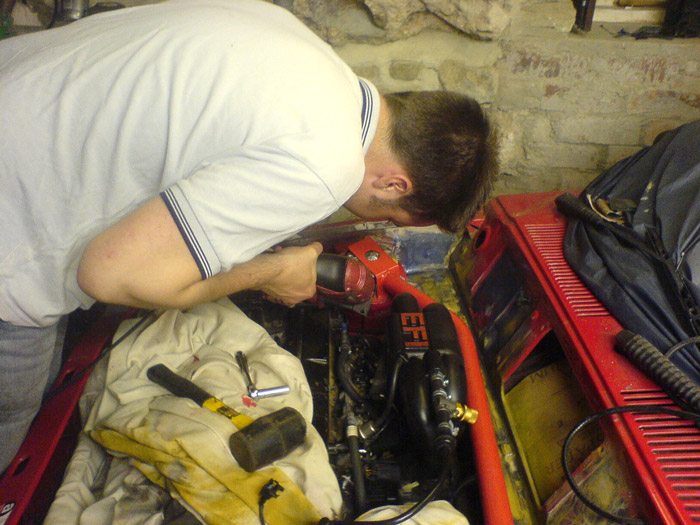
A bit later than anticipated I had the new engine in with all the parts swapped over from the knackered engine. The oil should have been a warning to me but nevermind.
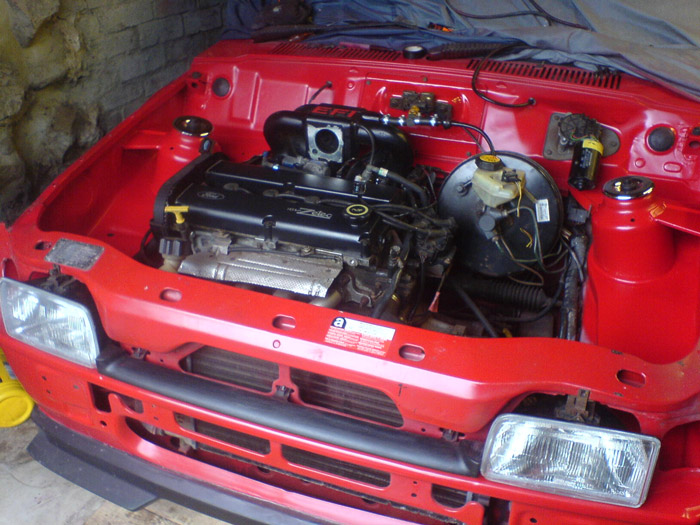
I connected up the wiring and turned it over a few times. Then put the plugs in for a few more turns. Then connected them up to the coil. It fired up first time and ran beautifully.
Tidying up the Zetec Conversion
30th April 2007 • 02:44AM
Now that the Zetec is running its time to fix all the little bits and bobs. I would say that whilst a Zetec conversion could be done in a weekend, it takes alot longer to make everything neat and factory looking.
I want to be able to keep an eye on how the Zetec's doing so i bought myself a pair of gauges to measure voltage and oil pressure. Ive mounted them in my festival centre console, to do this I chopped out the centre section where the coin slot lives. Then chopped a piece of textured plastic out of a granada glovebox and shaped it to fit, the used a hole saw to make some holes for the gauges. I mounted an analog clock from a Ka into the centre seeing as there was extra space. I'd always quite liked the look of them.

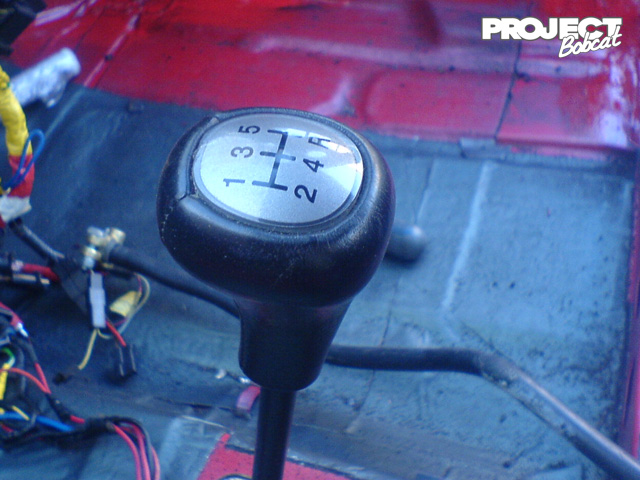
I've also recently picked up a free leather Sportka gearknob with grey insert, its similar in style to the early XR2 knobs so it should look fairly at home in the fiesta and was much nicer than the all rubber late spec one that I had previously. Its got a bit of wear but with some leather treatment it should do fine.
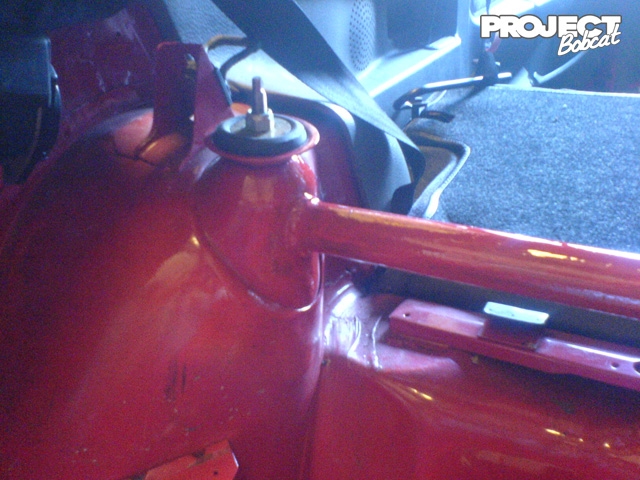
I also wanted to fit a rear strut brace but the bolt in ones look liek they do very little and transfer flex from one strut to the other instead of actually bracing. I bought a piece of steel tube and welded it in place before brushing on some Red Hammerite to protect it. Its going to be covered so a nice finish wasnt critical.
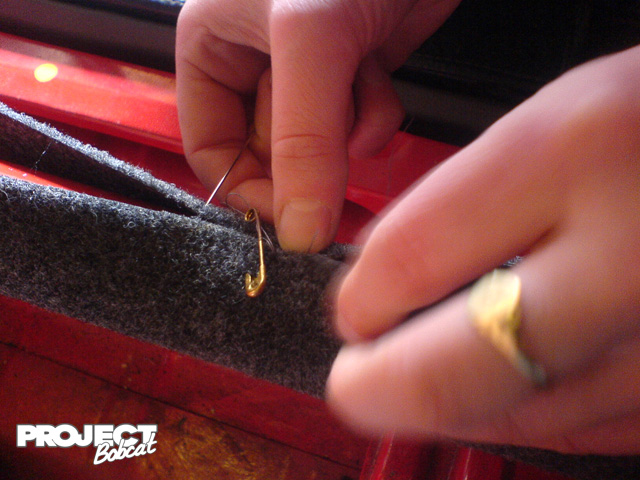
The next step was to cover it with acoustic carpet to match the rest of the boot interior. You may rememnebr that needlework isnt my strong point so i asked my friend to help again. First of all the carpet was pinned into place, then sewn together.

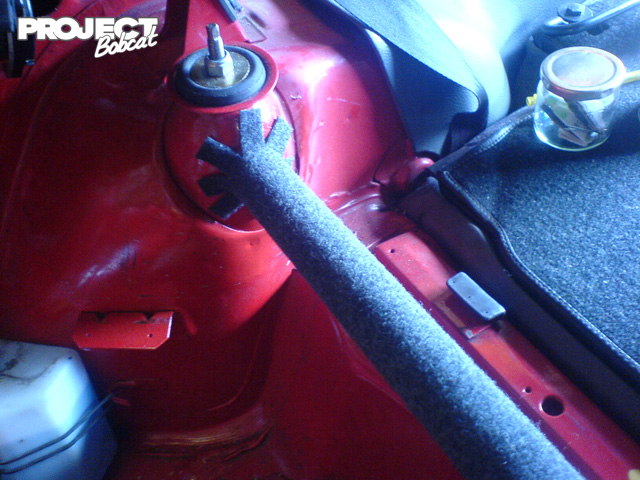
This resulted in one carpet covered brace.
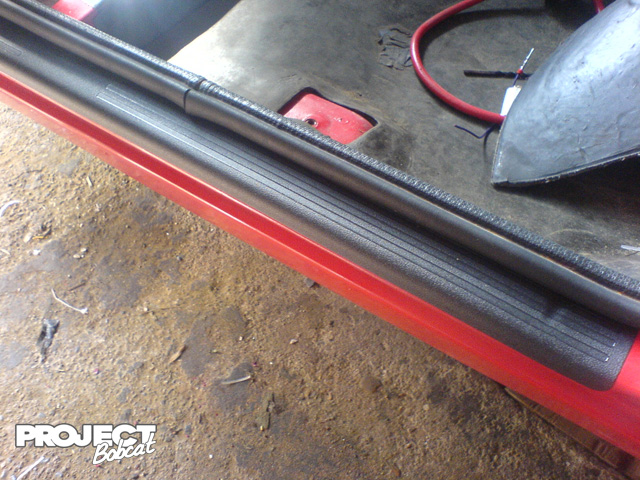
Next on my mods list was fitting some Orion sill protectors, they are available new from Ford and have a self adhesive backing, easy!
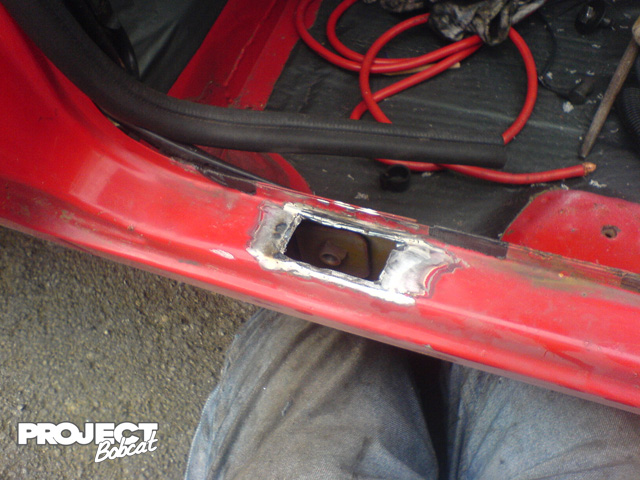
There was a suspicious patch in the passenger sill that looked like someone had fillered it so i decided to strip back the paint and find out. I discovered a piece of metal tacked in over a rusty old. I managed to remove it with my fingers. Nice repair!
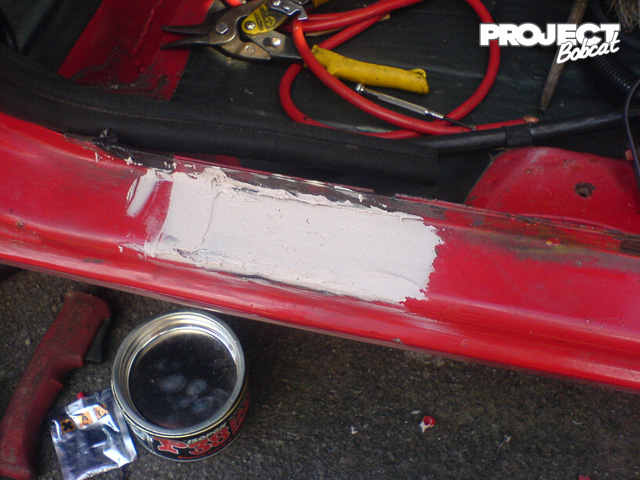
I cut out all the rust, welded in a plate and skimmed over some filler before sanding back and painting. Then finally I could fit the sill protector.
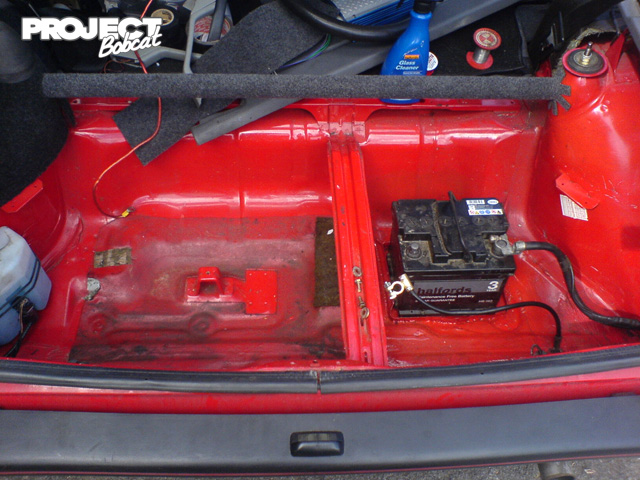
The battery has now been relocated to the boot, I welded in the Fiesta tray and used a BMW 3 series battery cable to route through to the engine bay. Unfortunately It wasnt long enough so i used a heavy duty jump lead for commercial vehicles to make up the remainder and joined the two with a rally junction box. I welded an earth point into the fiesta bootfloor and put together an earth cable using the original Mondeo item with a new connector on the battery end.
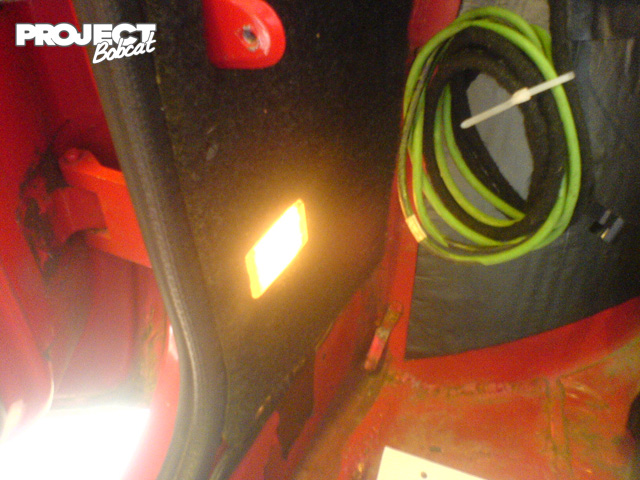
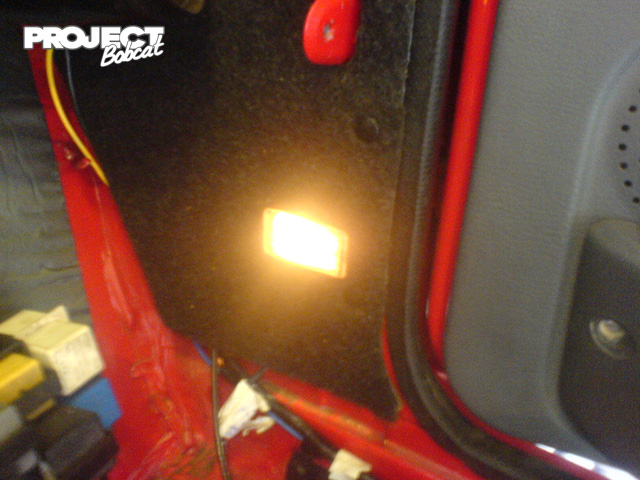
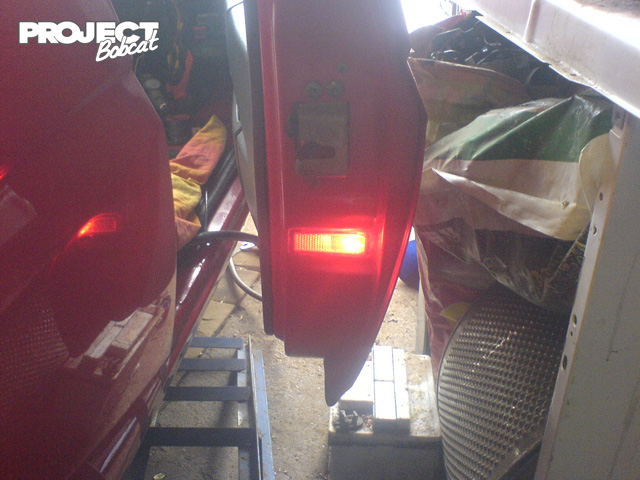
My new Zetec fusebox had a few relay slots empty so i added a few more courtesy lights, first of all i added footwell lights using spare boot lenses and bulbs from other Mk2 Fiestas. I trimmed the modified kick boards with some of the left over acoustic carpet. Then I added door open warning lights from a Granada Scorpio. These needed rectangular holes cutting in the doors which took a bit of doing to enure they were neat but I'm happy with the finished results.
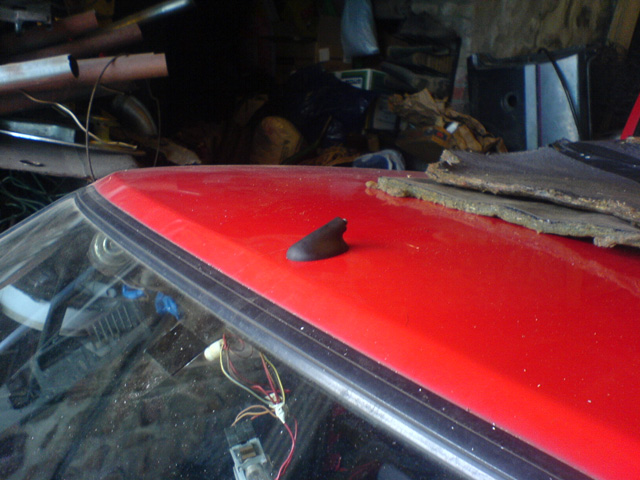
The eagle eyed amongst you might have noticed the green radio aerial cable from a modern Ford in the pic set above, this is because I've also fitted a modern roof aerial.
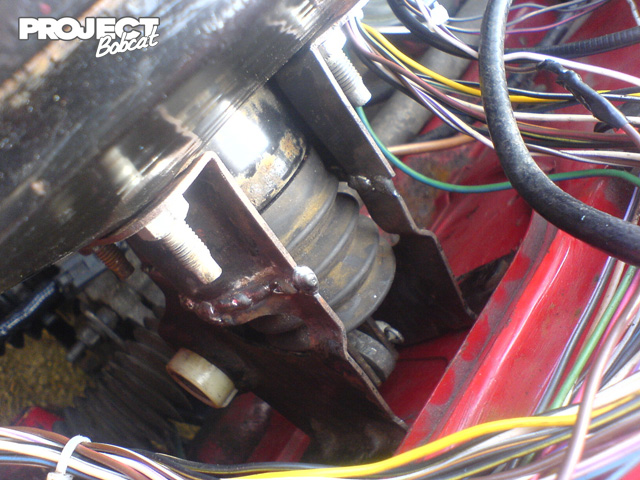
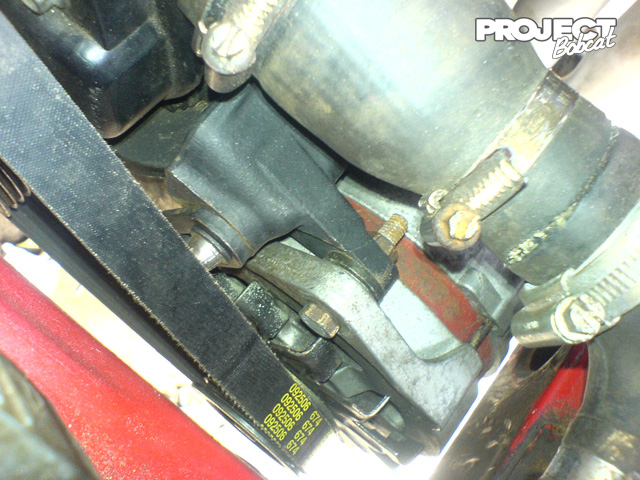
The final job for today was to properly tension the Cosworth alternator. It's still a bit close to the crossmember so I might replace it with one thats 5mm shorter.
Adding some Audio and a new splitter
26th May 2008 • 09:43AM
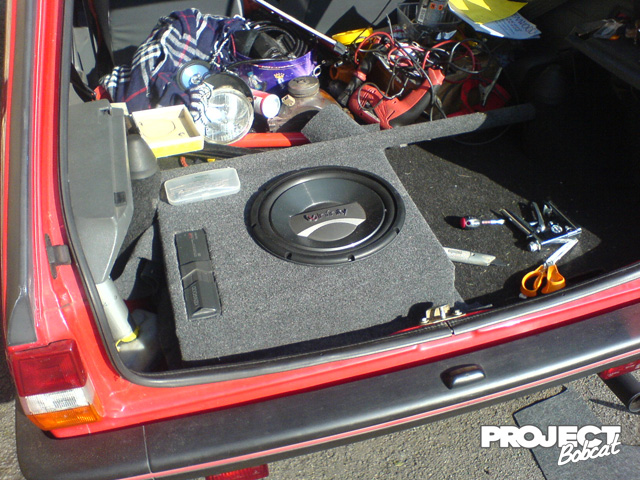
Its been a while since the last update, the Zetec conversion has been done for around 9 months now and I think its time I had a bit more audio in the car. I've got myself an Infinity Reference sub, a Kenwood amp and a 6 disc Kenwood changer to match my Kenwood D-Mask head-unit. Todays task was to remove a boot board and built a sub enclosure into the spare wheel well. I will use a can of tyre sealant instead.


I think the front end of the Fiesta needs a bit of a change so I've fitted a front splitter from the RS option kit. I own the full kit but I think it looks a bit naff so I'm just using this piece.

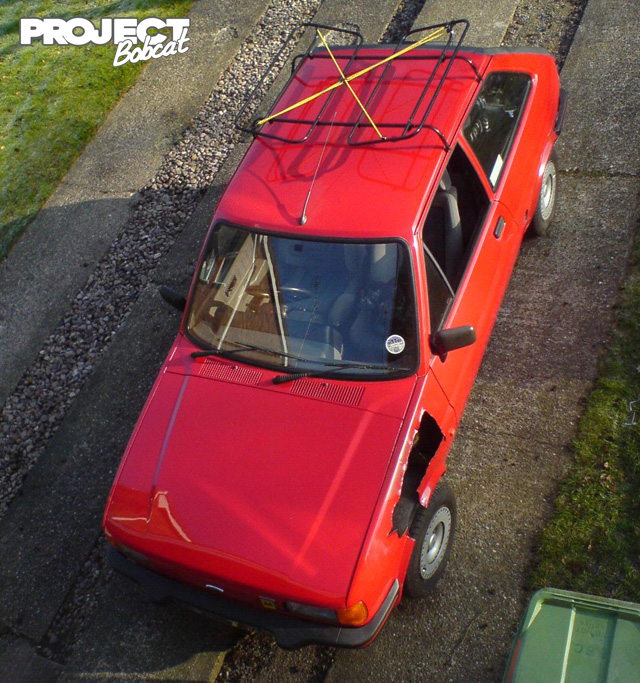
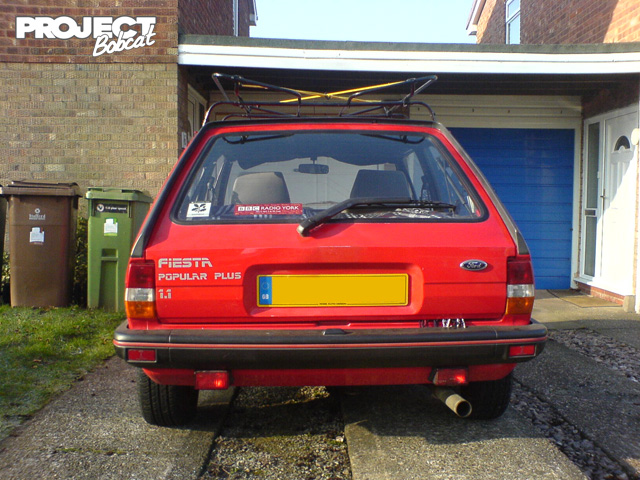
I also bought a roof rack, stripped it down and repainted it black. It impacts on fuel economy so its probably just going to be a show accessory.
A change of home
5th May 2009 • 04:30PM
I've been busy with a house move recently and until I find a new home for them all, some of my cars are living outdoors on a relatives drive. The Popular Plus is sharing the space with a MK2 XR2 and a ST24.

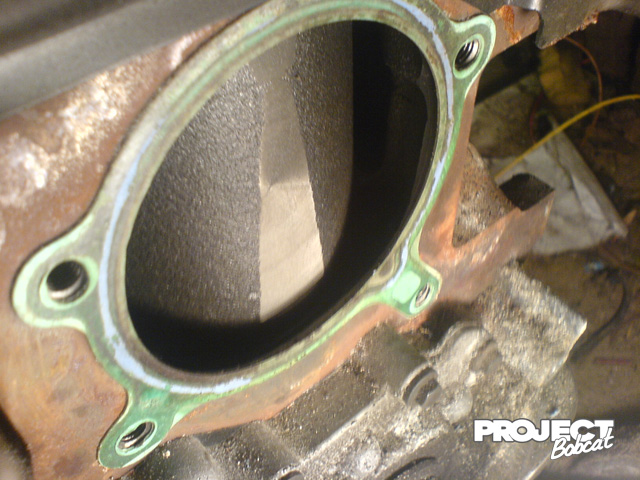
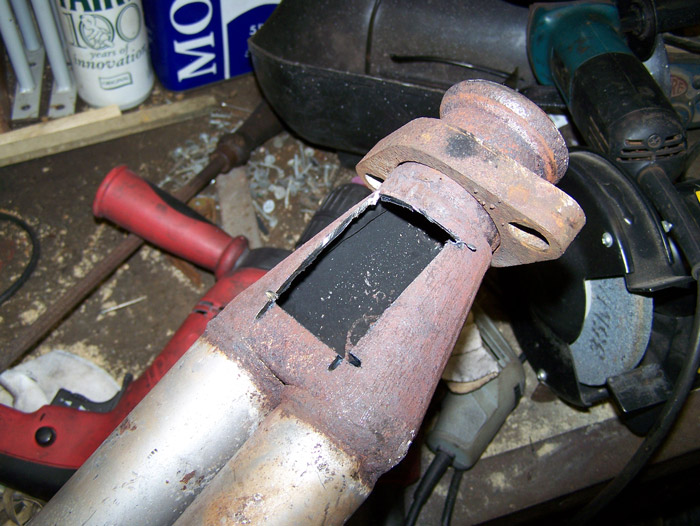
The lambda sensor has been playing up a little lately and whilst trying to change it out, I managed to damage the threads in the exhaust, so out came the jack to give me enough clearance to get the manifold off.
Once it was removed I could easily cut out the old boss with a grinder
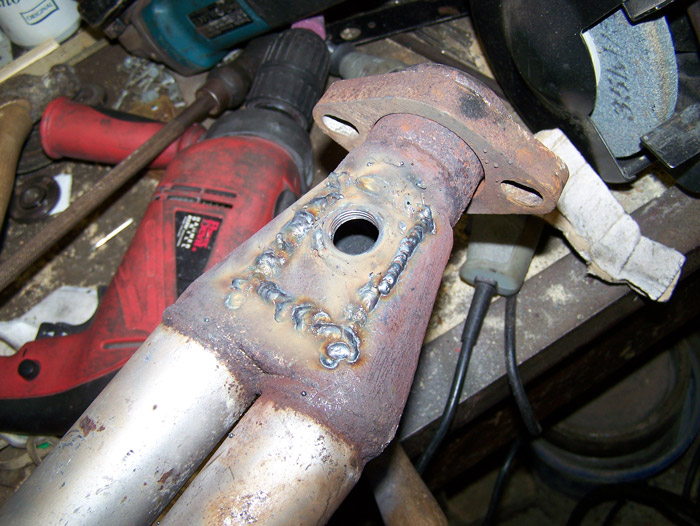
And then weld in one cut from a spare old manifold that I had amongst my spares.
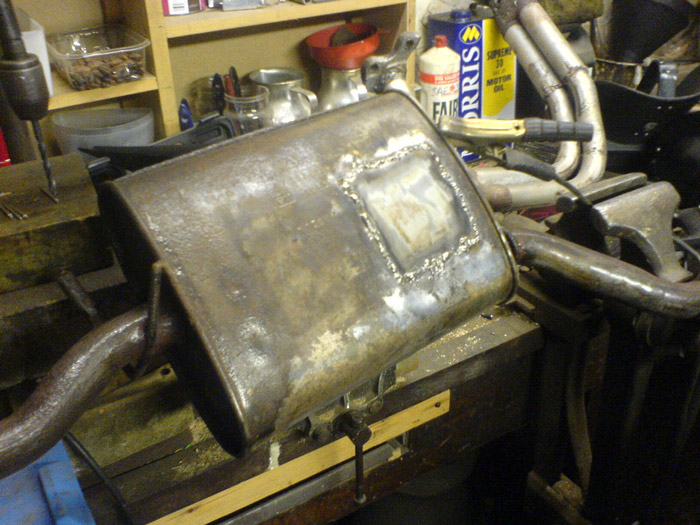
Whilst I had the exhaust seperated I took the opportunity to cross off another small job, I'd noticed that the backbox was looking a bit crusty so I got the knotted wire brush wheel and gave it a once over, sure enough, a few rust holes appeared so I cut out a section and replaced it with some fresh steel.
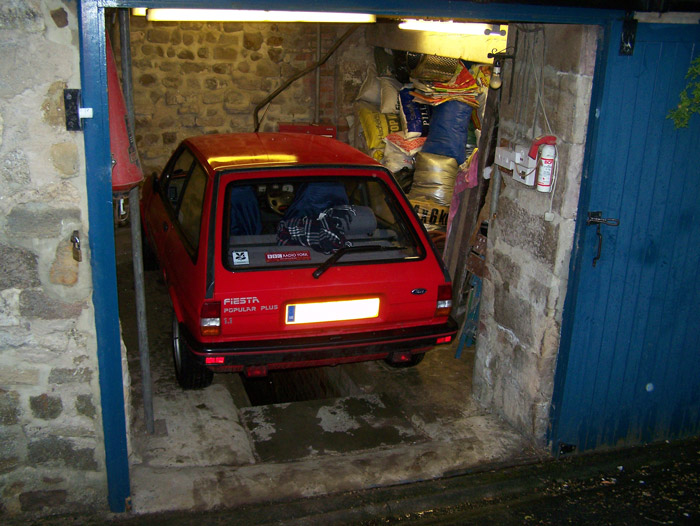
With these repairs complete I was able to move it to it's new (albeit temporary) home which comes with its own inspection pit
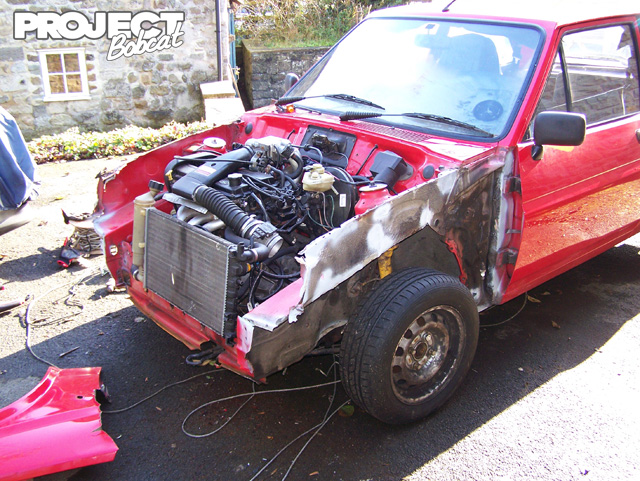
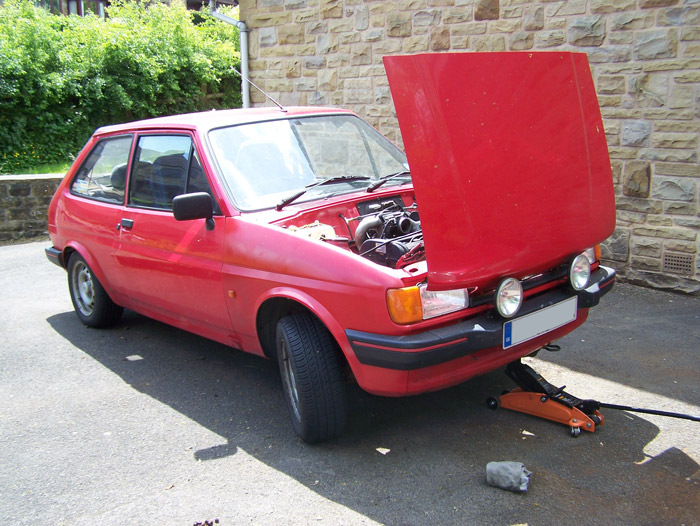
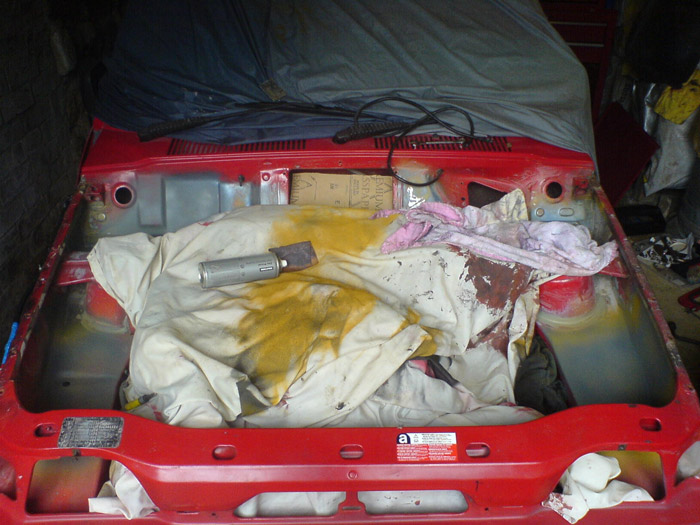
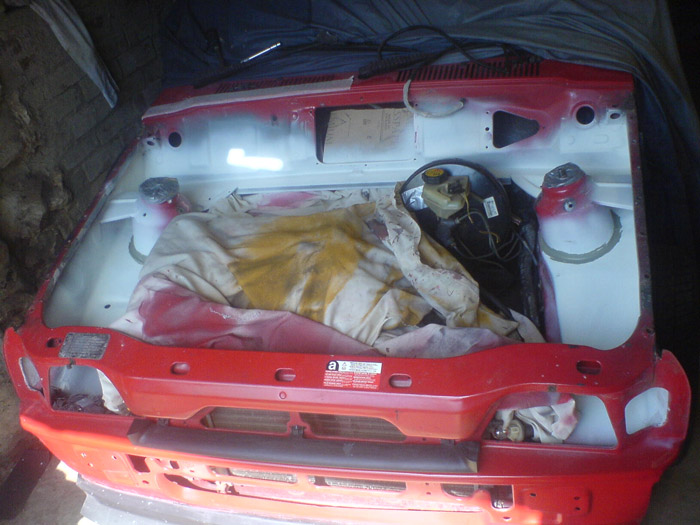
Once I'd organised the space a little, I removed the bonnet ready to have a look at tidying up the paintwork that had lasted with a flat finish since the wings were replaced. I also wanted to give the engine bay a bit more attention so a few other pieces were removed to make some room
Engine bay smoothing
16th July 2009 • 01:51AM
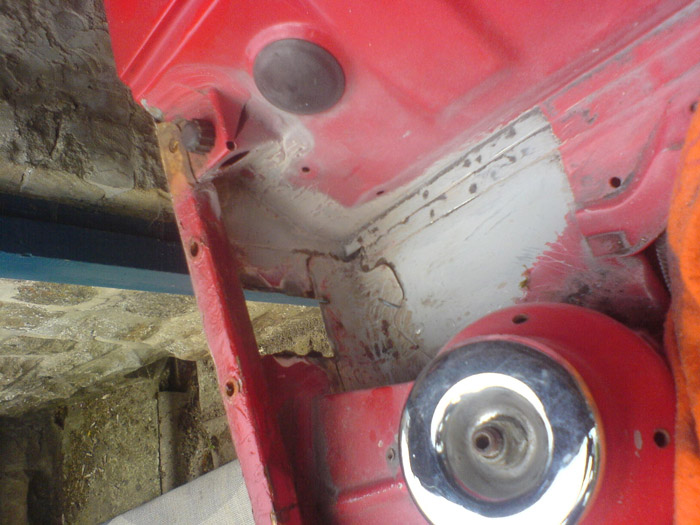
I'm showing the car at Ford Fair this year so I'd like to improve on a few things, I really like engine bay's that dont have a huge amount of clutter so I thought it would be nice to try and remove some things and smooth out some of the inner wing unnessecary lumps and bumps.
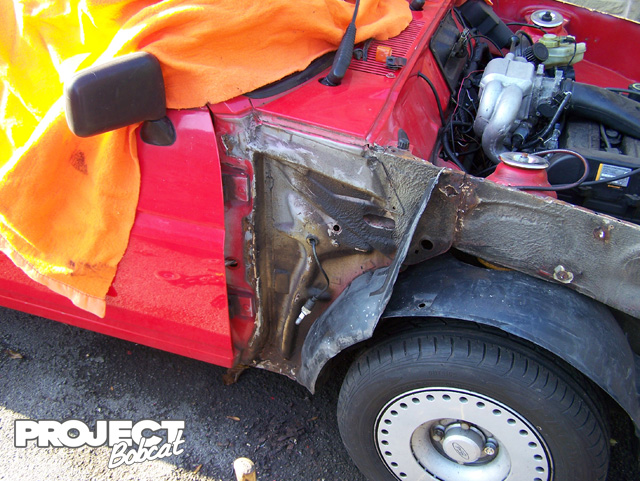
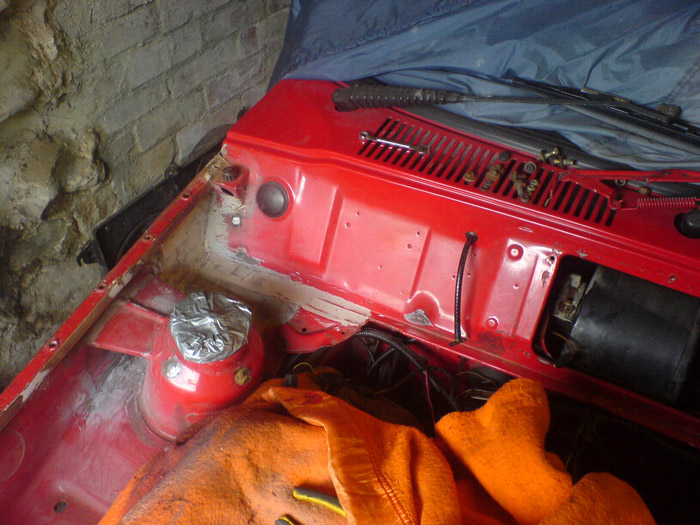
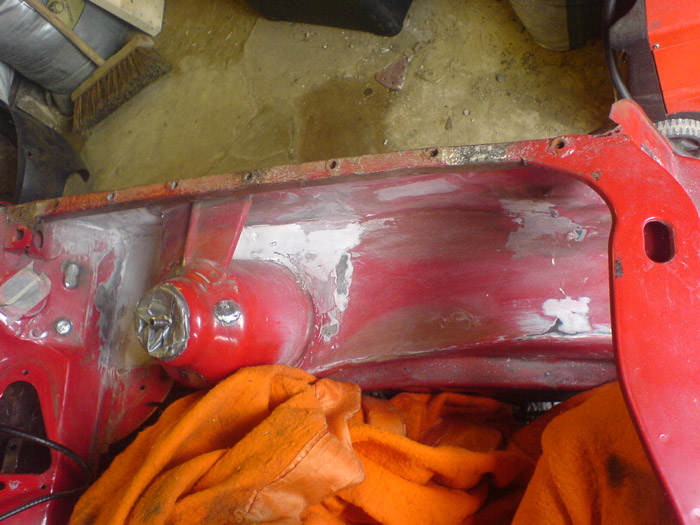
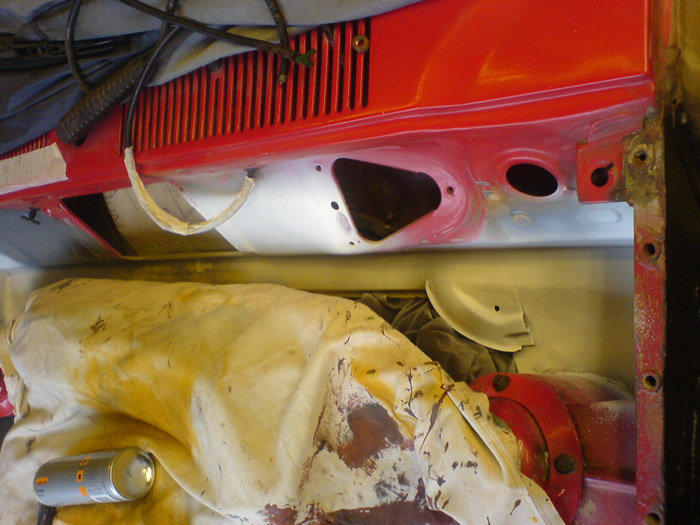
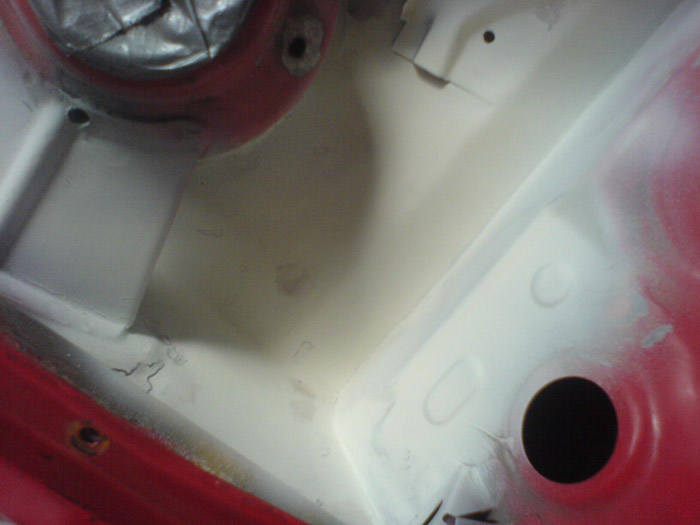
I started off by tackling the drivers side inner wing where it meets the bulkhead, from the factory that car had way too much sealant in that area so i removed it with a mixture of thinners and scrapers. I found that the inner wing was looking a bit rough, no holes but if left it would have developed into one, so I carefully ground out the old metal.
Once the new metal was welded in, I started using filler to smooth out some of the engine bays ridges, it was quite fiddly around the strut tops, you need small hands to get the sanding block in some of the areas.
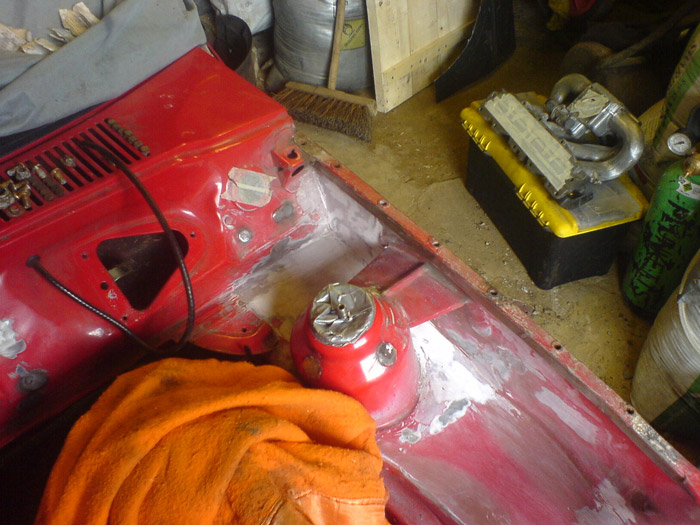
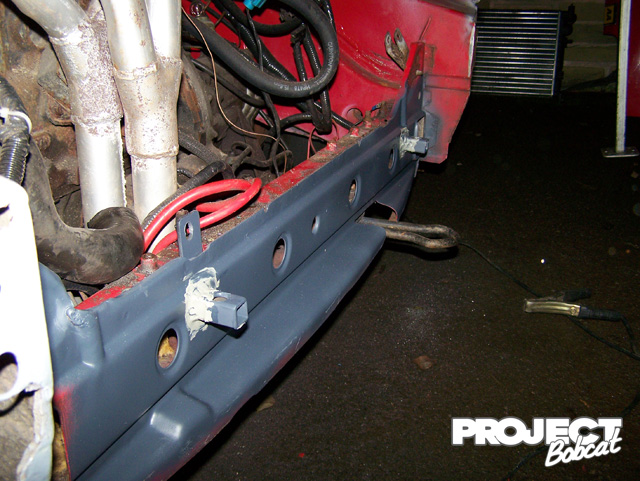
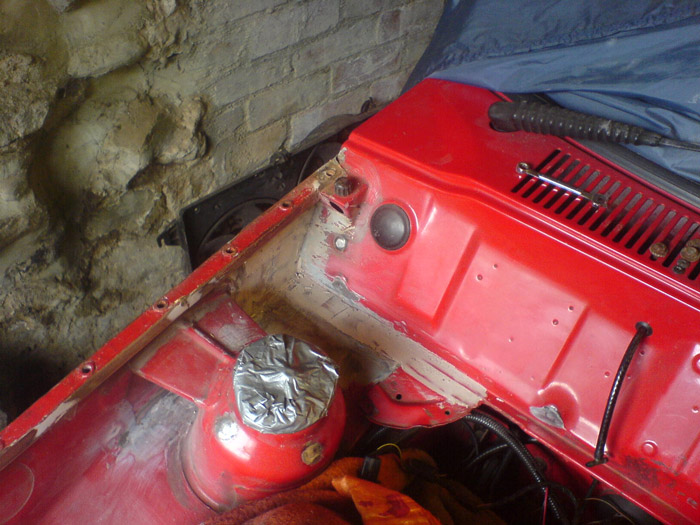
I welded up any unnessecary holes, here you can see I've removed the coil bracket holes, I run a coil pack on the Zetec so these are no longer needed

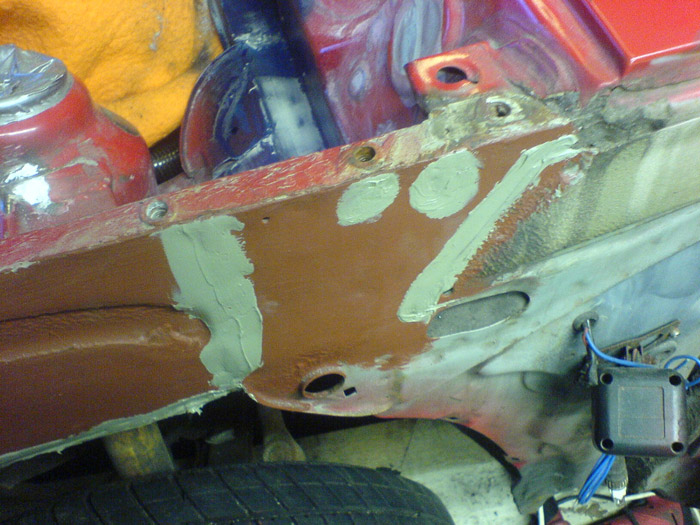
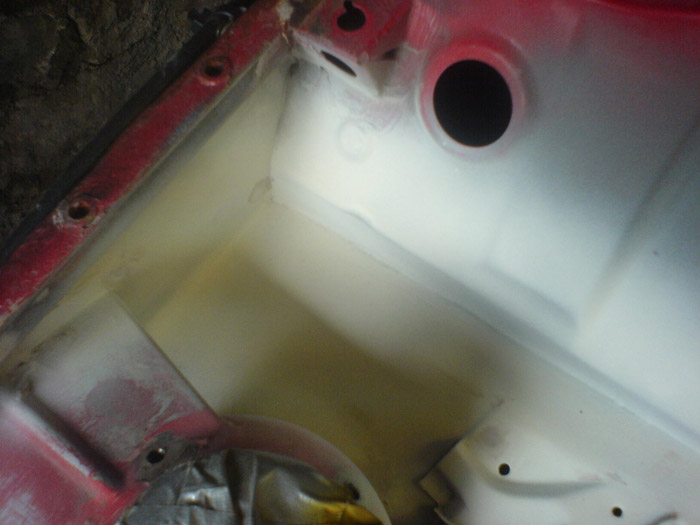
The battery tray was further smoothed out with the help of a some red-oxide primer to highlight the imperfections
Ive also removed the holes for the clips that hold the loom, I'm going to reroute that out of sight.
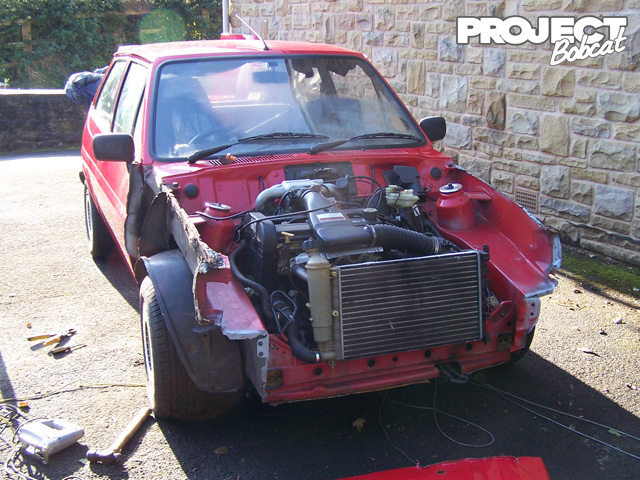
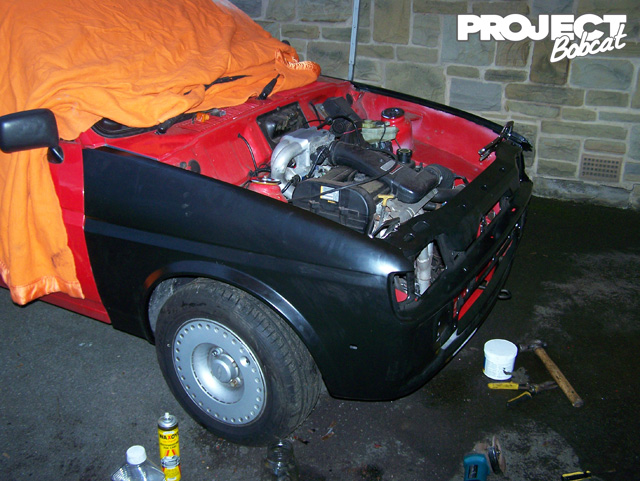
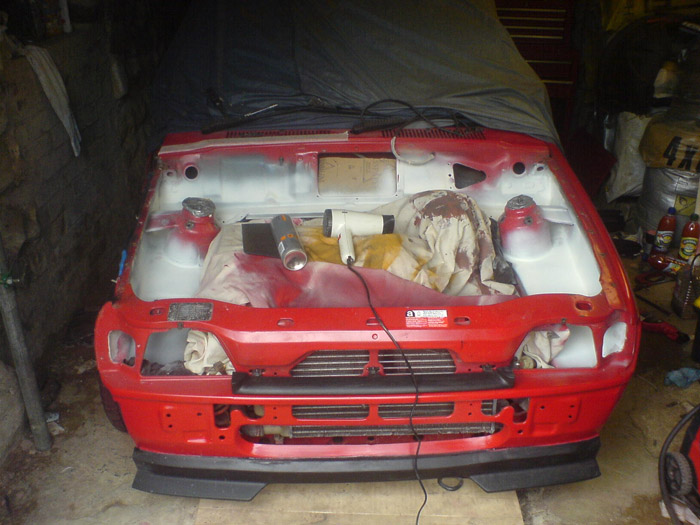
In between filling I attached the RS front spoiler after cutting it into three sections, I want the wings to be removable without having to seperate the spoiler every time so I had to attack it with a saw. The centre section has been attached using tigerseal, it had been stored outdoors before I bought it and was bent out of shape, the tigerseal is a similar consistency of rubber and will help to reshape the damage.

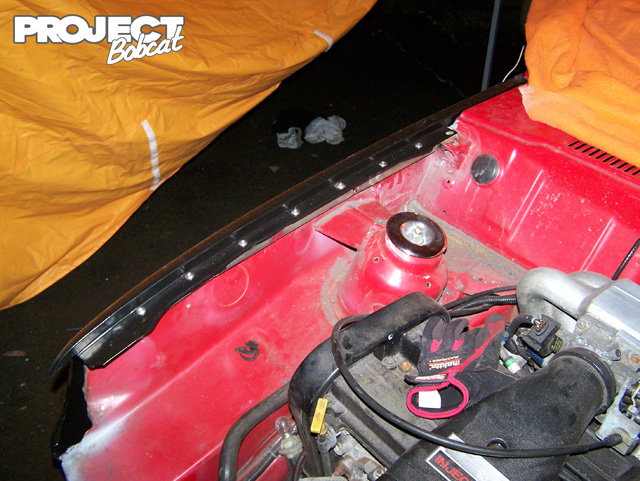
Back to the engine bay smoothing, I've welded in a stepped strip of steel along the bulkhead to allow me to hide the loom wires underneath it, then skimmed over it with a little fibreglass filler
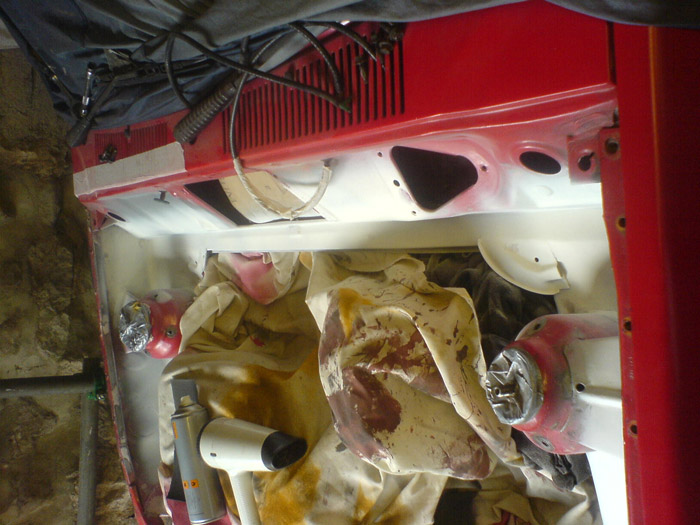
Using up some old paint, I put on a guide coat to help fill in anything I had missed

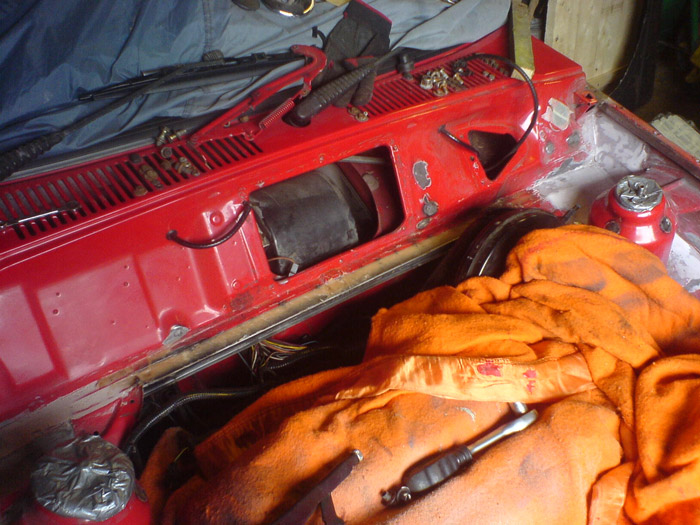
The inner wing outer side was given a thick coat of red oxide and then once dry, some seam sealant to prevent water pooling on the reverse of the repairs/panel joins. You may notice the alamr siren is already mounted under the wing so one less thing to clutter the bay

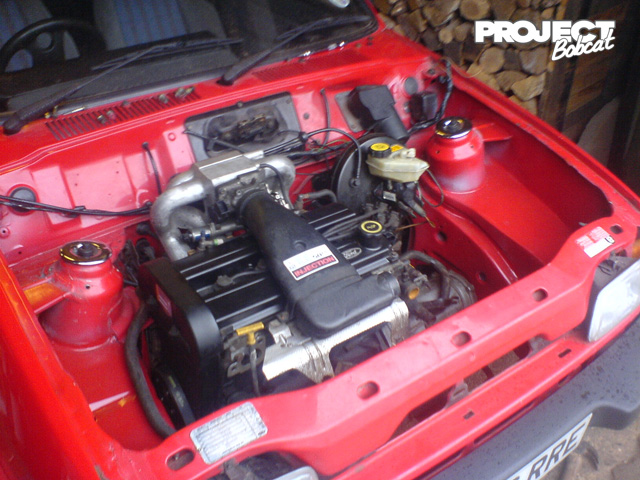
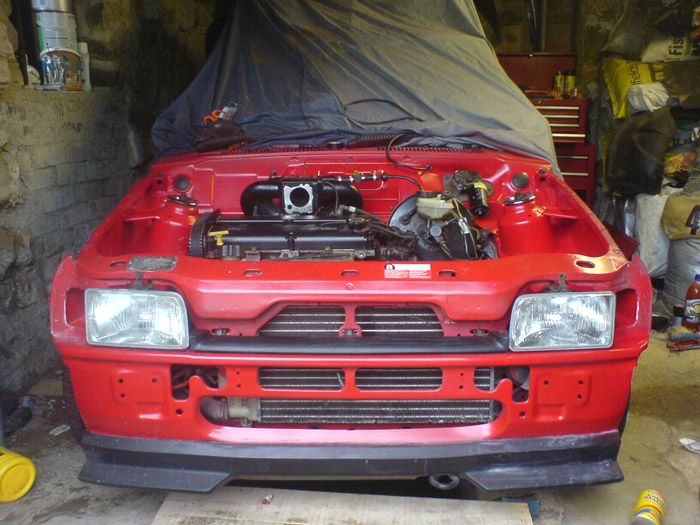
I colour coded the bonnet catch plater using some plasticoat, it gave a very close colour match, I've also being sanding down a cast aluminium HO inlet manifold to replace the SO item, so that also got a coat of black.

By this point I'd blended in the new strip of metal along the bulkhead pretty well, so hit it with some hi-build primer.
My friends Dan and Karl donated quite a lot of spare time, and probably their finger tips to help with the engine bay sanding

We got through quite a lot of drill mounted sanding bits and destroyed a cheap dremel copy before biting the bullet and ordering a proper Dremel to help finish the job. The areas abround the strut tops were carefully smoothed with 3M sealant to give a smooth finish but allow some flexibility to prevent cracking

Next it was a case of repeatedly spraying coats of primer and then carefully highlighting any dents with a marker pen before refilling, sanding, cleaning and respraying
Followed by another layer of 3M seam sealant
Paint
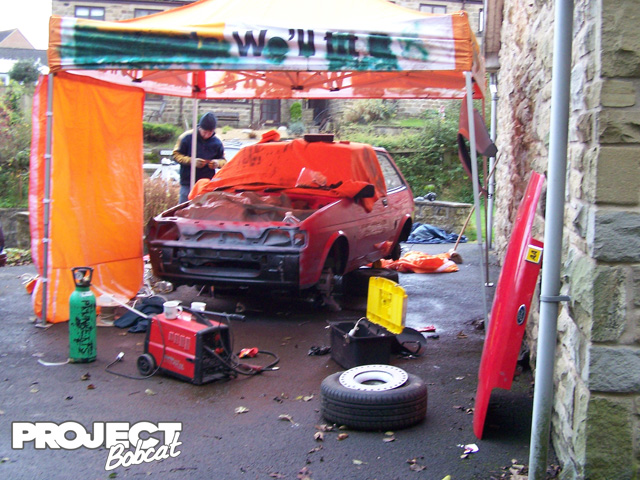
1st August 2009 • 04:32AM
In my hurry to get the car finished before Ford Fair (there was 4 days to go at this point) I didnt get any pictures of the actual painting of the bay but here are the finished results

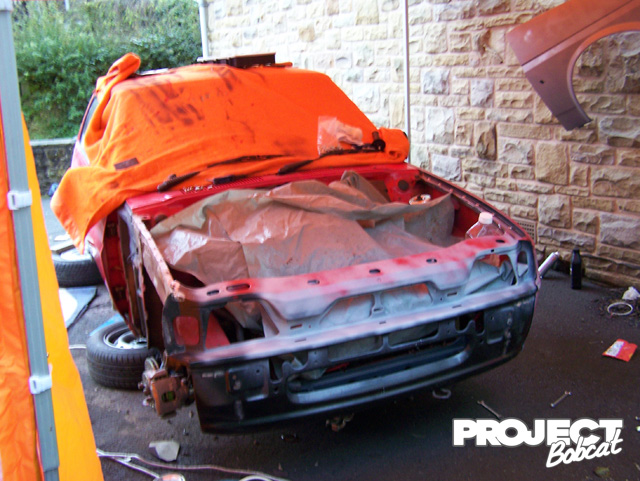
The inner wings still had a fairly flat finish but time was running out so I took advantage of the hot day to get the car outside and test fit the wings to get the splitter corners to line up
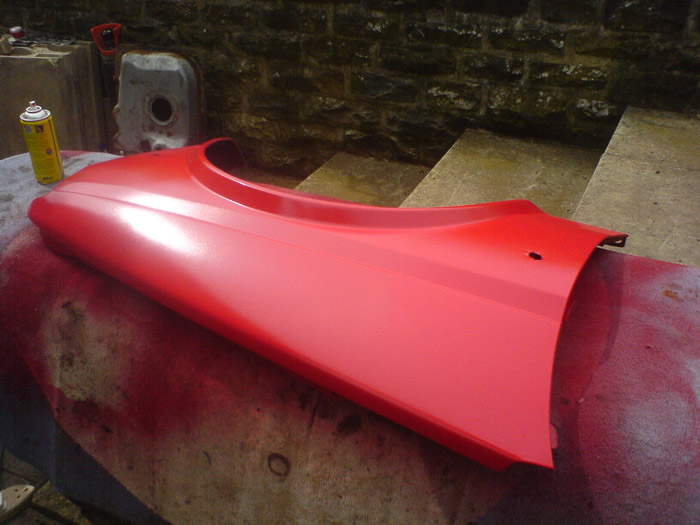
I added plenty of paint froma spray can so that once it had hardened in the sun, I could flat it back and get a reasonable shine on it.
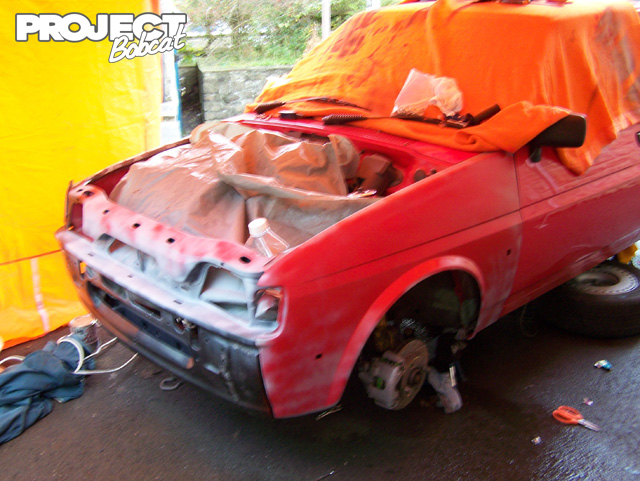
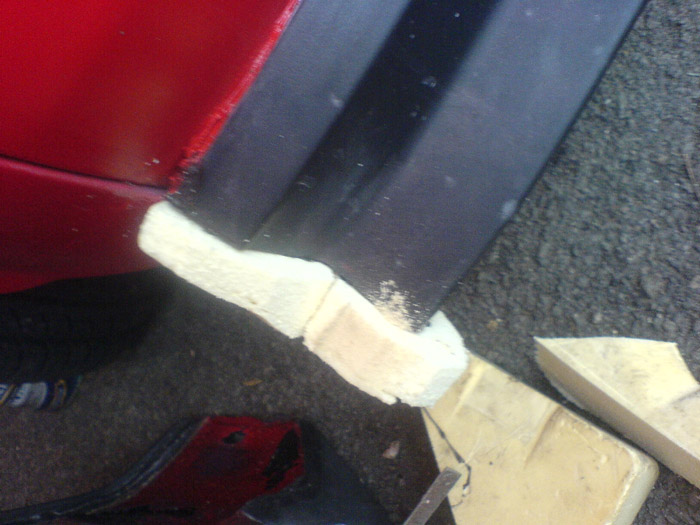
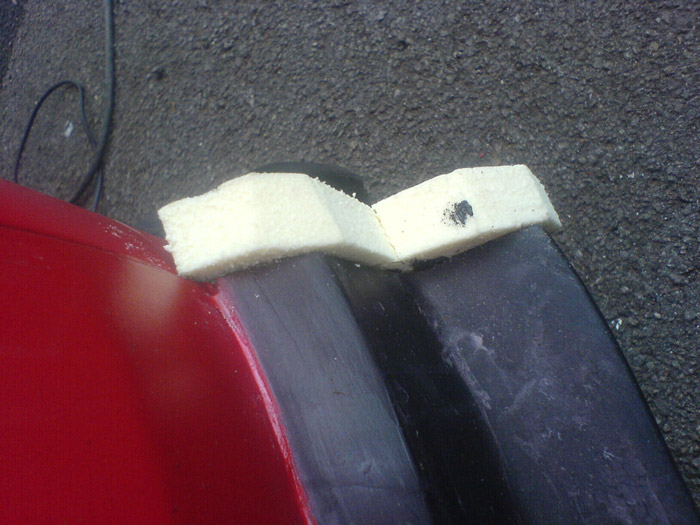
The splitter added an extra job, since it had been cut there were now gaps in it where the front panel met the outer wing. I had some closed cell foam salavaged from an old mondeo door panel and used that with a rasp to shape a slim filler section which could then be coated in tigerseal to give a good match. Being closed cell, it wont retain water, even if some finds its way past the tigerseal.
The spal fan I'd ordered turned up just in time and the day before Ford Fair, there was mad rush to get eveything reassembled. The wiring in the engine bay was run through some sleeving underneath the inner wings and the inlet was put back together. By 9pm it was up and running and I decided that I would take the car for a short 30 minute drive and stay the night at a friends house who was coming to Ford Fair, he was en-route and it would show up any problems. The test drive went without a hitch and the intention was to leave at 4am for the show.
An eventful morning
2nd August 2009 • 05:48AM
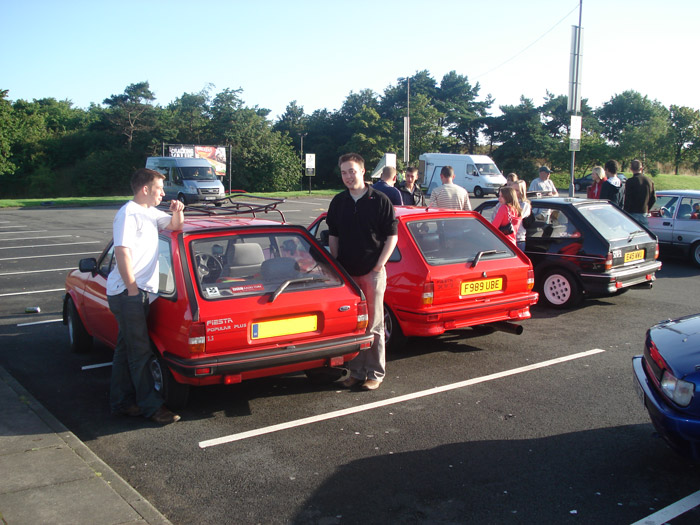
We managed to wake up and set off on time and met up with some other Fiestas at a services on the way

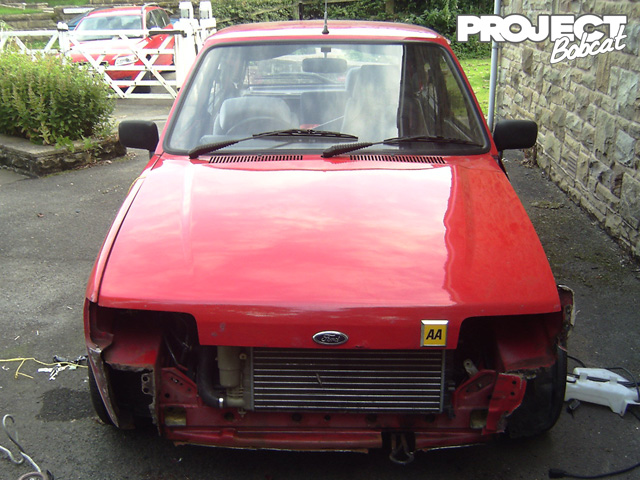
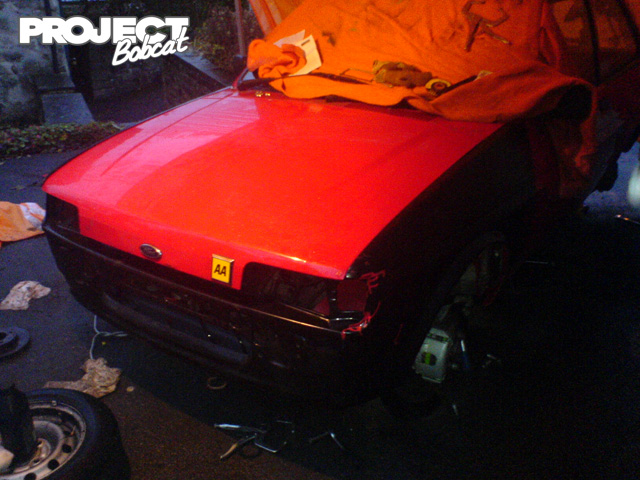
The unfortunately events took a bit of a downward turn, as we approached the show we had to wait in a queue at a roundabout, a Vauxhall driver who wasnt concentrating due to looking at his satnav ran into the back of us pushing the boot corner forward onto the wheel and jamming the drivers side door shut. The car was knocked around 90 degrees. The car started to smoke from the boot as the trapped battery cable was now shorting out. I couldnt manage to remove the boot boards so had to smash through the boot trim to release the boot catch, then break away the boot floor panel to disconnect the battery from the outside.
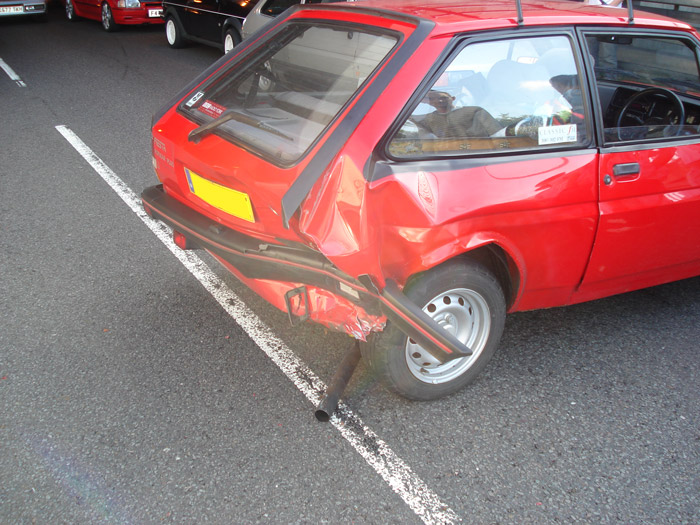
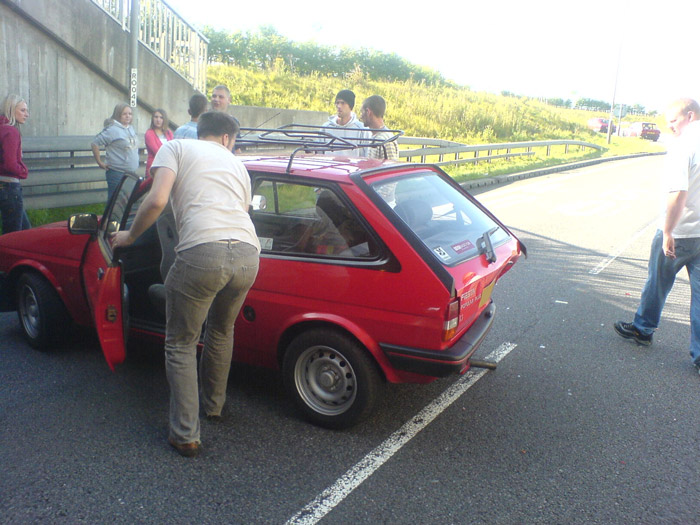
We had to get a recovery truck as the rear wheel wouldnt turn making it impossible to drive
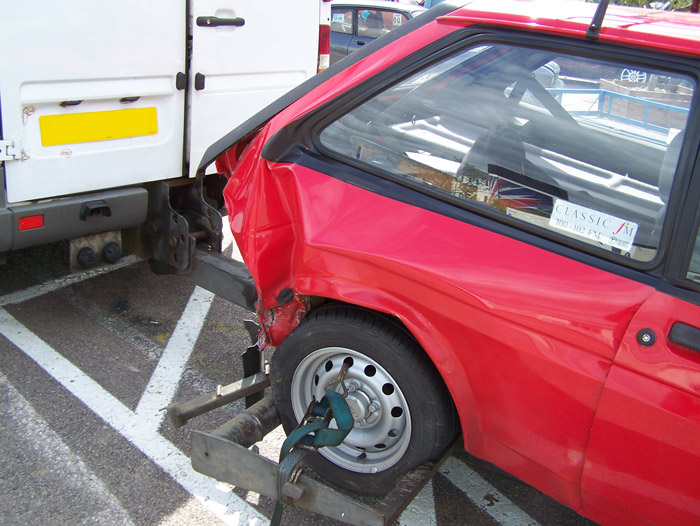
That was the unexpected end of the project
Add a Comment
Page Last Updated: Monday 18th of June 2018