Updated pictures
5th August 2009 • 08:48PM
A few up to date pics for you guys...

"Saving Ford's hot hatch from becoming a fridge"
A resource site for owners of the Mk1 & 2 Fiesta


A few up to date pics for you guys...
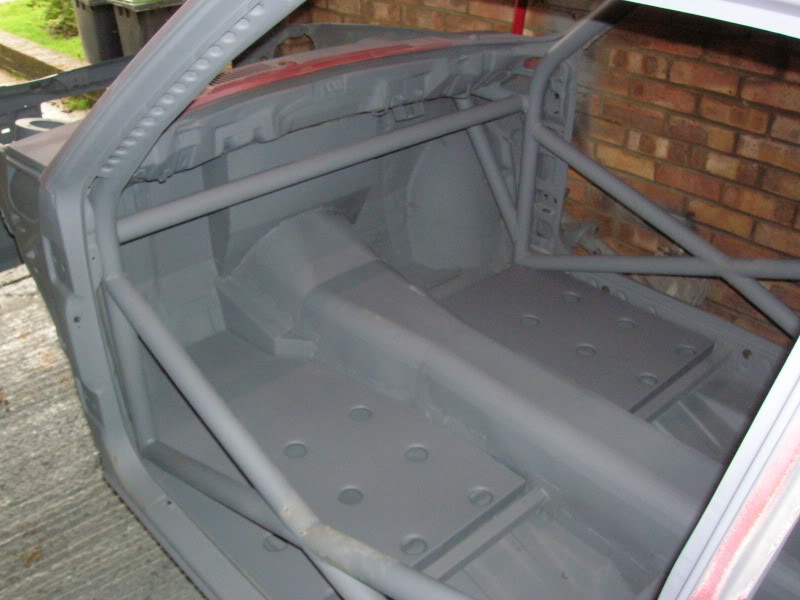
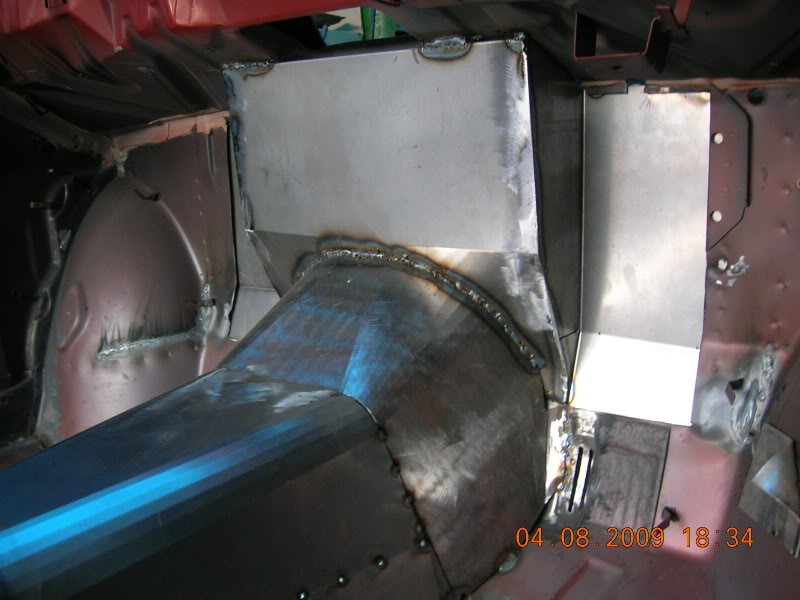
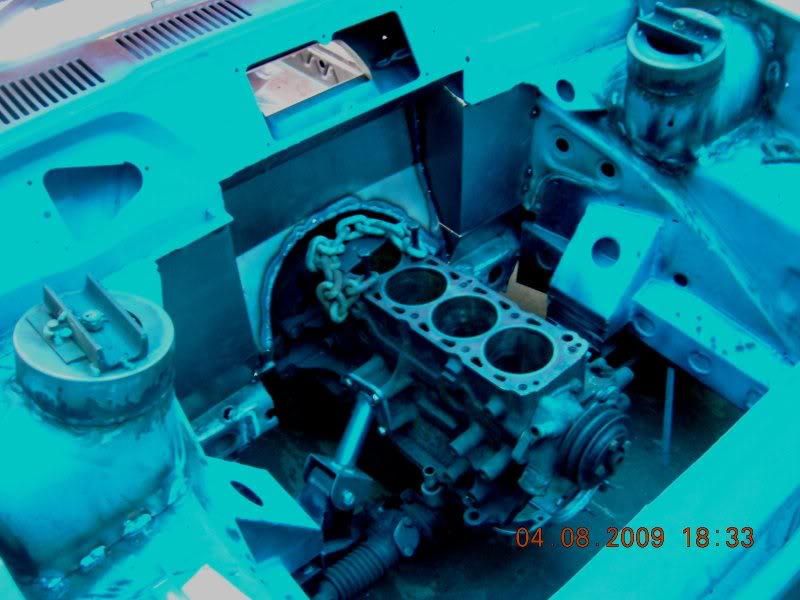
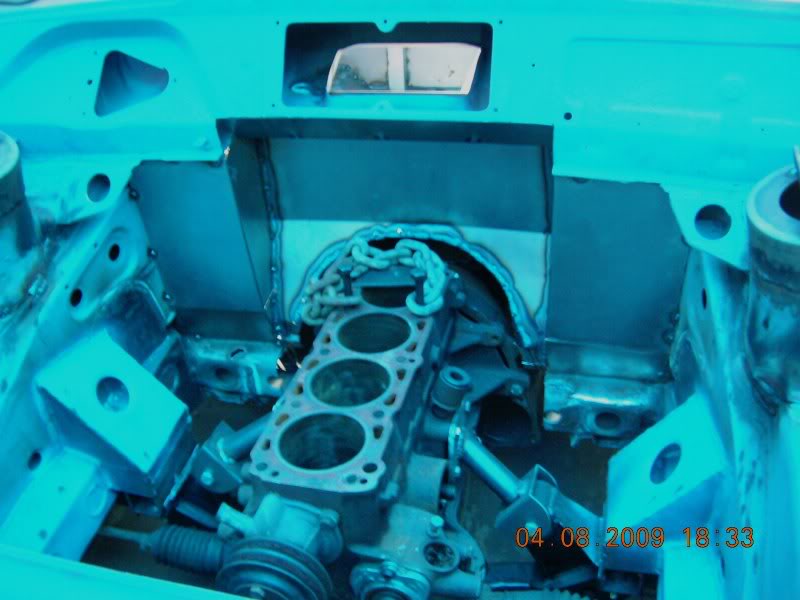
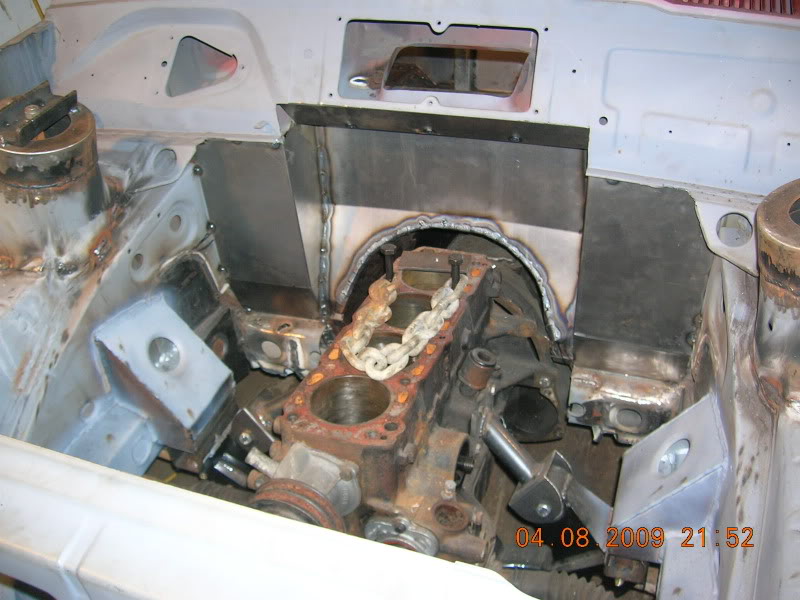
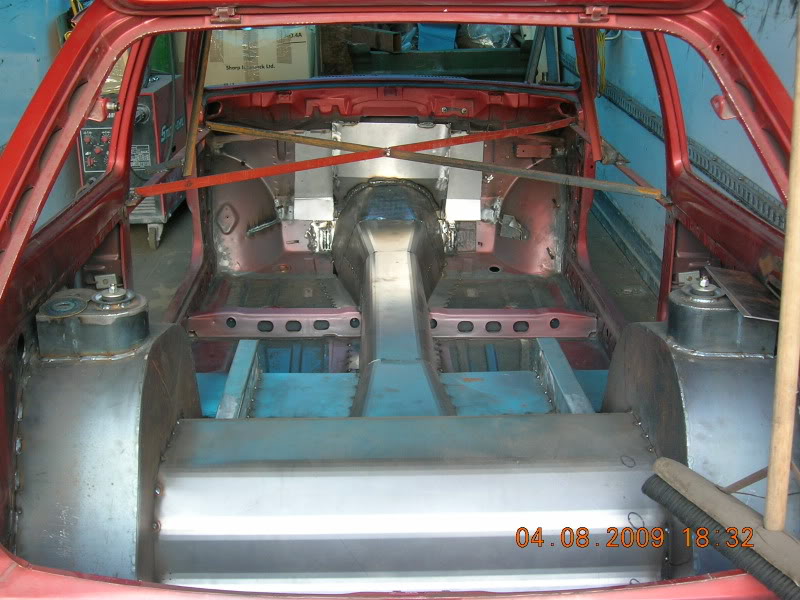
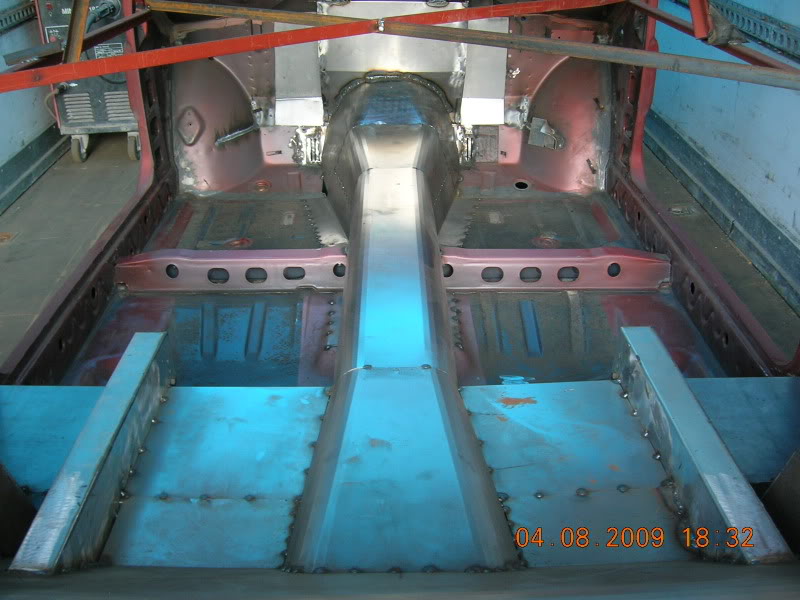
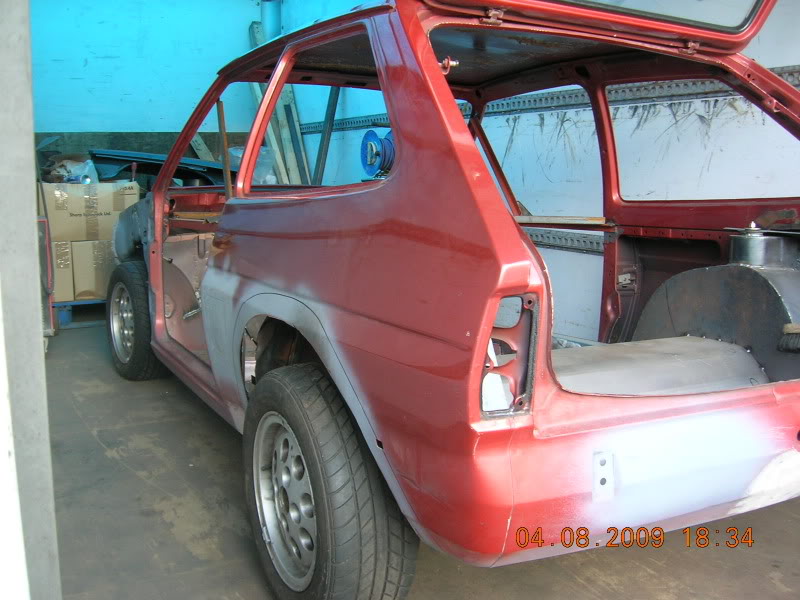
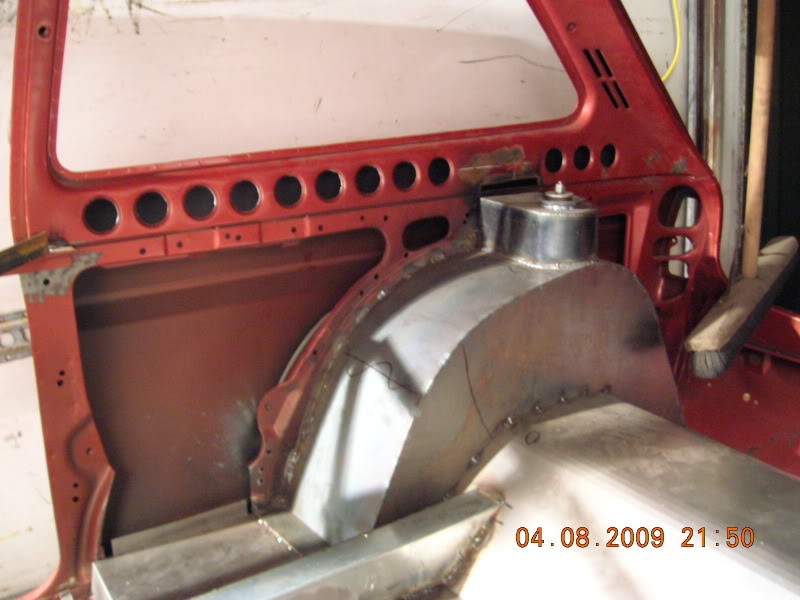
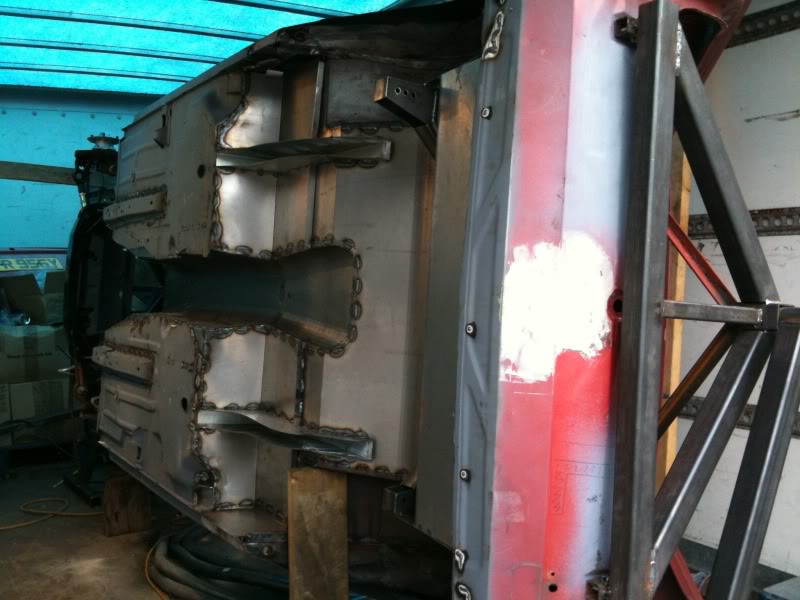
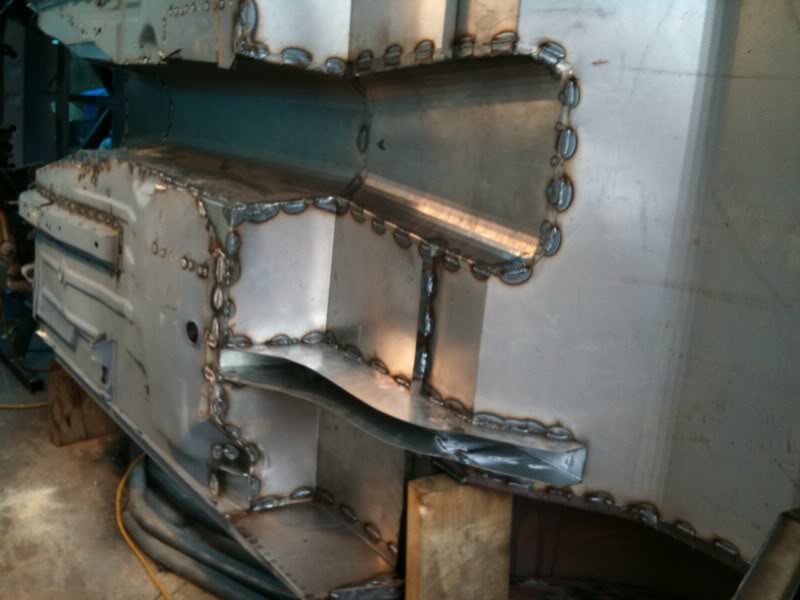
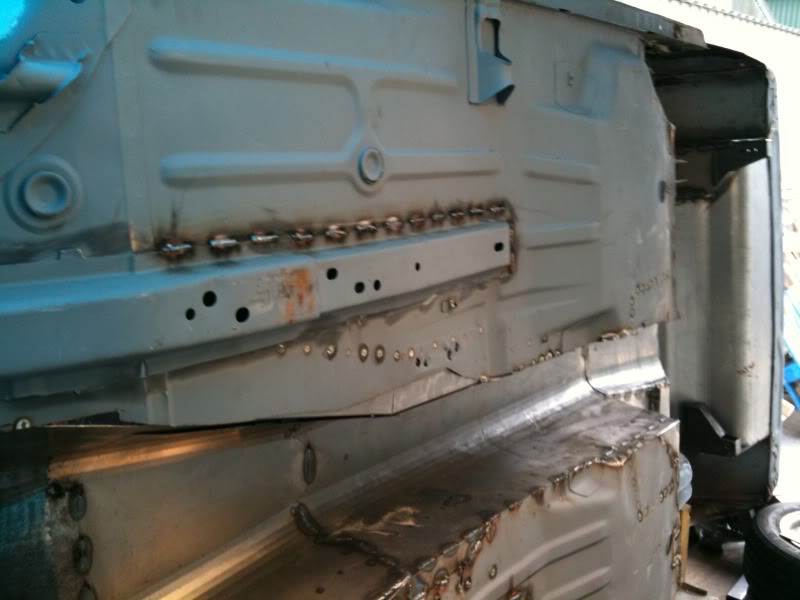
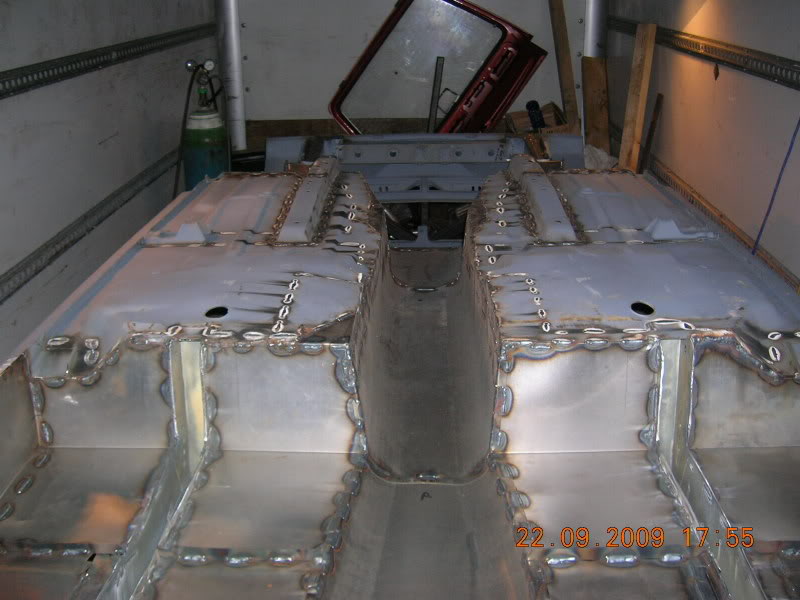
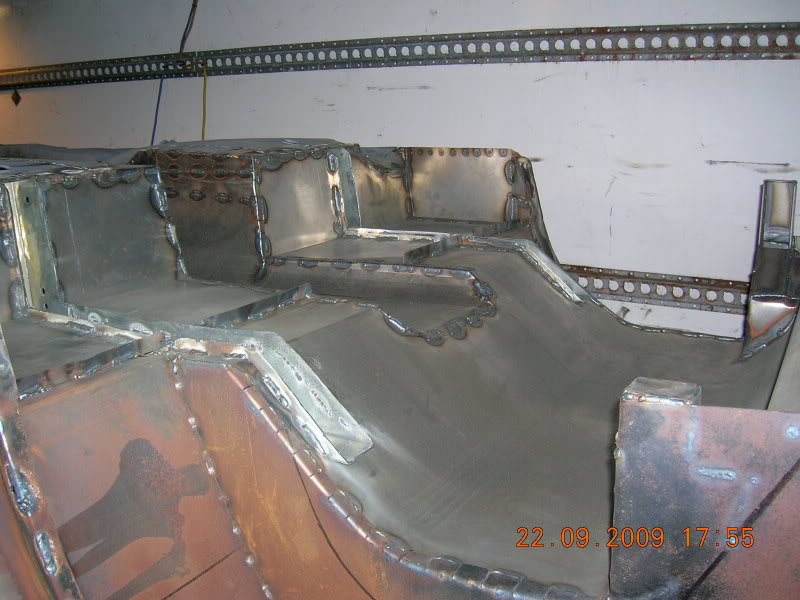
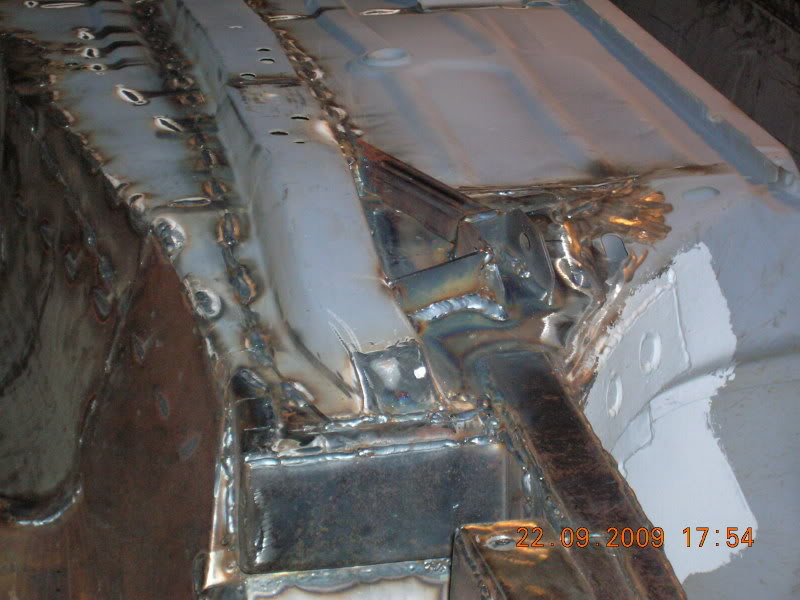
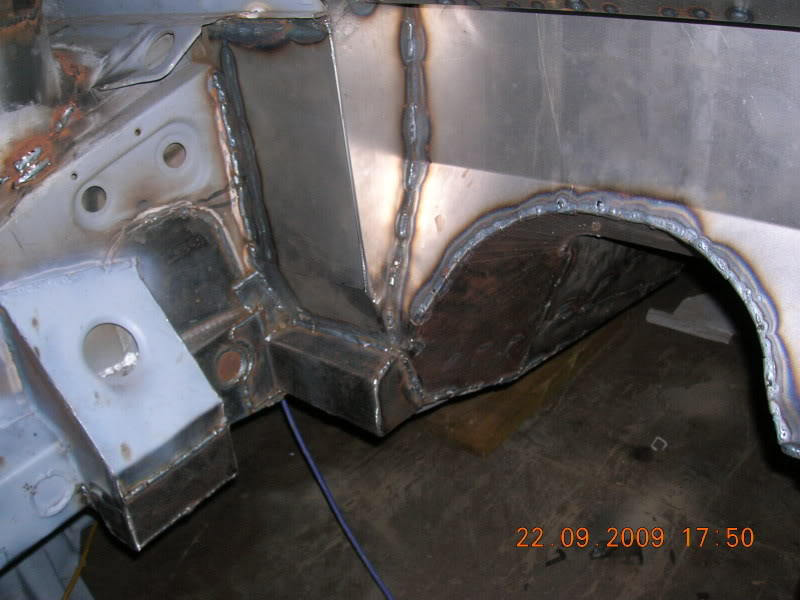
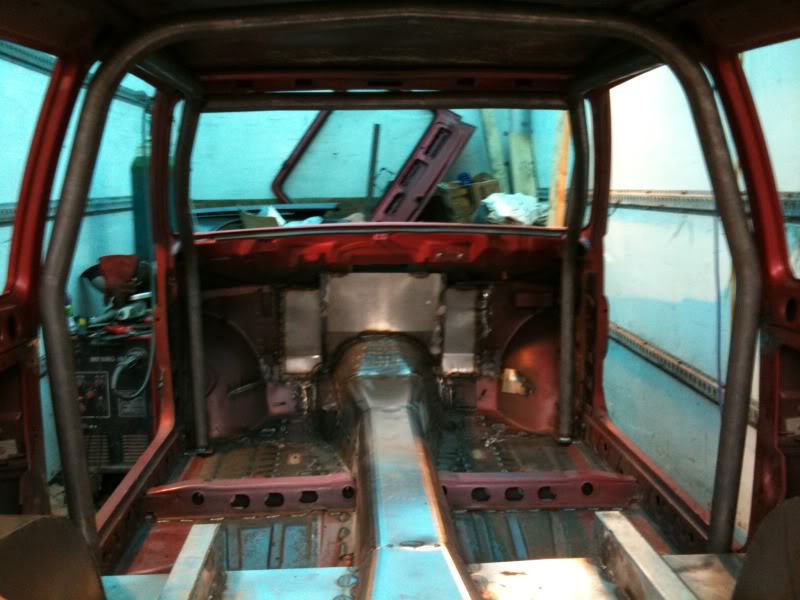
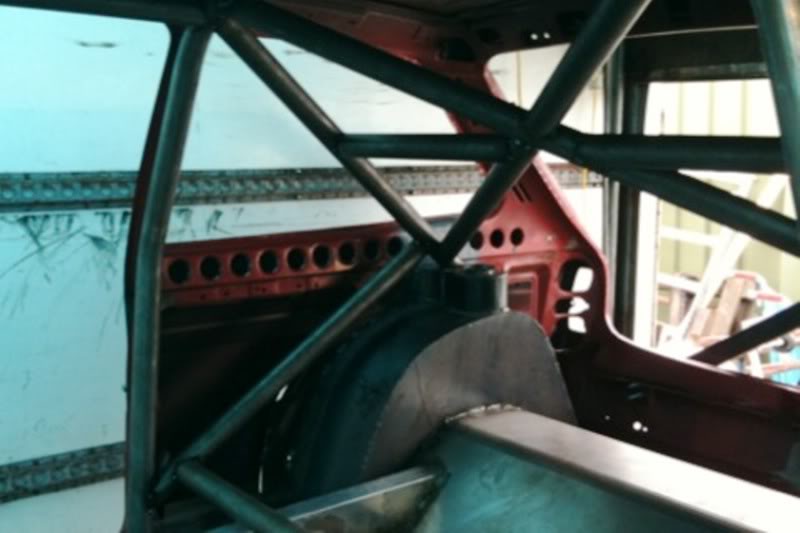
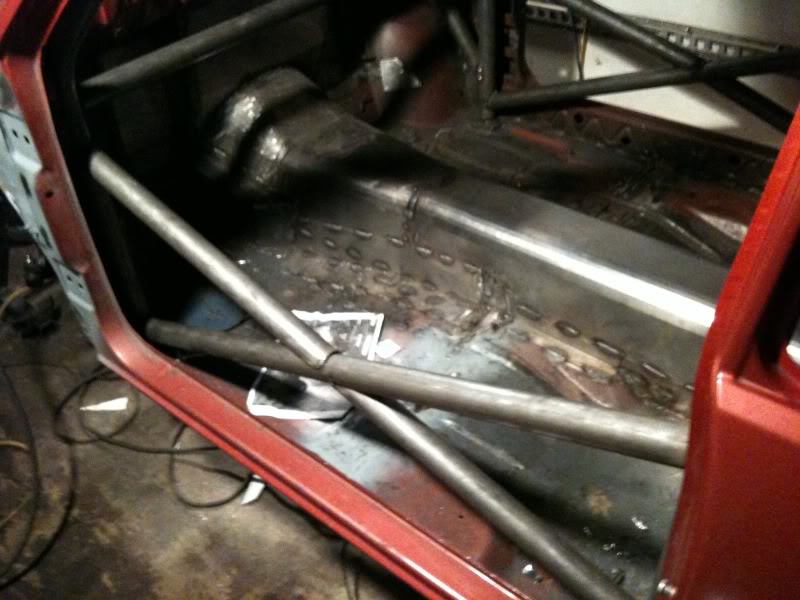
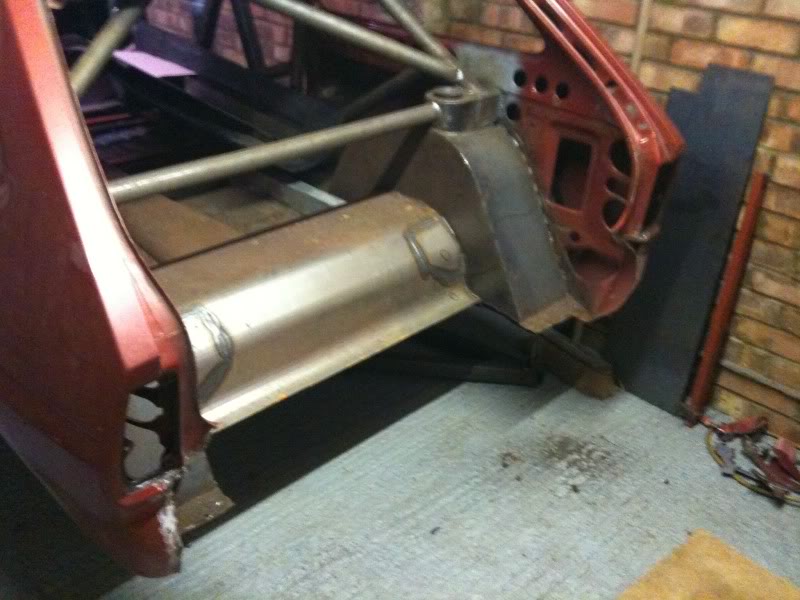
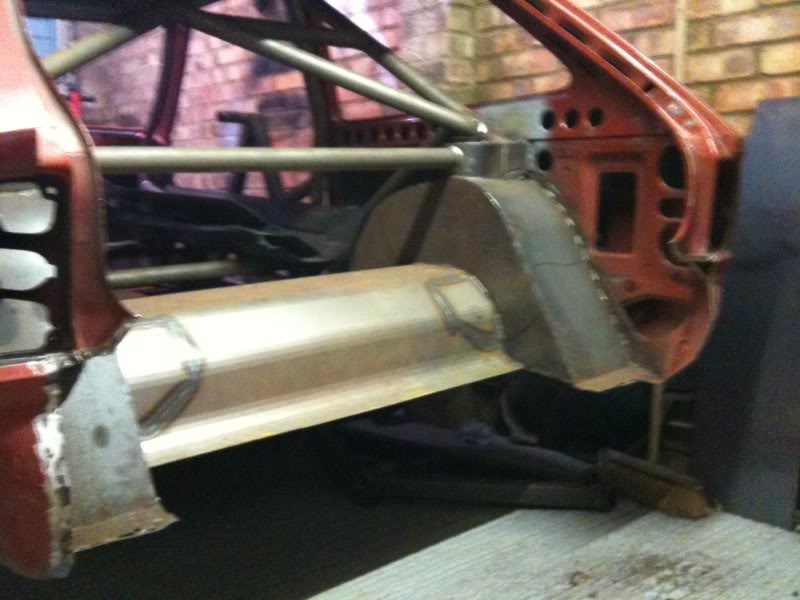
I've finally got the car on a spit now so have been busy doing all the welding underneath, boy there was alot of it! it was mainly triming off all the excess bits of tunnel and general tidying up.

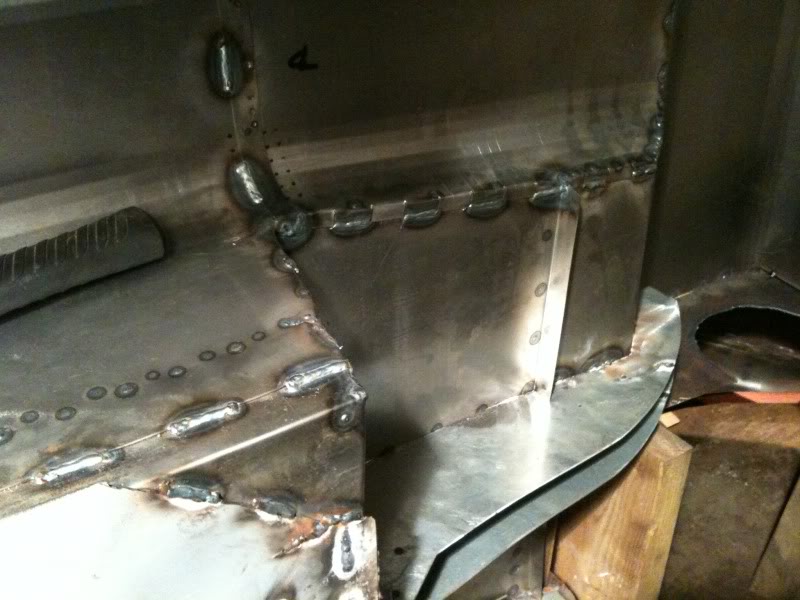
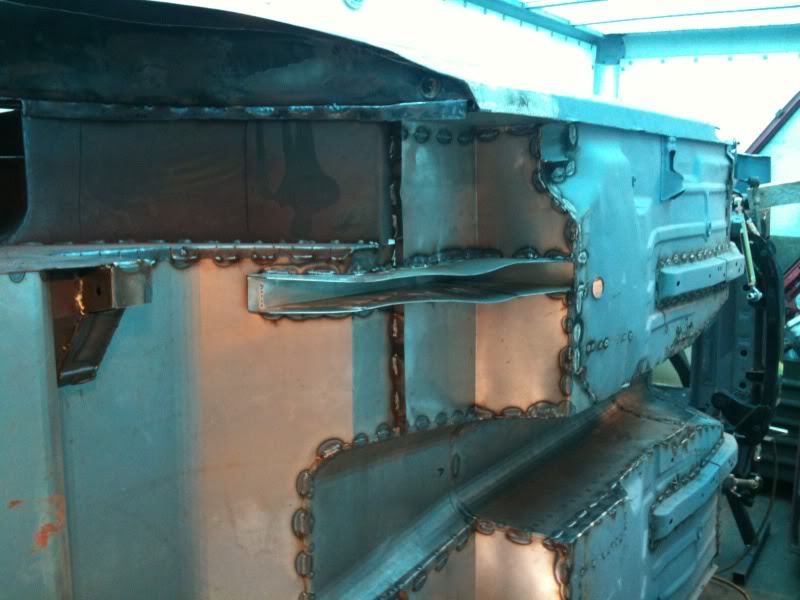
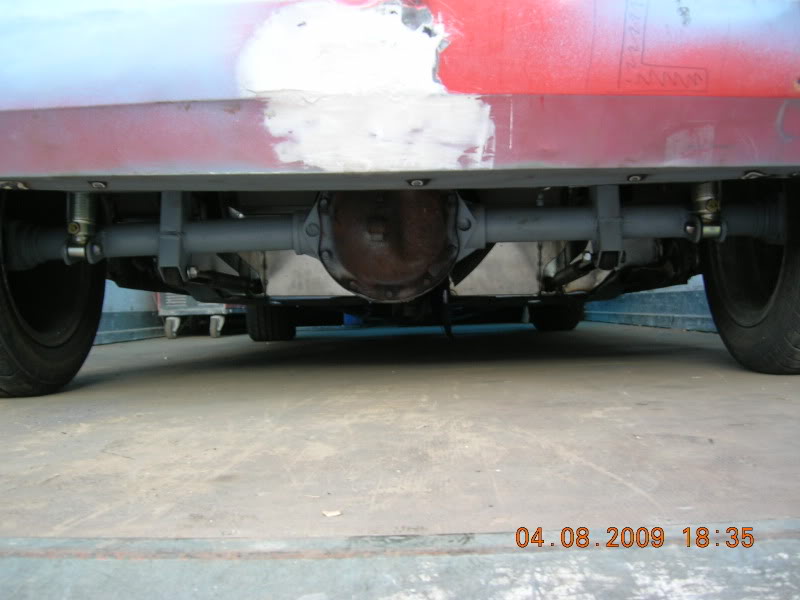
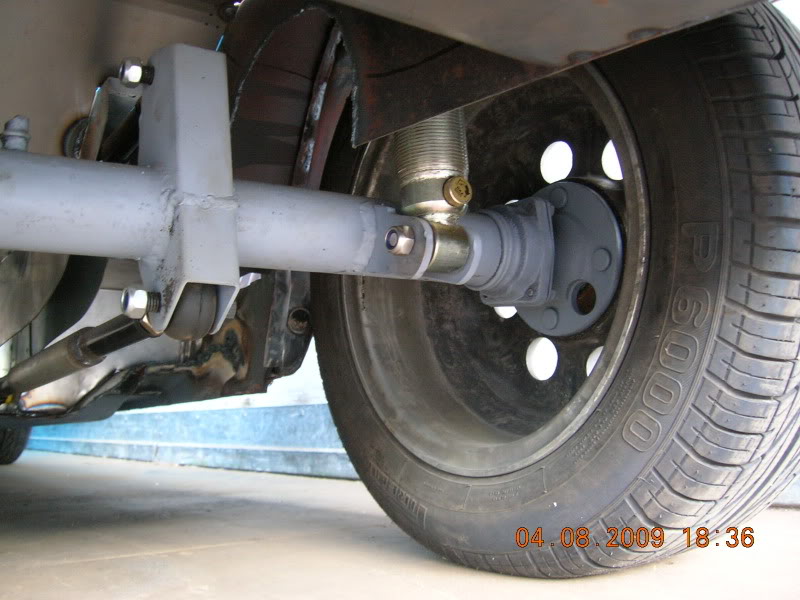
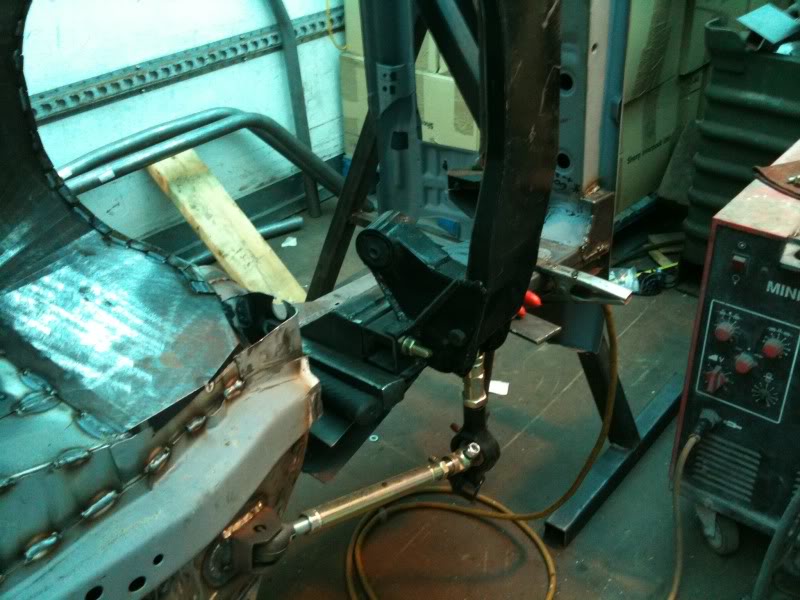
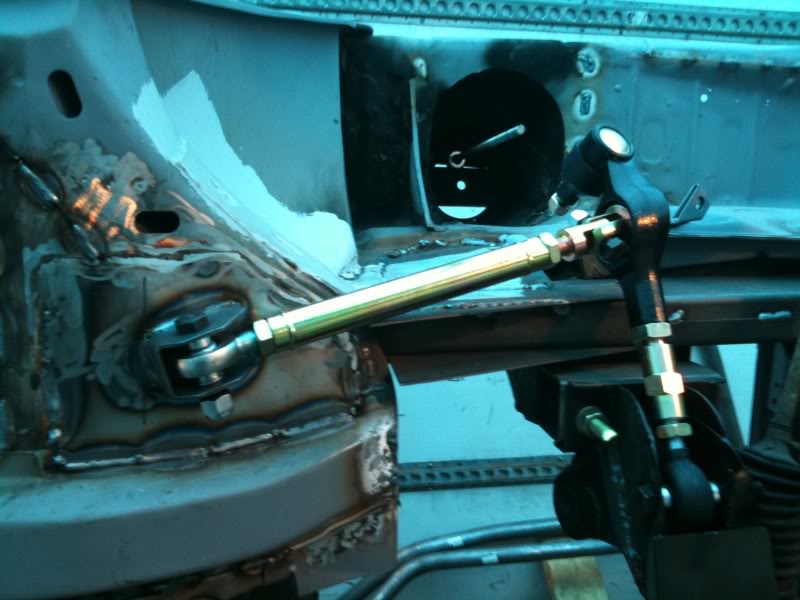
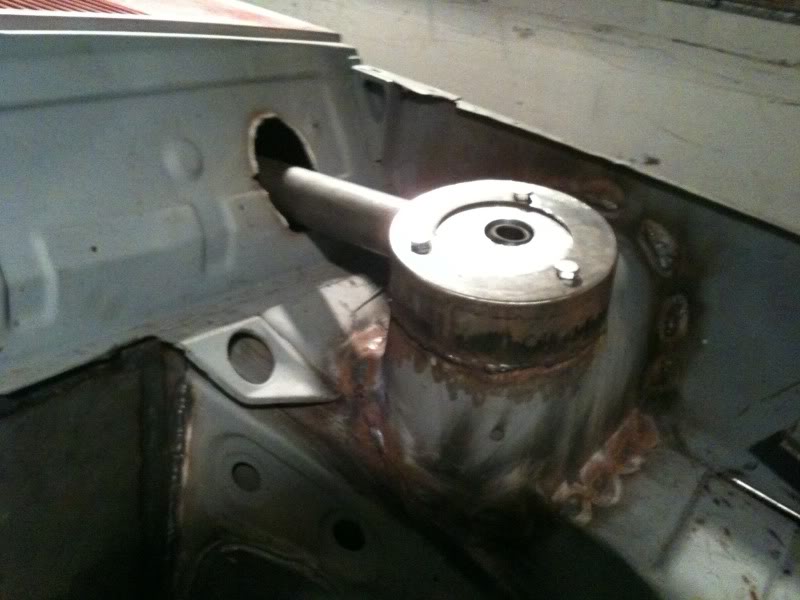
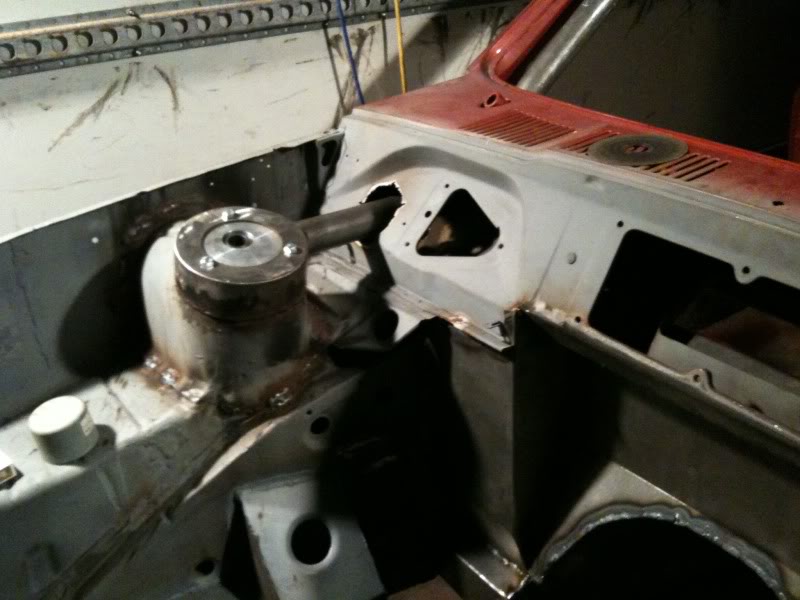
Fully welded the Watts linkage brackets
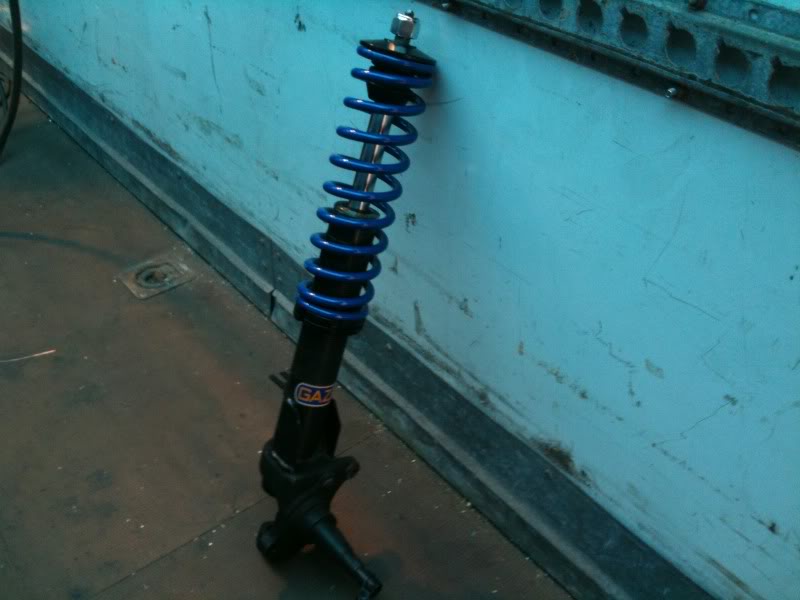
I couldnt help myself and bought some GAZ adjustable front legs.
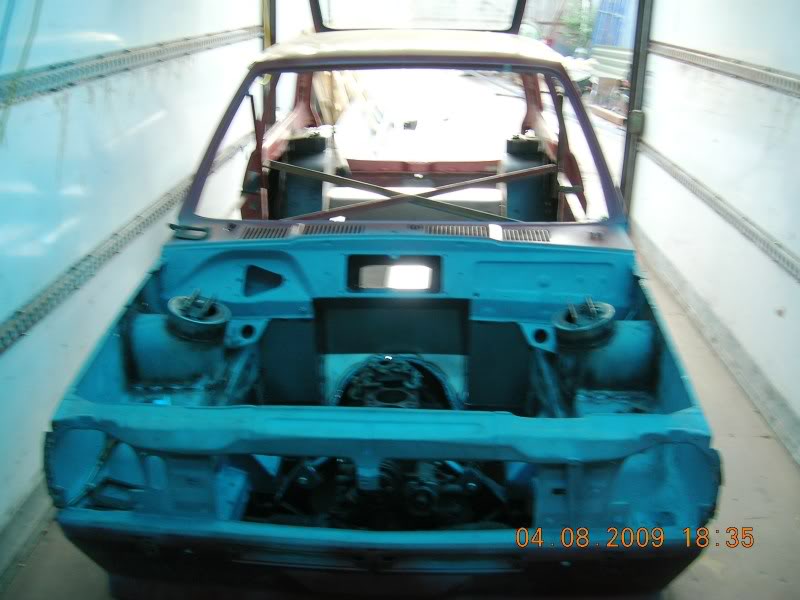
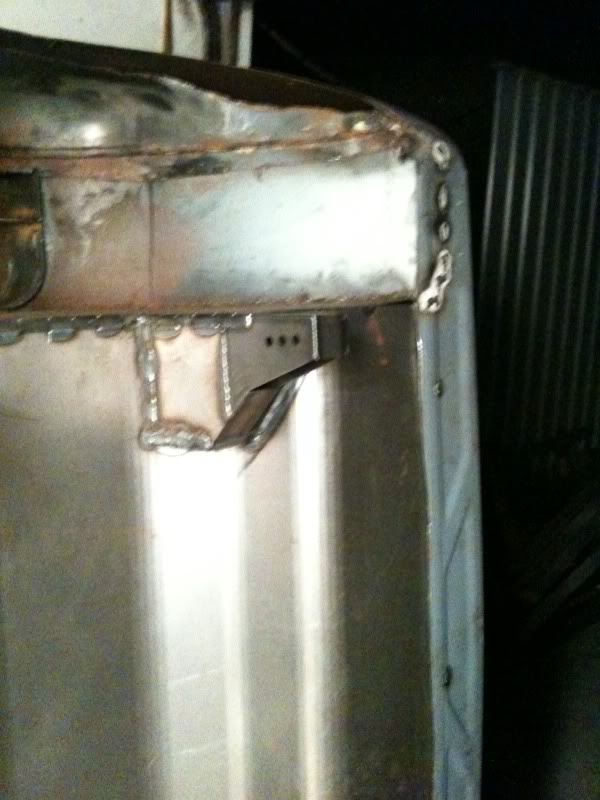
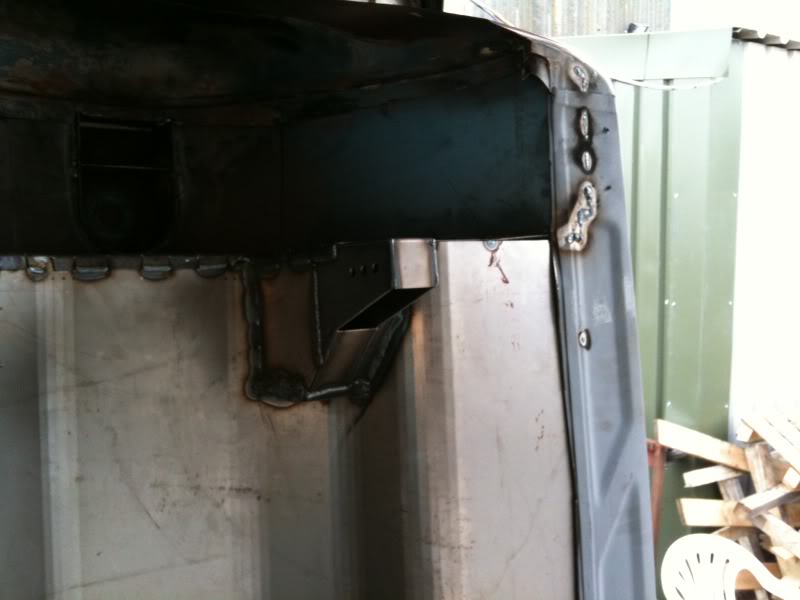
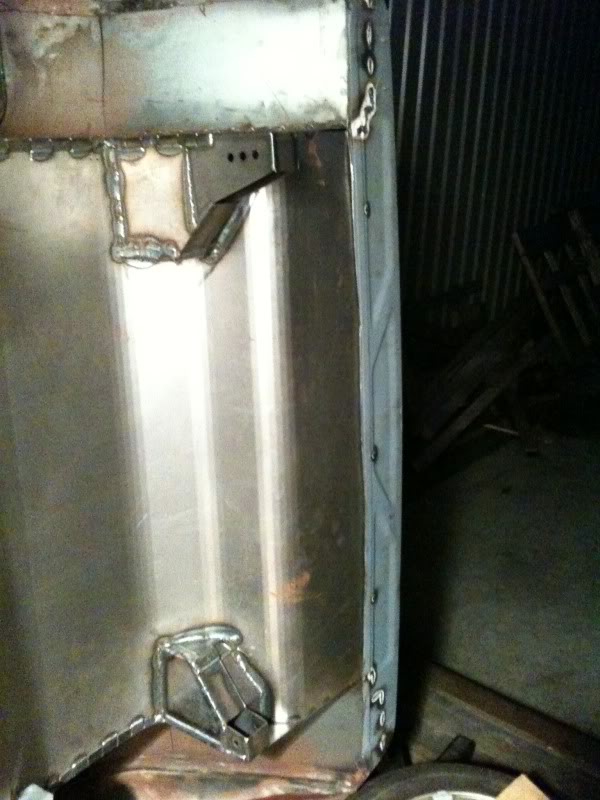
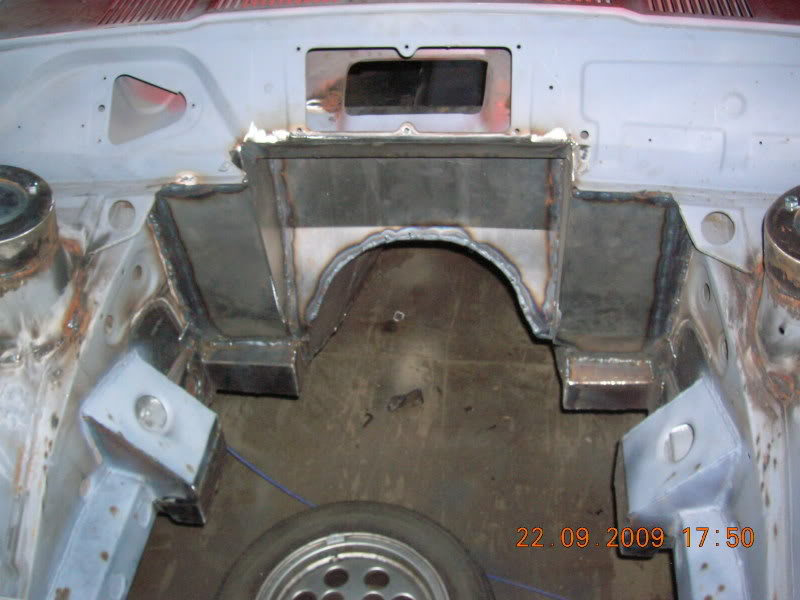
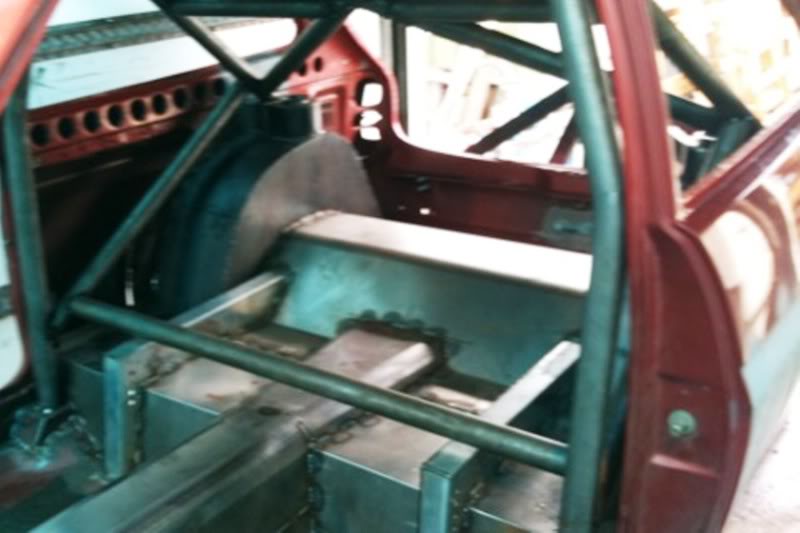
Thats it for now, just a few bits to finish at the bottom of the bulkhead and trim the 4 link boxes down, then i can start on the inside. Also bought part of the cage as we'll be making the rest to suit.
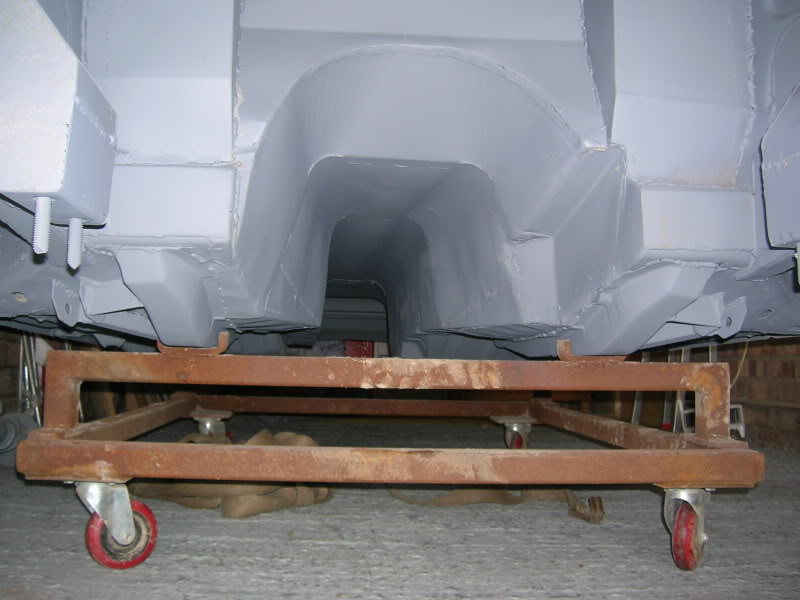
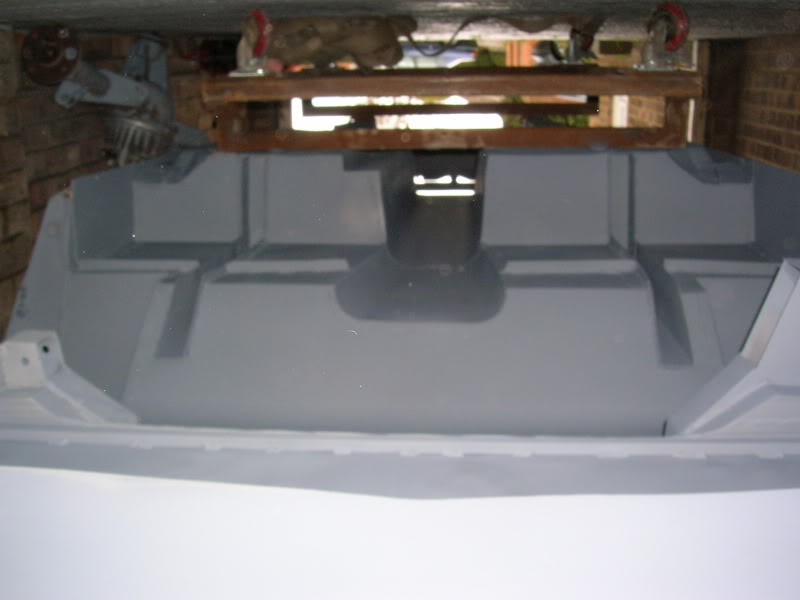
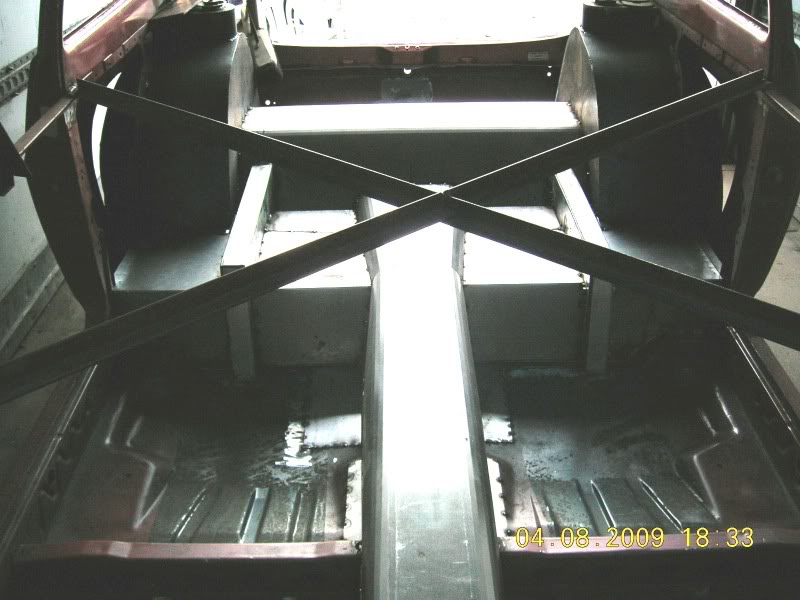
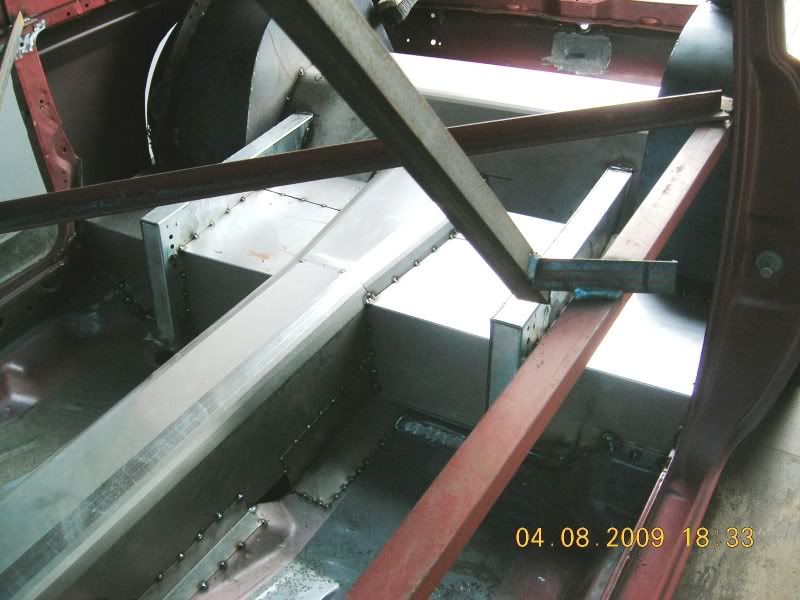
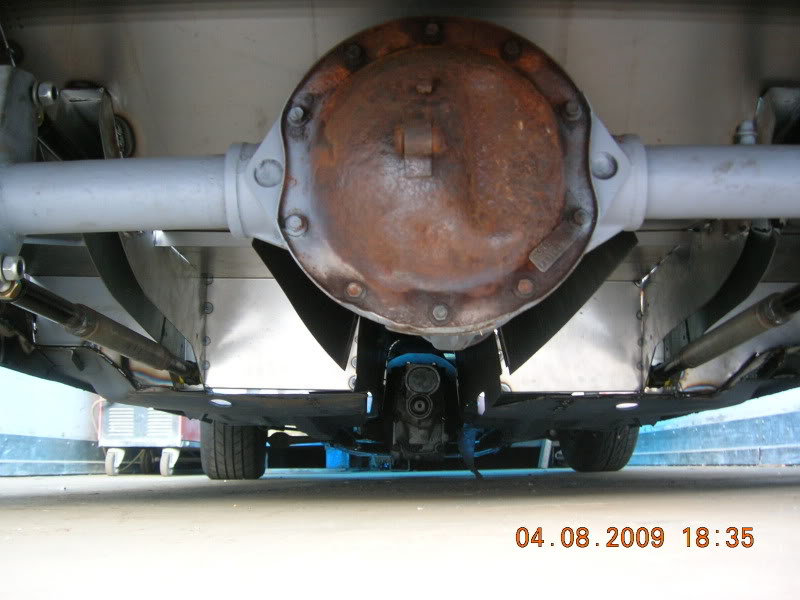
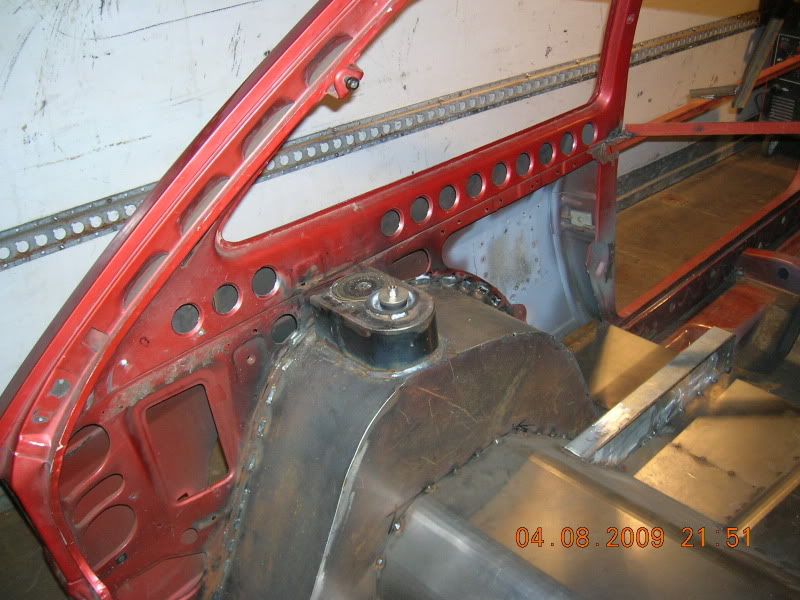
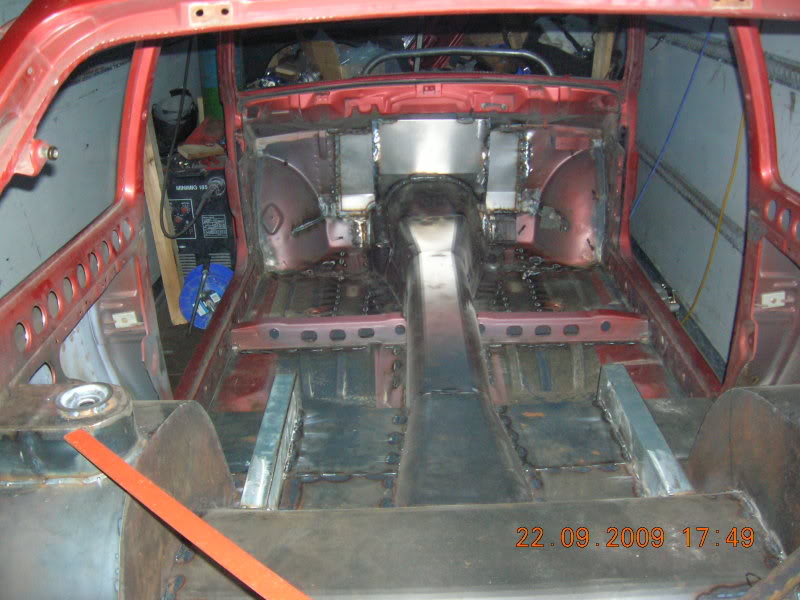
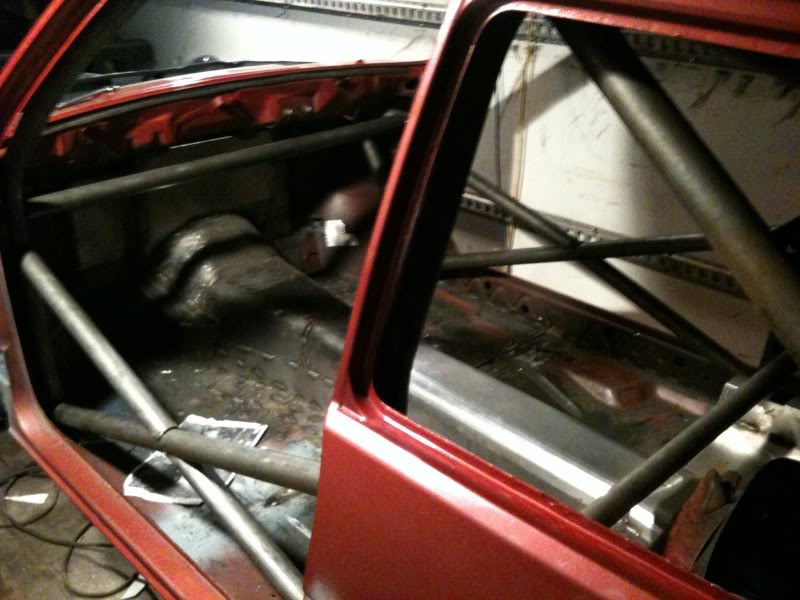
Ok a small update, all the welding inside and underneath now with exception of the wheel arches as i havent decided what to do with those yet. Next job is the cage, i've bought a couple of sections from custom cages to save a bit of time its basically the centre hoop and the peices that go down the A post the rest will be made. A couple of pictures of the underside.

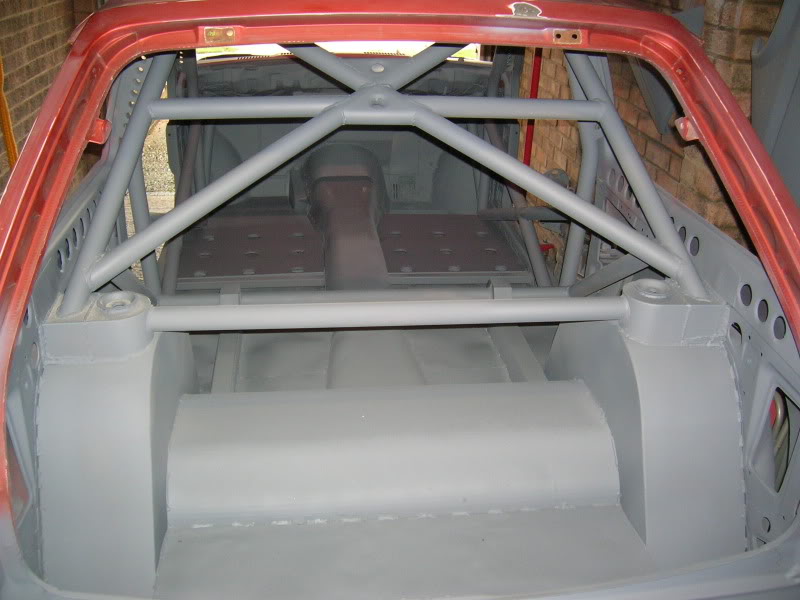
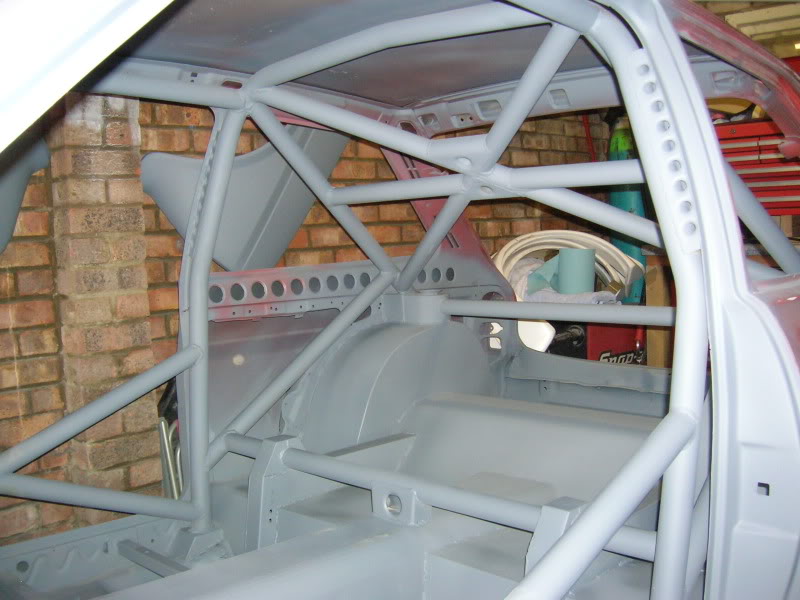
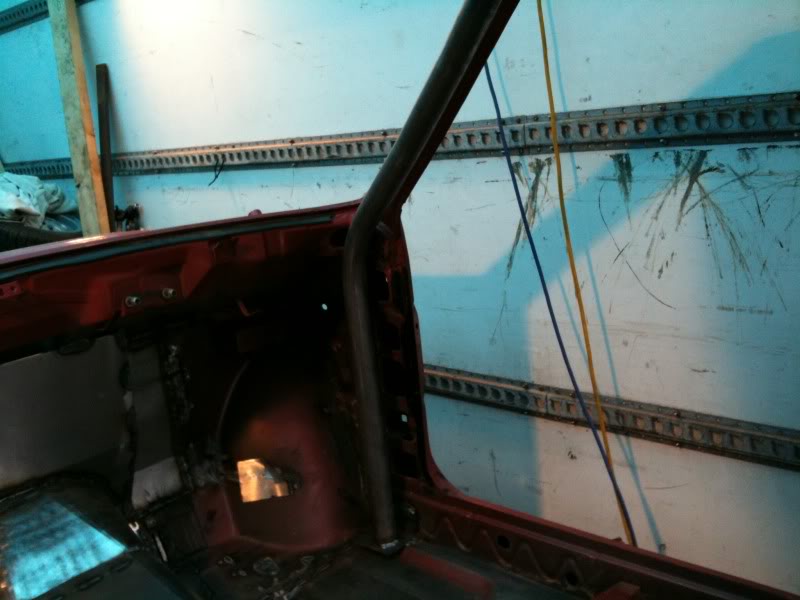
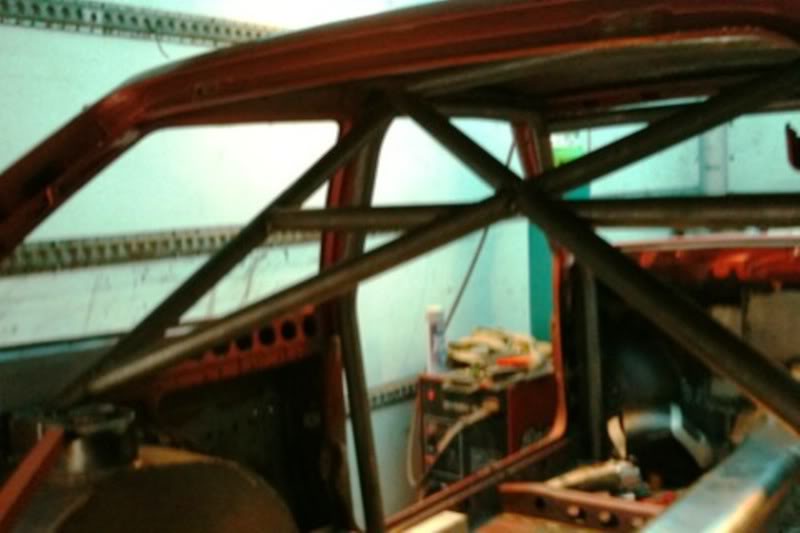
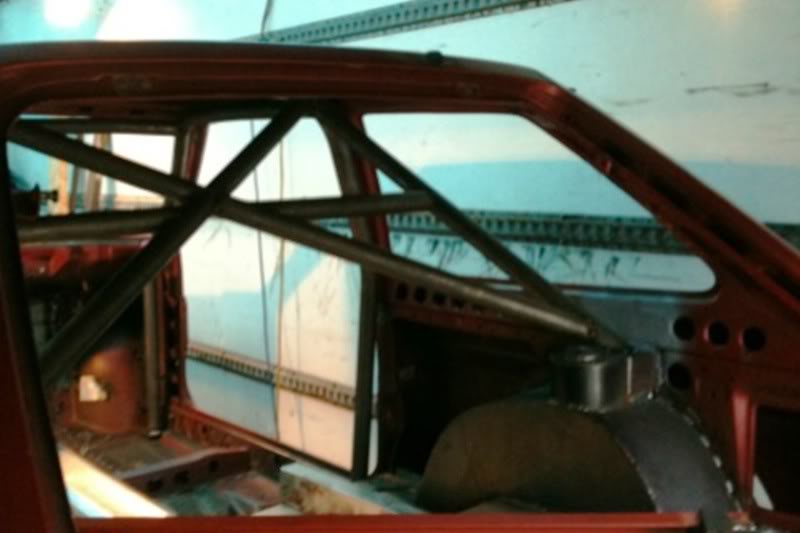
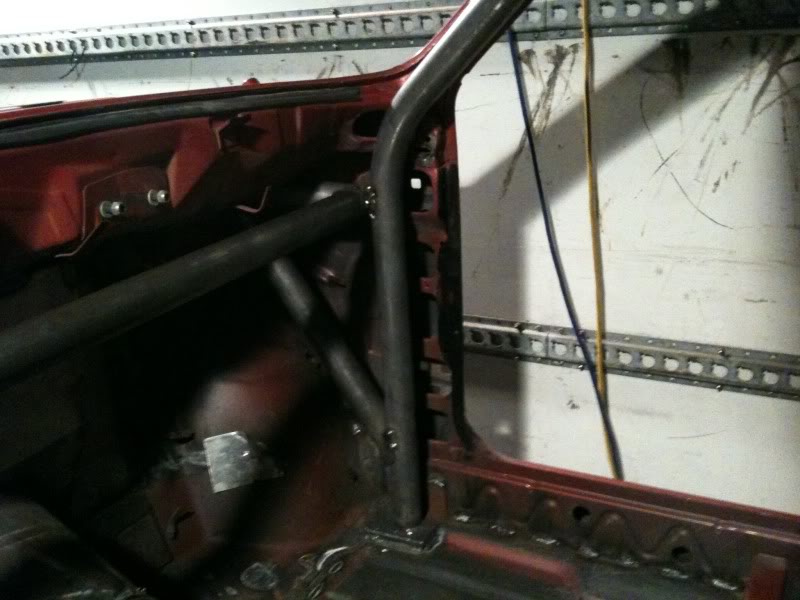
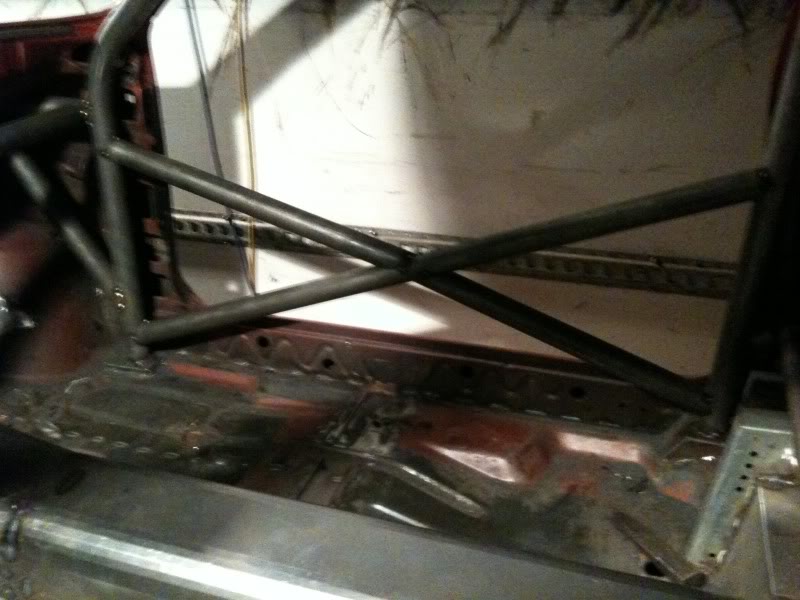
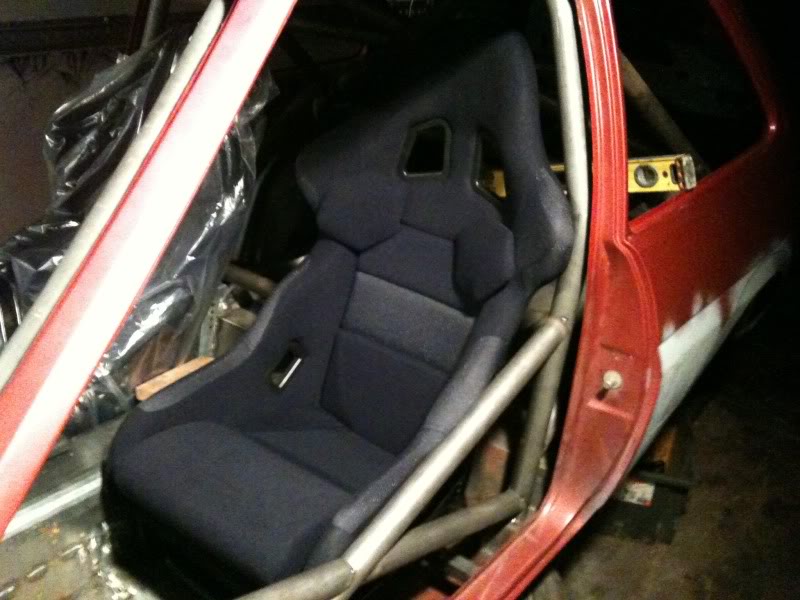
Well i've been busy doing the roll cage......Rear parts done next job is the door bars and then through into the front strut tops.
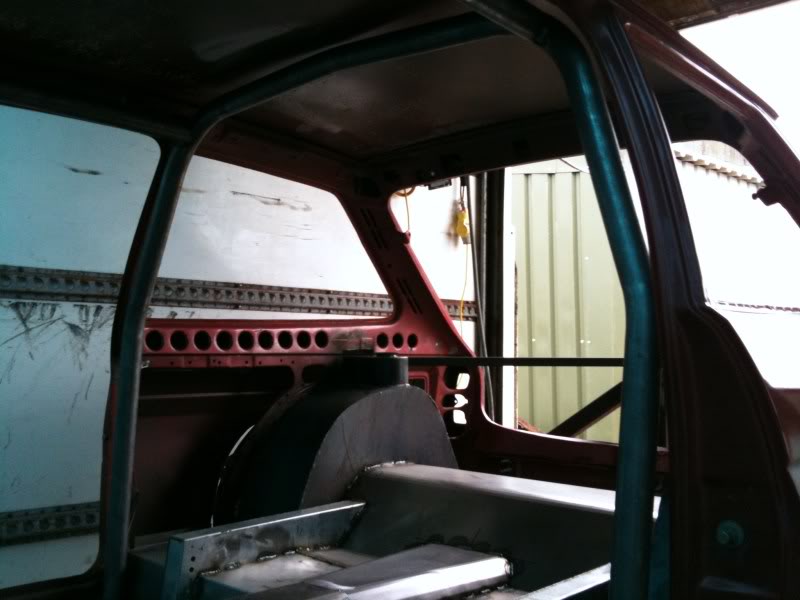
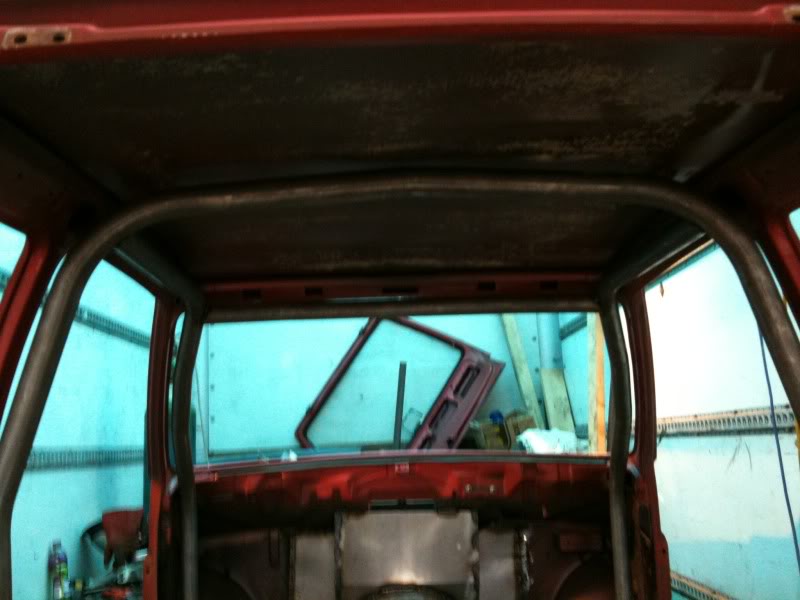


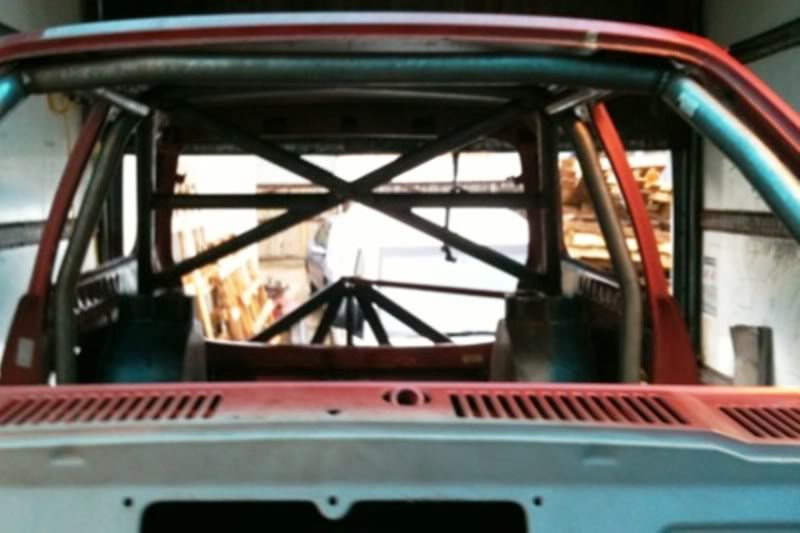
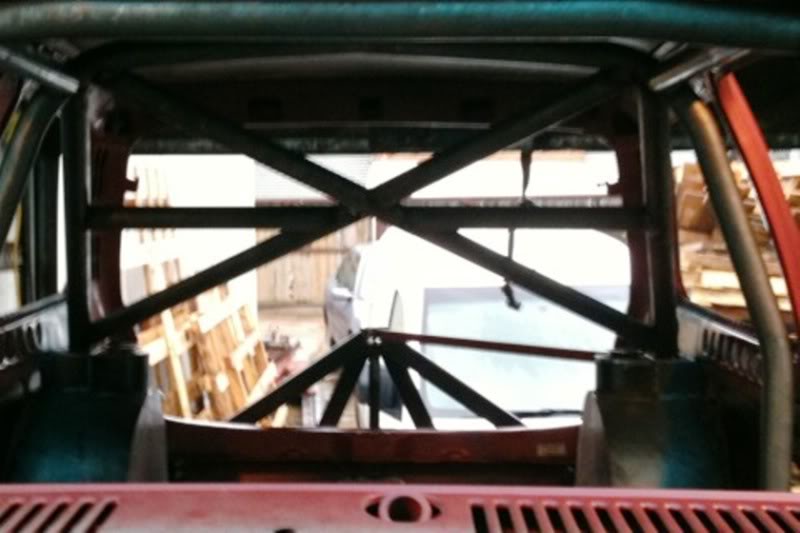

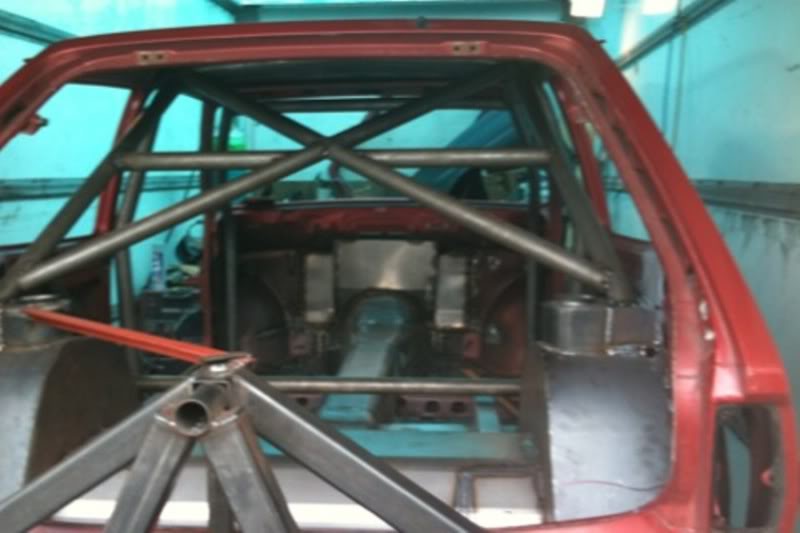
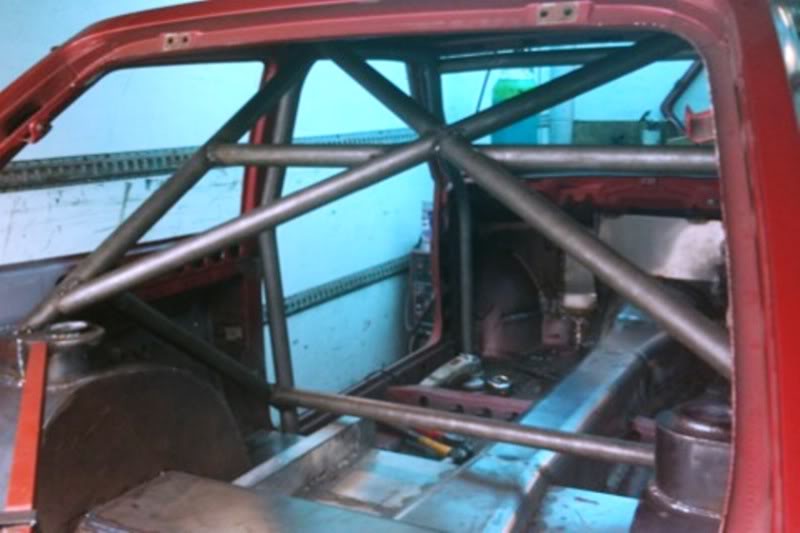

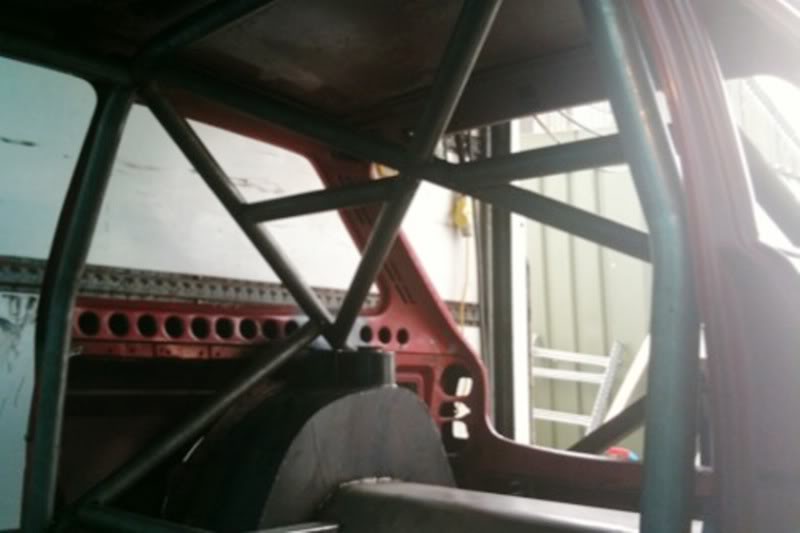
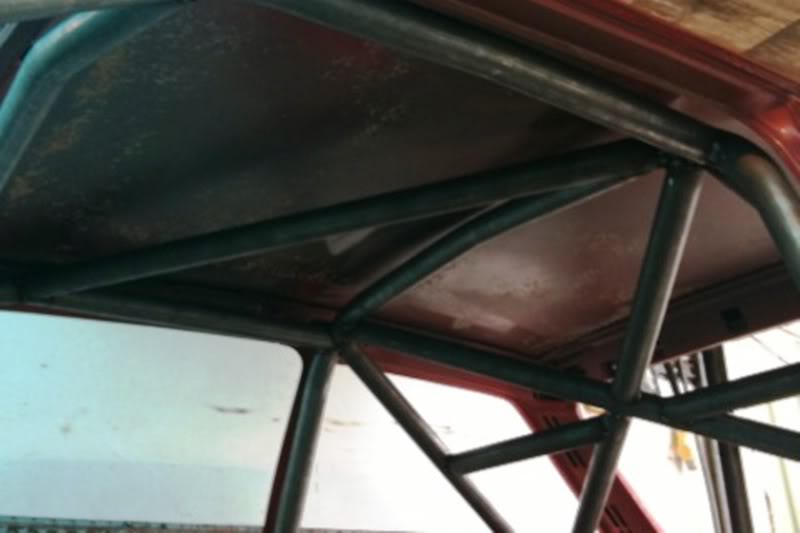
I've done a bit over xmas, first thing was finishing off the cage
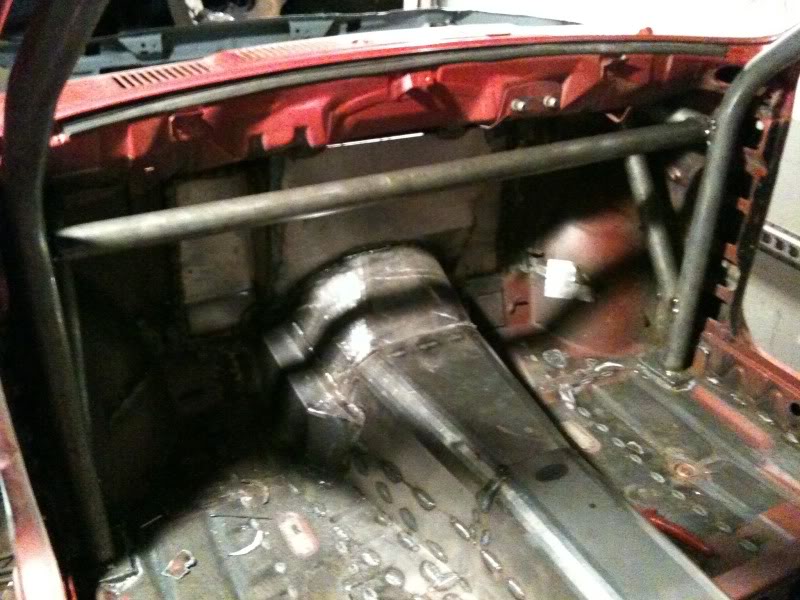
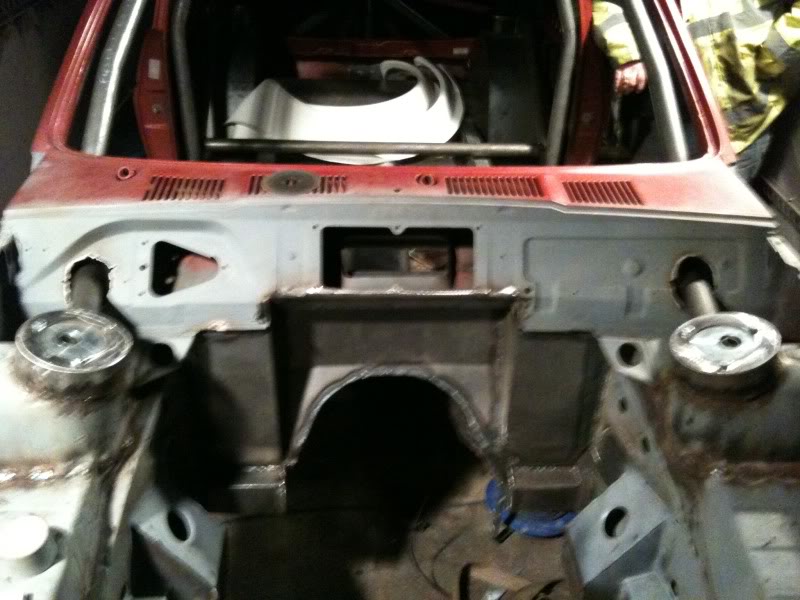
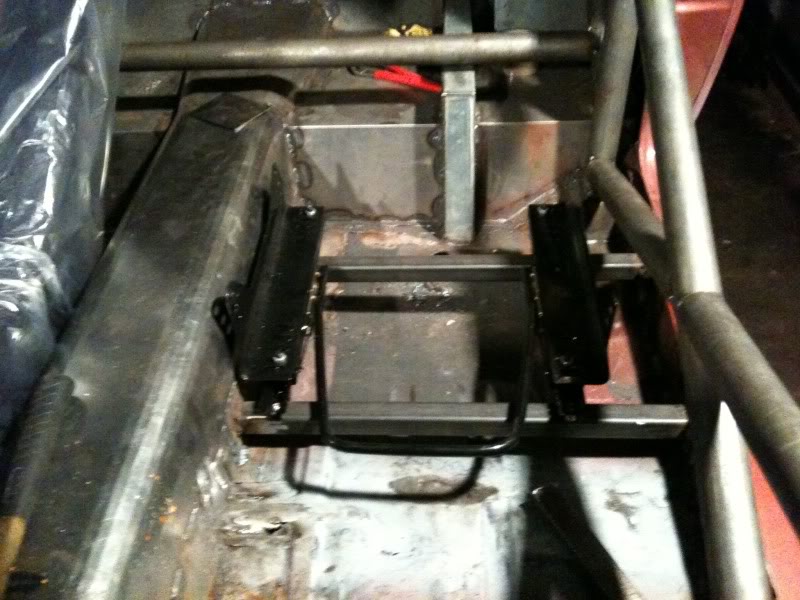
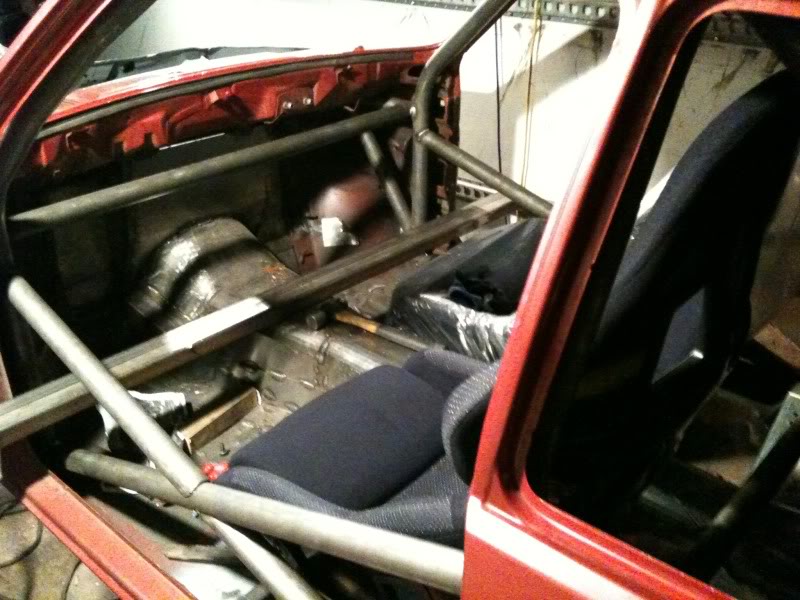

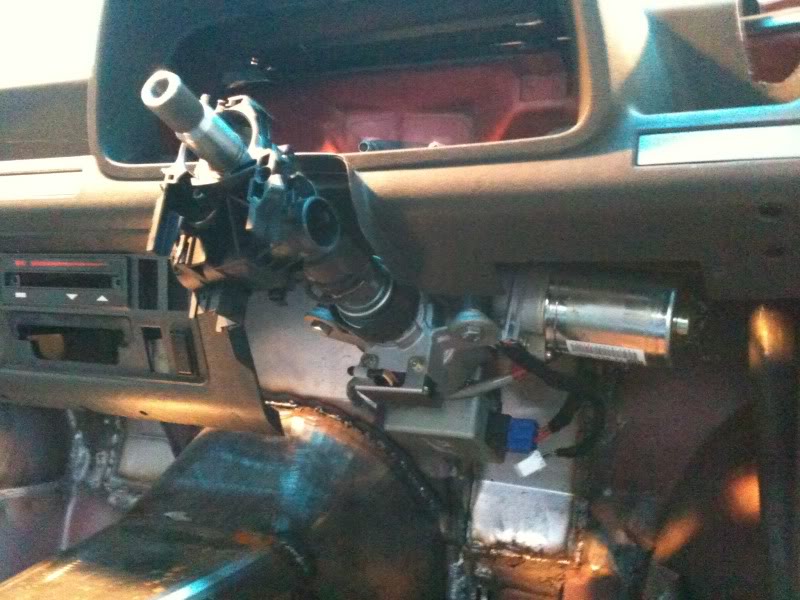
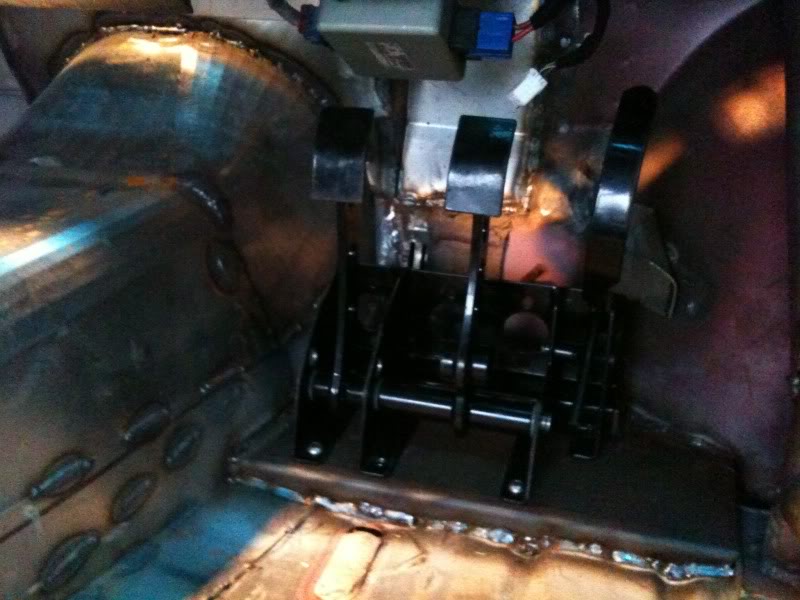
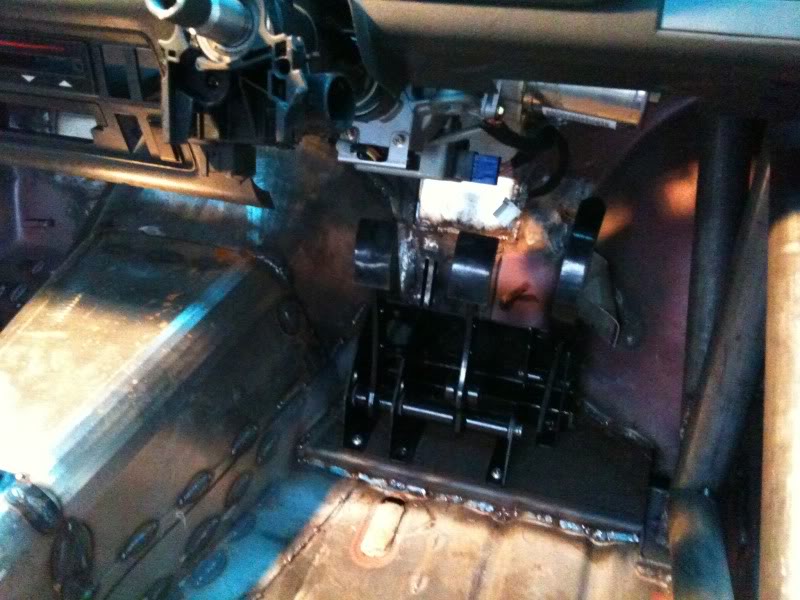
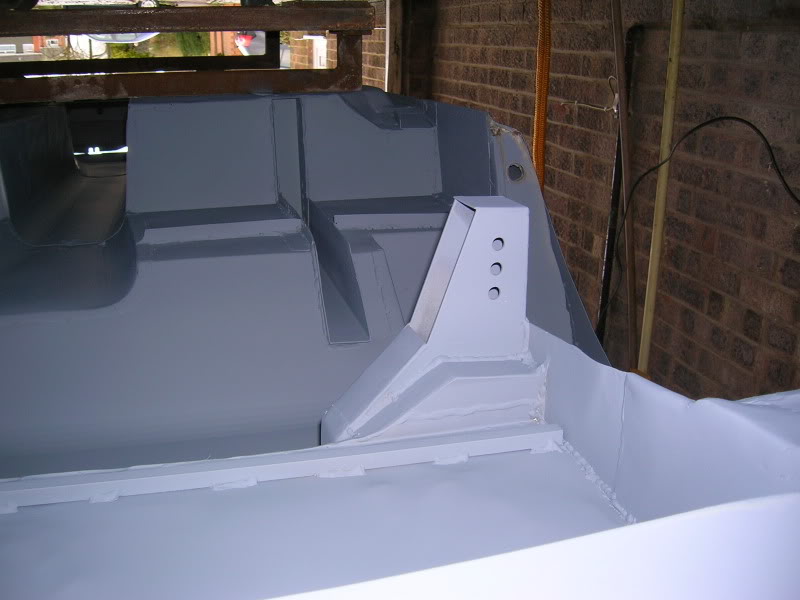
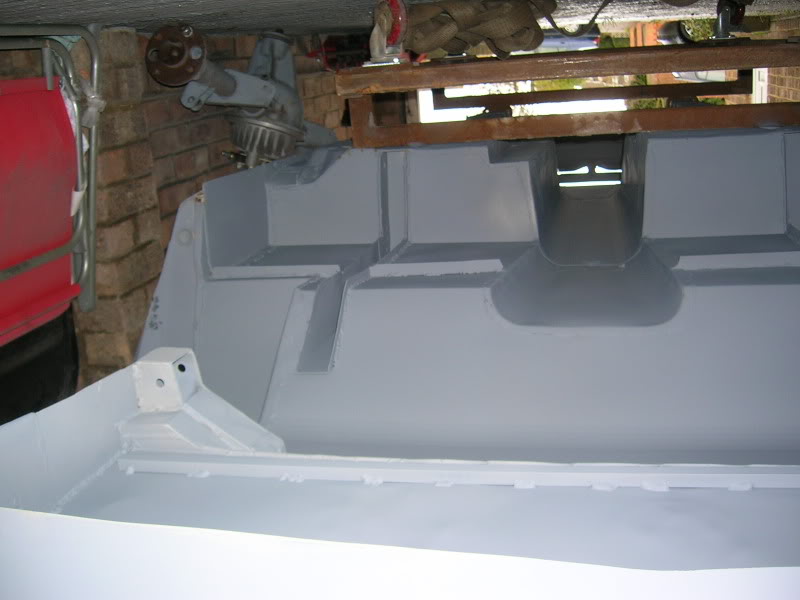
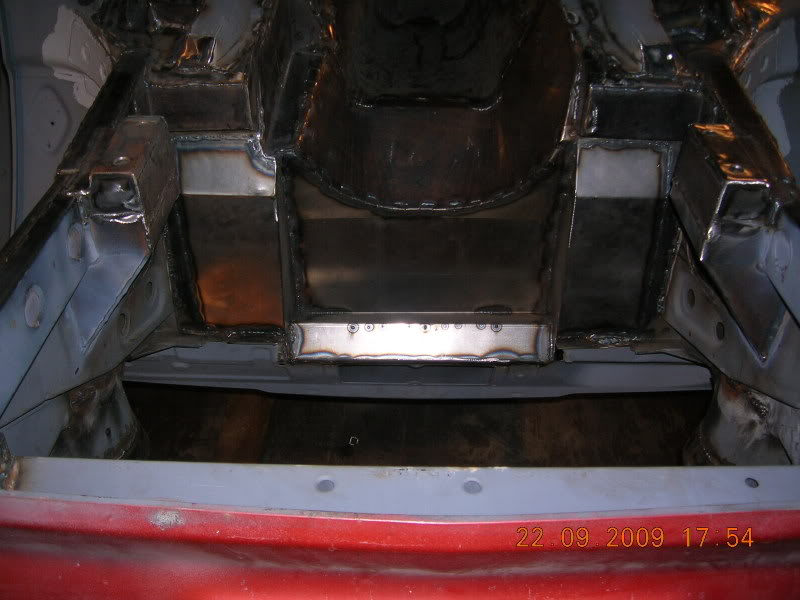
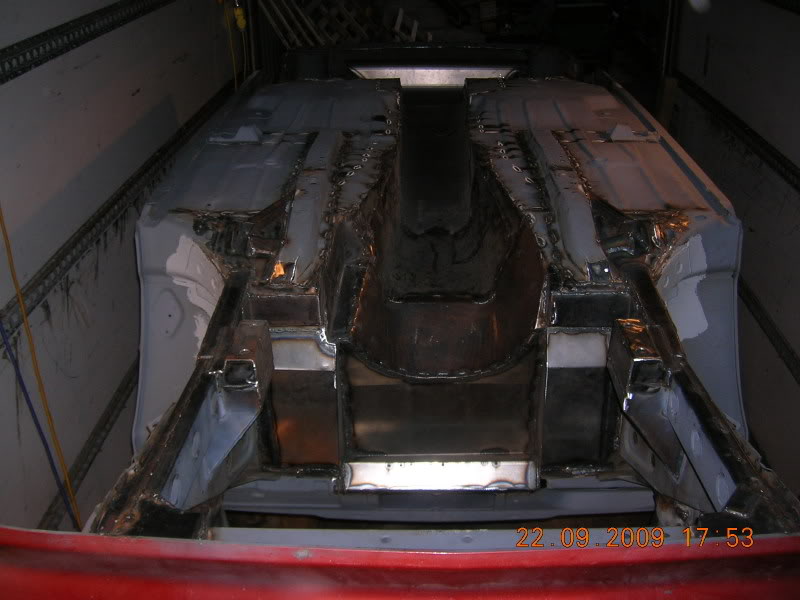
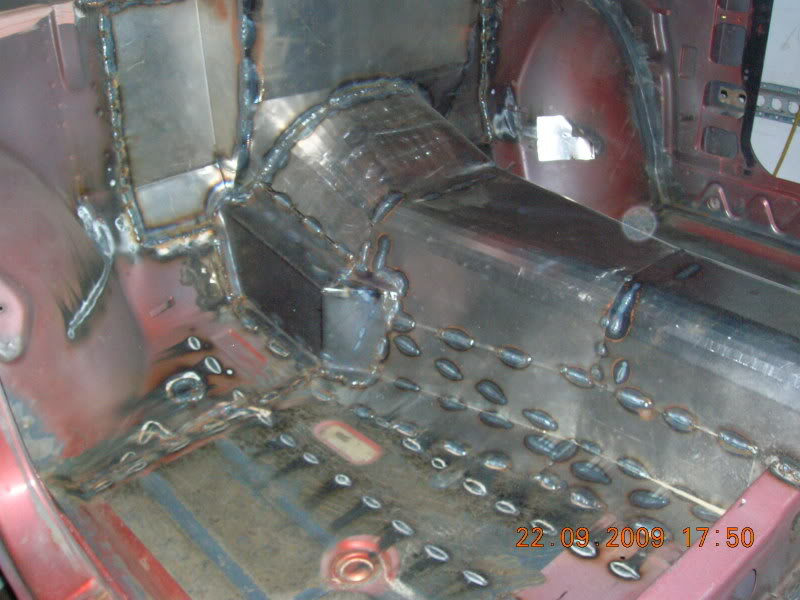
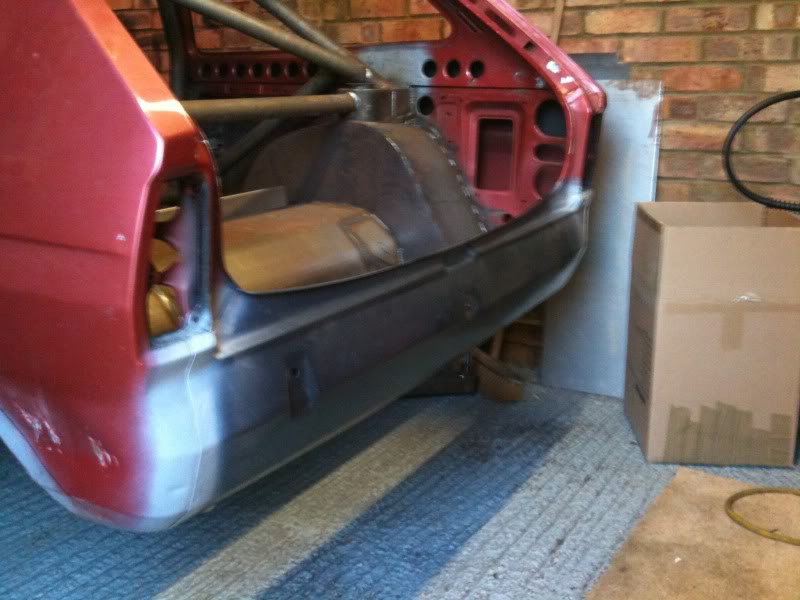
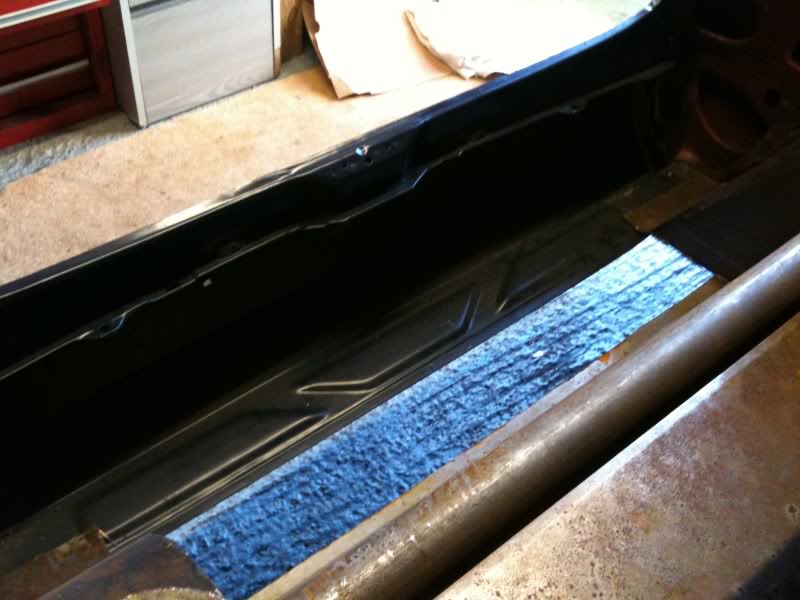
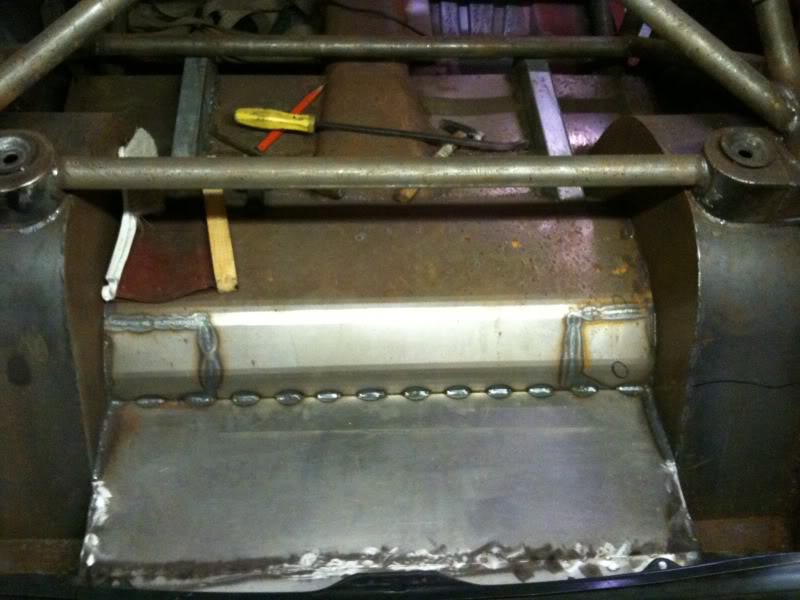
With that done, next job is to make a false floor driveside so your feet sit right on the pedals. After that is a new back panel and an exhaust section in the boot floor.
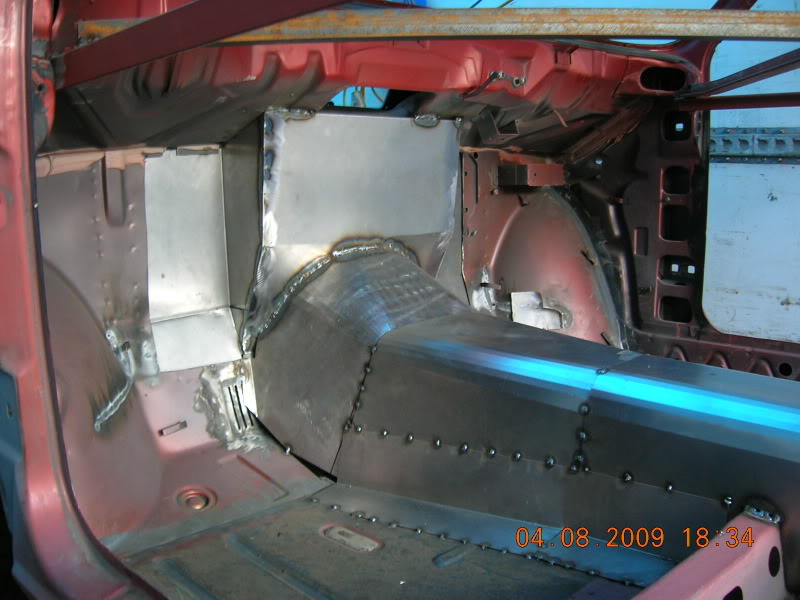
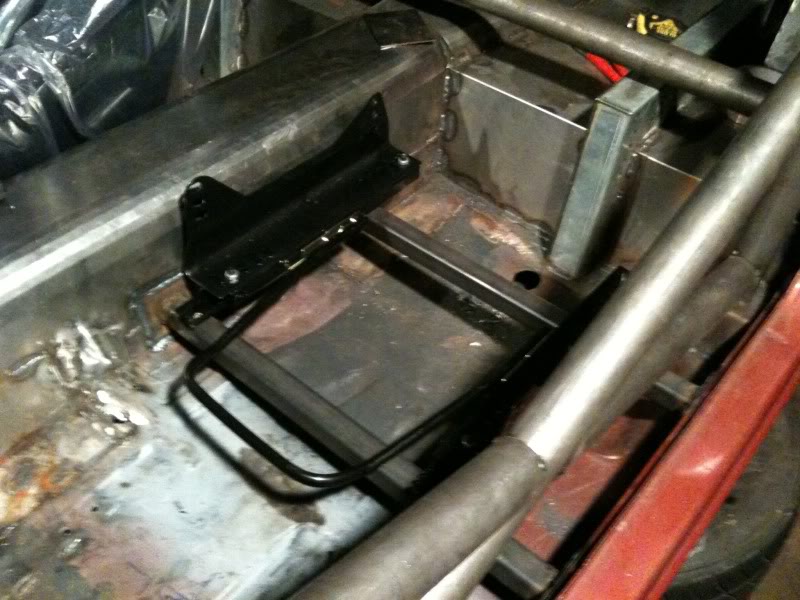
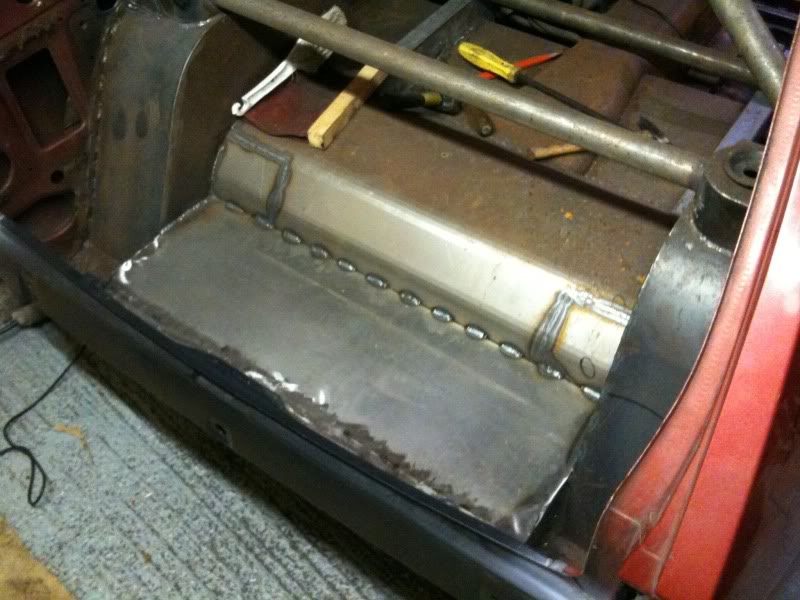
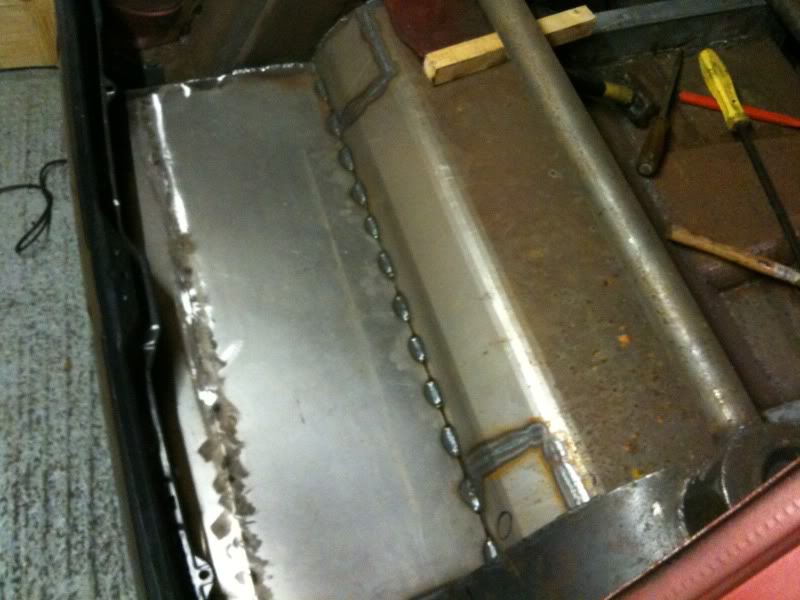
Small update for you guys, The car is back at home now so will be easier to update. Just been doing all the small bits thats not noticed really apart from the back panel and exhaust section on the rear floor. The idea is that the exhaust rear box will sit side to side under the floor and have a bend in the pipe to come out under the back panel. Here's some pics:


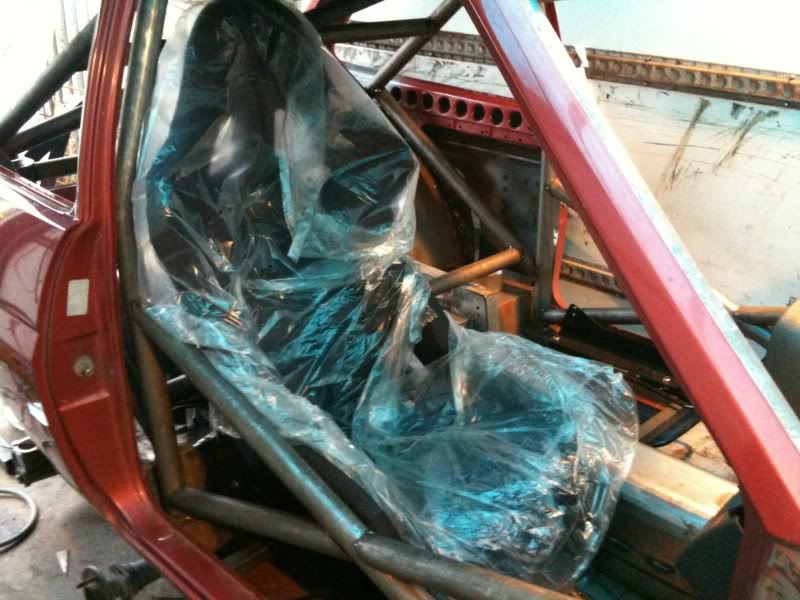
Next to do is the gussetts on the cage, bit of welding underneath then back off to the sand blasters to blast and prime.
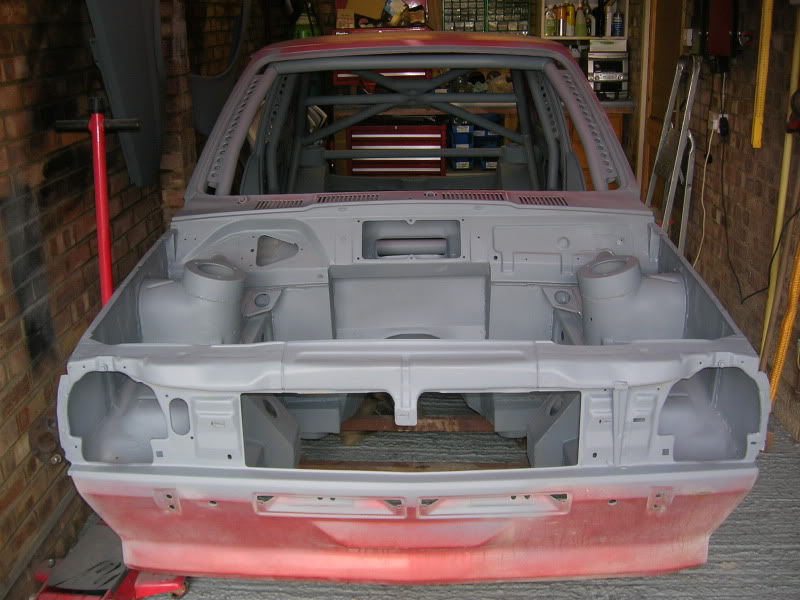
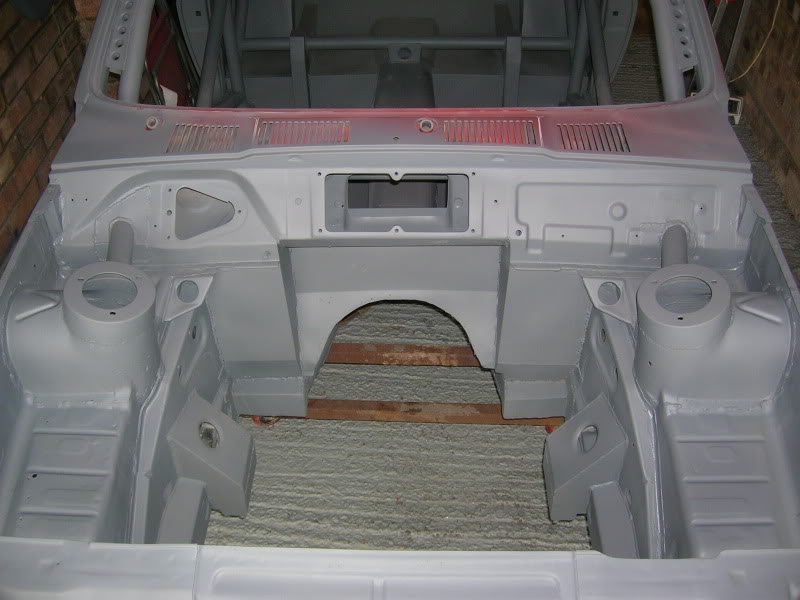
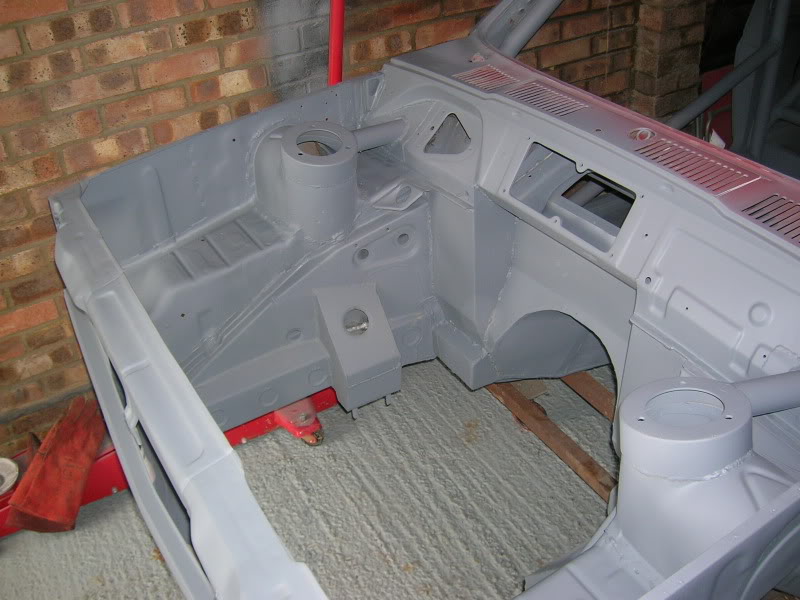
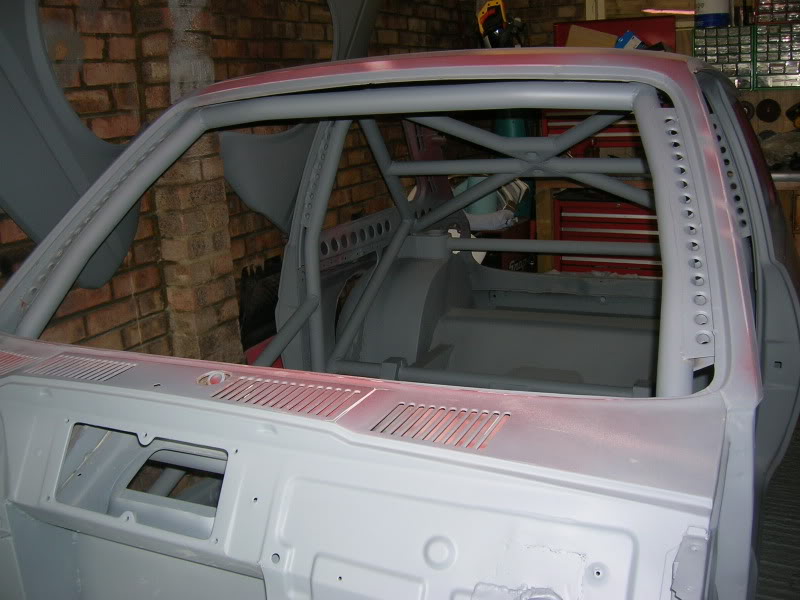
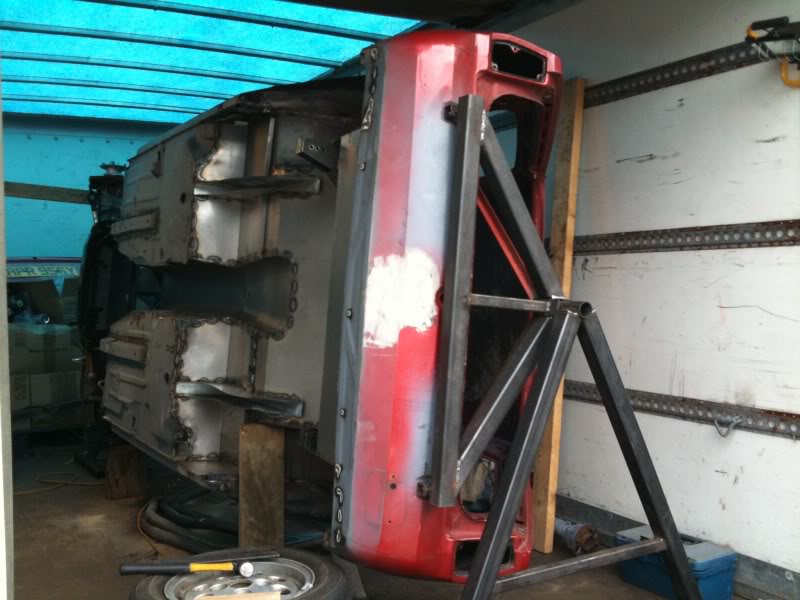
The shell has gone for sand blasting and priming. Will be back next week.
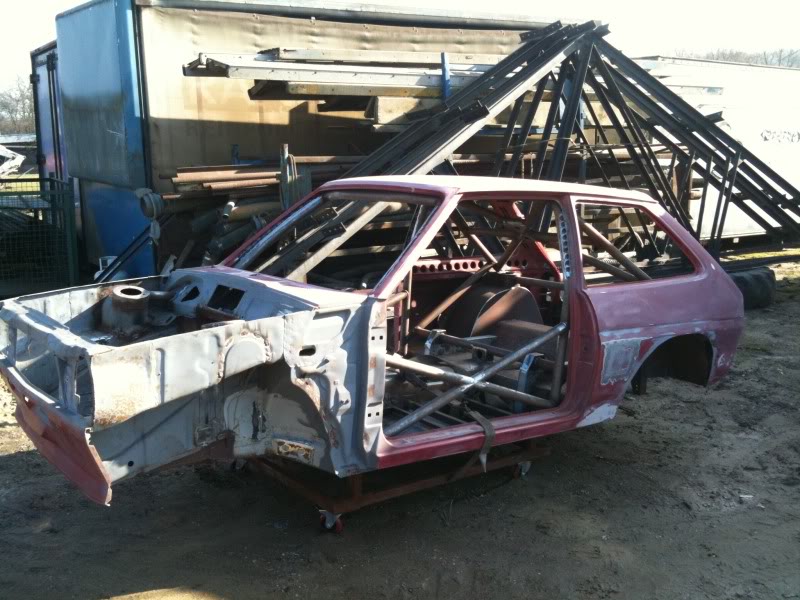
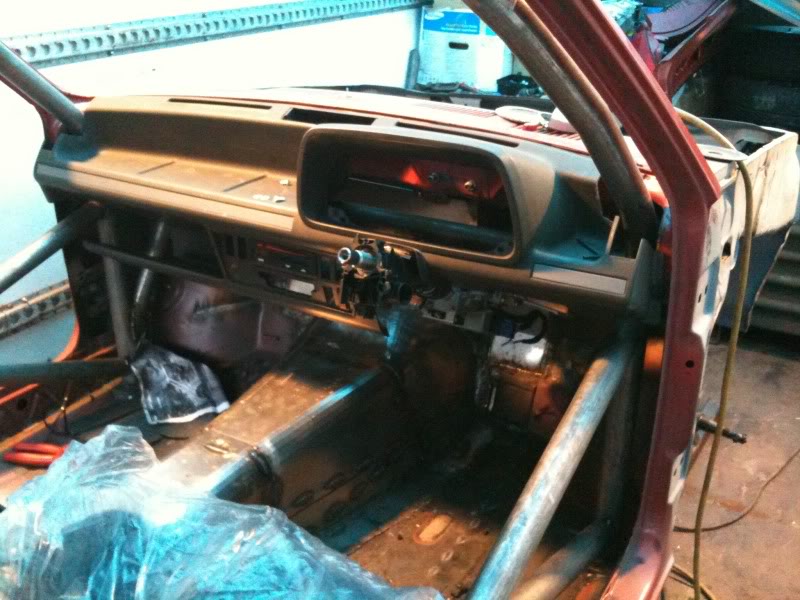
Got the car home today from the shot blasters, they didnt do exactly what i asked but never mind, i wanted the whole car put in primer but they've only done the bits they blasted. Next step is to graft the new arches on somehow. Heres some snaps from today.