Fitting a Mk4 Fiesta Boot Lock to Your Mk2
Due to wanting a matching lock set and OEM central locking I decided to upgrade my lockset to Mk4 Fiesta items, mostly because these cars are at the bottom of their value right now, so if it goes wrong there is a plentiful supply of spares. Other guides to fit the other locks in the set will follow soon.
Converting the tailgate lock
As with most of my modfications, I found the existing Mk2 lock in my collection of spares that was in the worst condition, that way I'm not ruining one that would be useful for something else.
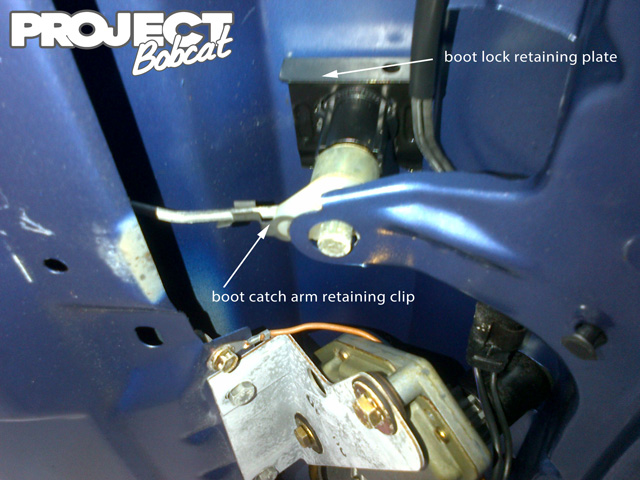
If you need to remove the lock from your car then its a simple job, lift the boot and remove the trim panel from the inside that covers the mechanism/rear wiper etc. Ive found that the plastic clips that hold it can be brittle so if you dont have any spares then heating them with a hair dryer should help to preven them shattering when you prise the trim panel off. With the panel off you just need to slide the retaining plate to one side to release the main lock body and undo the clip that hold the catch arm in place. Once the clip is undone (push to one side) then the catch arm presses out of its locating hole leaving the entire lock assembly free to be removed with a little wiggling.
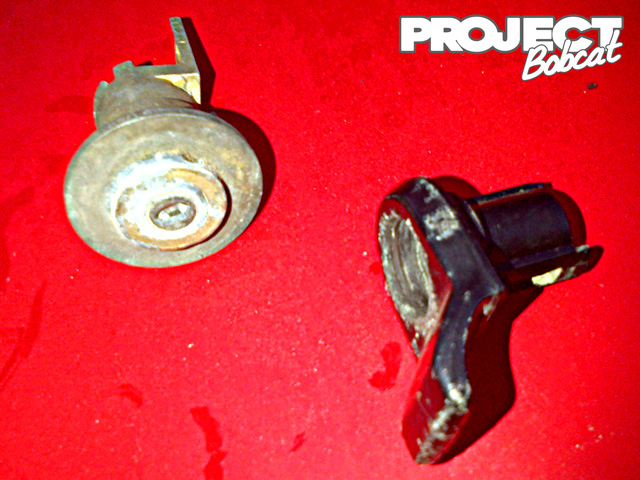
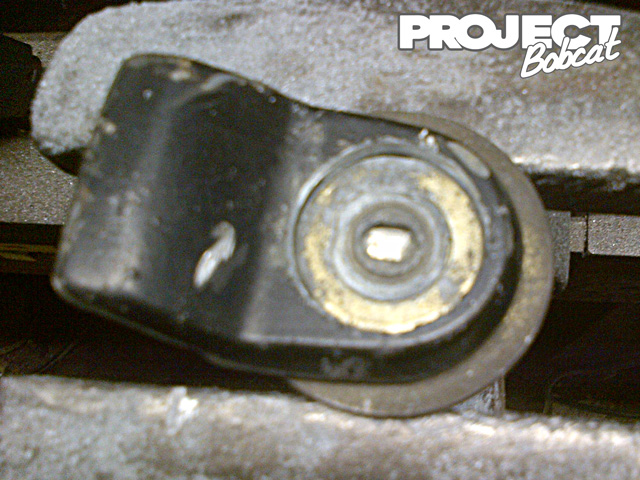
The internals of the Mk2 lock remove really easily, especially since they arent going to be needed again, a small circlip holds the bulk of the parts in place and with that removed you can seperate the black outer 'handle' from the lock mechanism. This should live you with something that looks like the lock on the right in the picture at the top of the page.
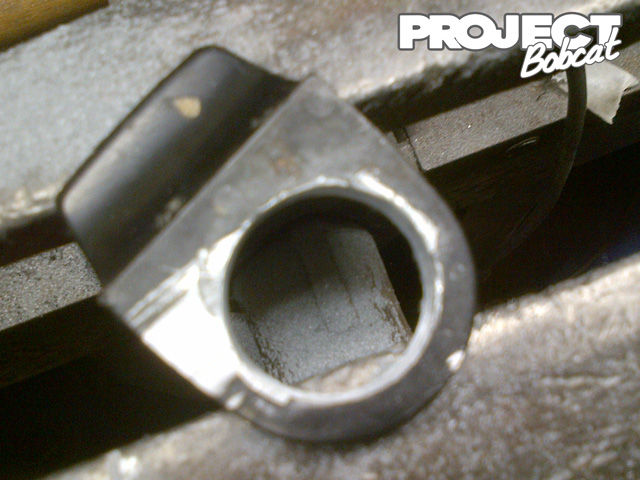
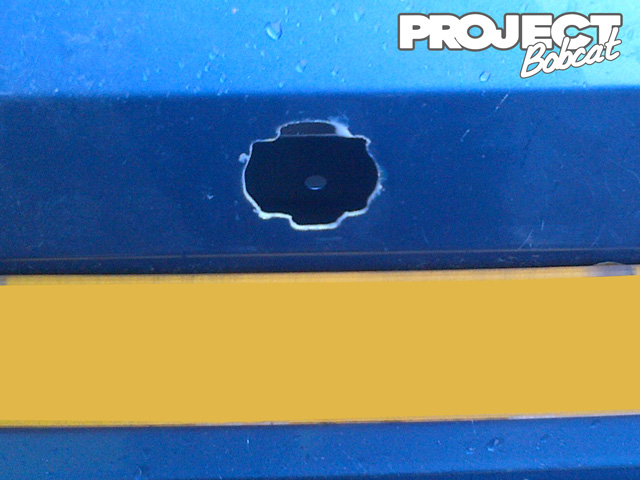
The next step is to start chopping up the mk2 lock. Using a grinder of hacksaw, carefully slice through the mk2 lock surround, try to keep the cut flush with the flat plate area that is visible on the outside of the bootlid. Then you will end up with something like the picture below.

The Mk2 lock hole needs enlarging to take the newer lock barrel, I used a dremel for this bit and carefully enlarged it so that the new lock fit snuggly inside. I took my time to make sure it was central and even all the way around.
You should have something that now roughly fits together as pictured.
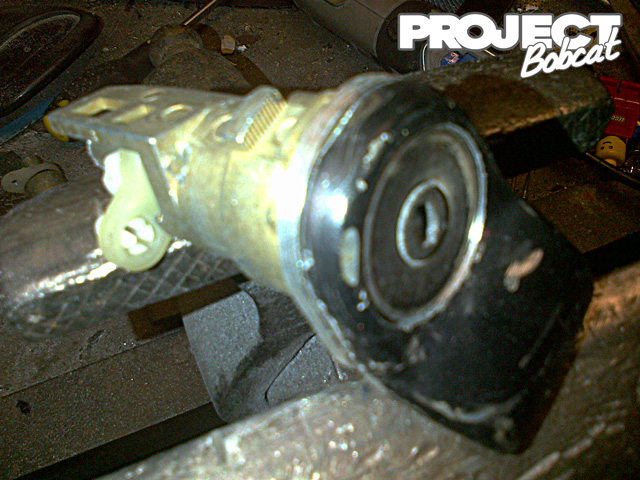
Now cut and file away the excess material from the Mk4 lock so that its profile perfectly matches the Mk2 handle. A slitting disc does a great job of getting the basic shape and then a flap disc neatens things up. Its aluminium so its quite easy to take off too much material so take it steady. Note the Lego man supervising in this pic, he looks after health and safety.
Now you are ready to join the old lock surround and new lock barrel together. Due to the difference in metals, i found the easiest thing to do was to use a two part epoxy(JB Weld)to bond them togther. I sanded both parts till bright with 400 grit to give them a clean and slightly rough surface to maximise adhesion. I should point out at this point that they were a snug fit without the bonding agent and took a bit of force to seperate them anyway. After applying the mix I left the lock overnight to harden.
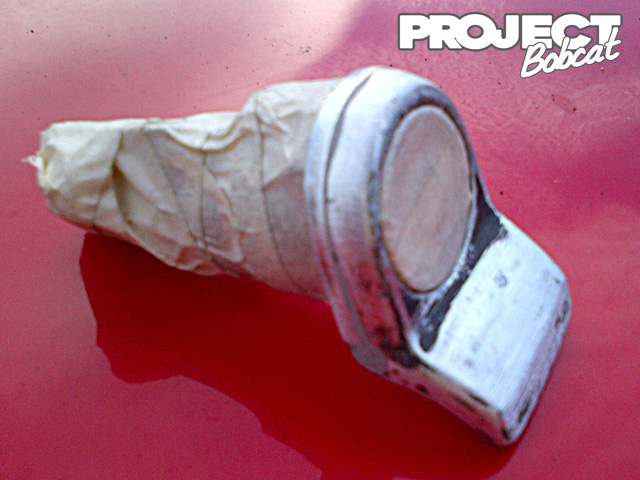
Now that's out of the way the lock can be sanded smooth to remove any of the excess epoxy and then primed and painted. Mask up the lock carefully to stop any paint getting inside.
The Mk2 rubber lock surround needs a little trimming to fit around the larger lock so use a craft knife to modify it to fit. the corners need trimming out to fit. You will be repeating this process on the metal of the bootlid as well.
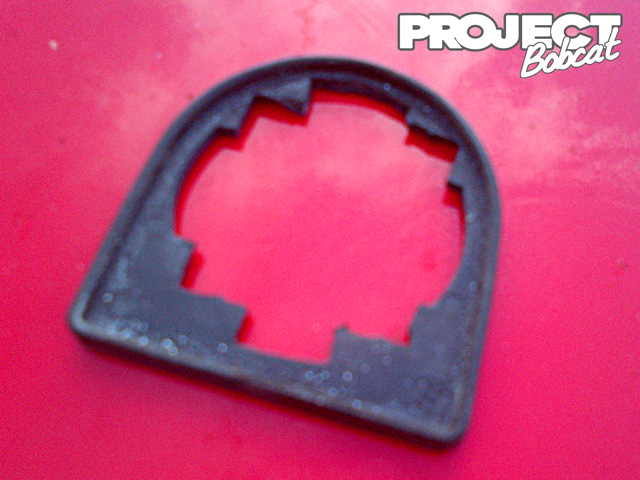
The photo below should show roughly what you are aiming for, there isnt much enlargement, just trimming of the corners, again take your time and make sure you touch up the exposed metal when youve finished to stop it rusting.
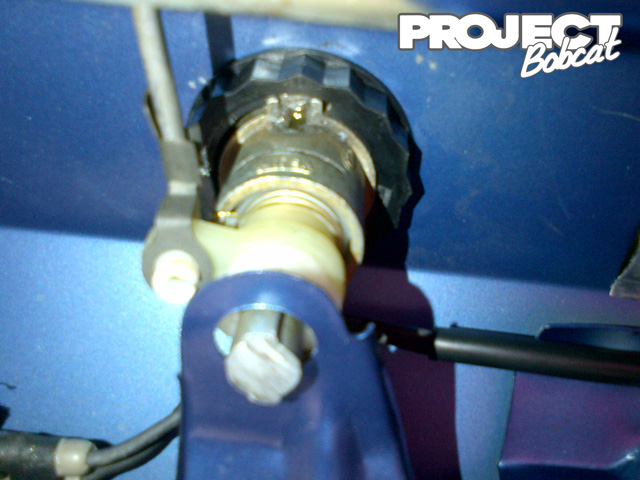
The last modification you need to make is to chop off a bit of the rear of the lock assembly, its too long as standard so trim it so its roughly the same length at the old one, in the picture you can see the rough unfinished end where it has been cut down. Finally insert the finished lock into the tailgate and tighten the new (Mk4) boot lock retaining cliponto the lock assembly from the inside. Use the old catch arm retaining clip to hold the arm in place
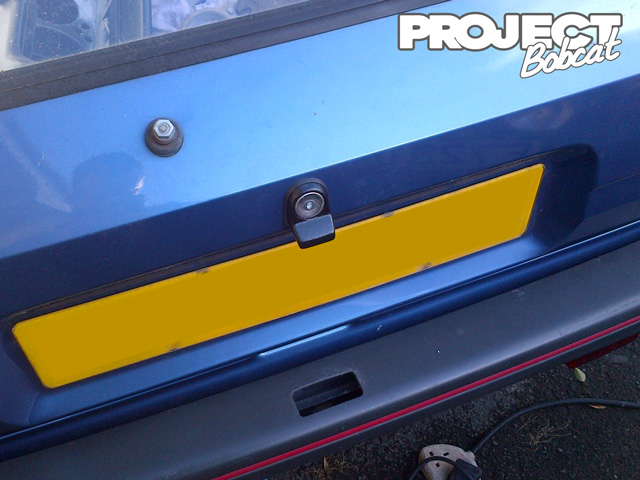
You should now have something like this, if all is working fine then replace the trim panel on the inside of the bootlid. You're done!