›
› 1987 1.1L Automatic Zetec SE Conversion
1987 1.1L Automatic Zetec SE Conversion

Author: James Ross | Photographer: James Ross
This 1.1L Automatic is being converted to run a 1.4 Zetec SE and a manual box.
A New Purchase - 1987 1.1L Automatic Fiesta
24th May 2012
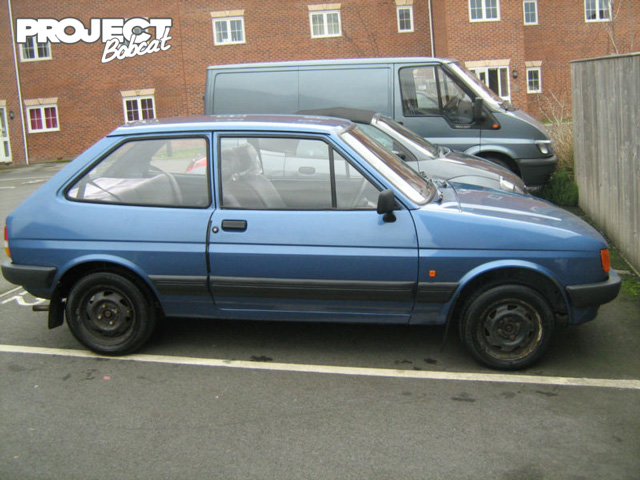
Technically I don't need any more car related headaches in my life but this one came up locally and before I knew what I was doing I'd clicked the pesky ebay bid button and ended up with another Fiesta. This time its a 1987 E Reg 1.1L in Crystal Blue. I've always liked this colour and its probably filling a gap in my heart that the previous Crystal Blue XRGhia left when it was scrapped.
This car appealed because its never being messed with, its only done 17000 miles and its only had one other owner from new. I bought it blind which is always a risk and it does have its bad areas but for the price paid I'm pretty happy. Its my first automatic which I'm expecting to be fairly crap but it does make it less common than the usual 4 speed manual models.
I've had a quick look over it and there are a few areas that need work, the dealer that sold me the car blatantly lied on the phone over the lack of welding, he put it through a MOT the week before I bought it and as part of that he bodged a steel plate onto either side of the rear quarter panel where it meets the boot floor. It was so badly done I managed to prise them off with a screwdriver.
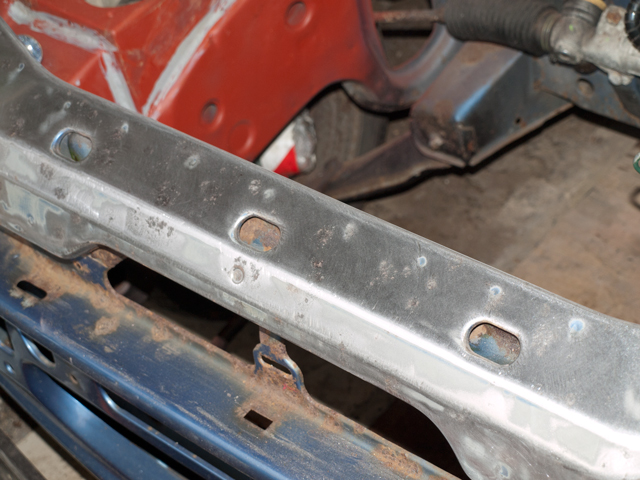
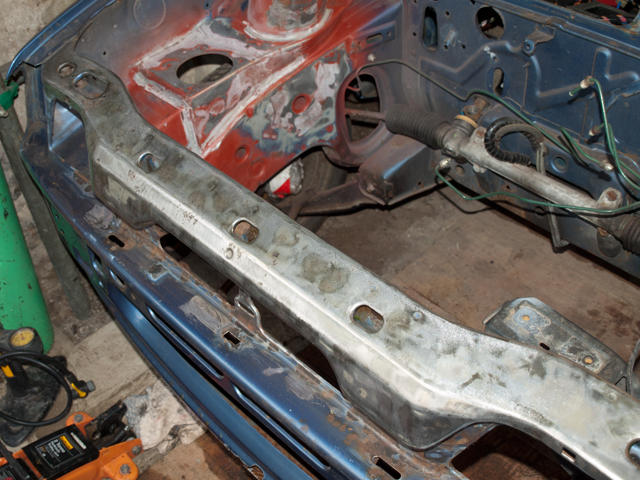
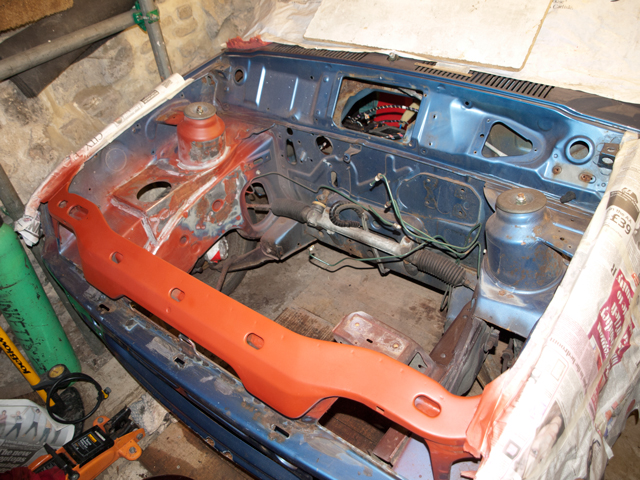
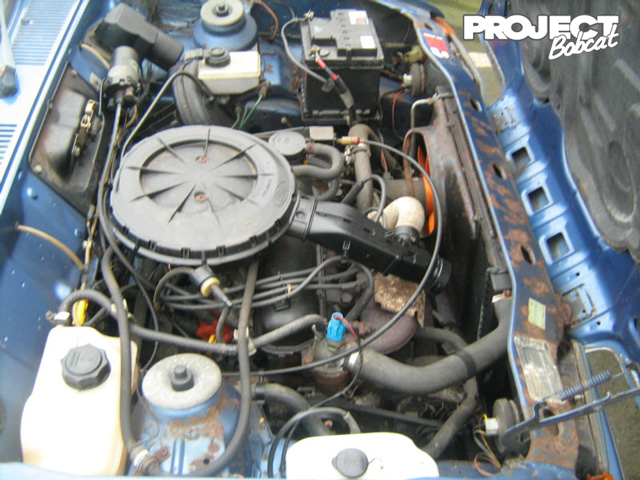
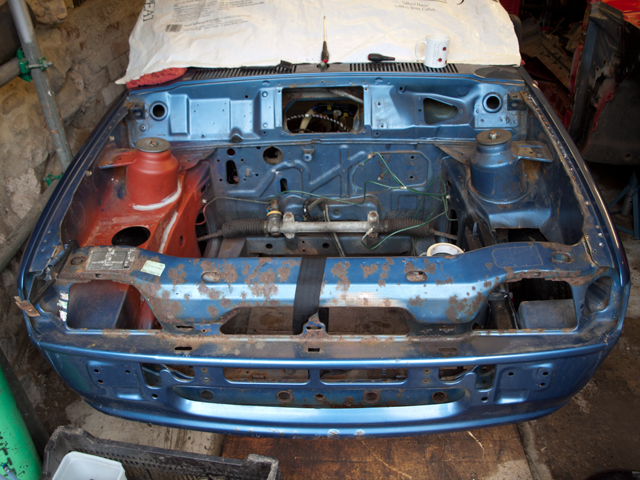
The front slam panel has some surface rust to the centre and the bonnet/front bumper have corresponding areas of corrosion, Im guessing at a garage roof leak pouring straight onto the car in that area, i suspect it was sat with its bonnet wide open. It also needs the wheels replacing for originality as its sporting some rusty ka/mk4 fiesta steels.
The car comes with very little service history aside from the last tax disc from 2003 but the plate and tax disc holder along with a Welsh national trust sticker gives away that it spent its life in Carmarthenshire. Im going to try and track down the previous owner to see if she had a service book but I'm not holding out much hope. The dealer told me she was over 100 but most of his claims turned out to be lies so we'll see what happens.
Here are the pictures used to advertise the car.
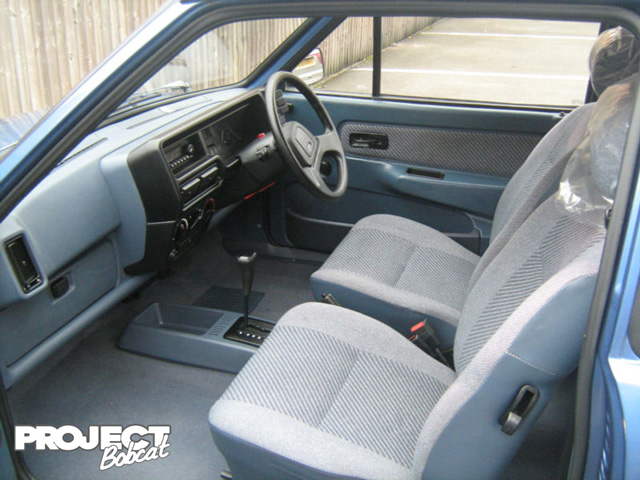
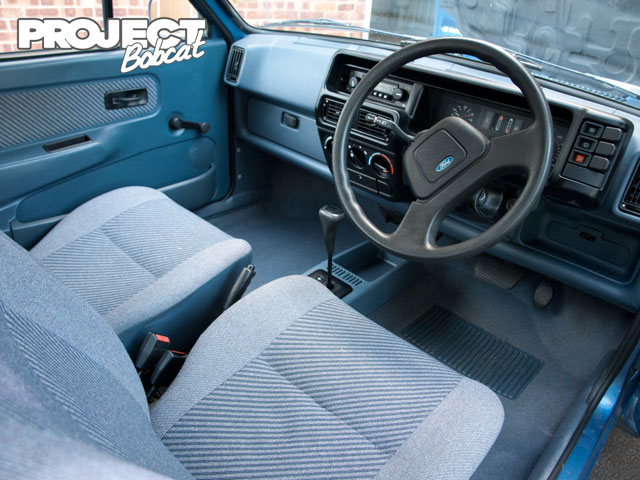
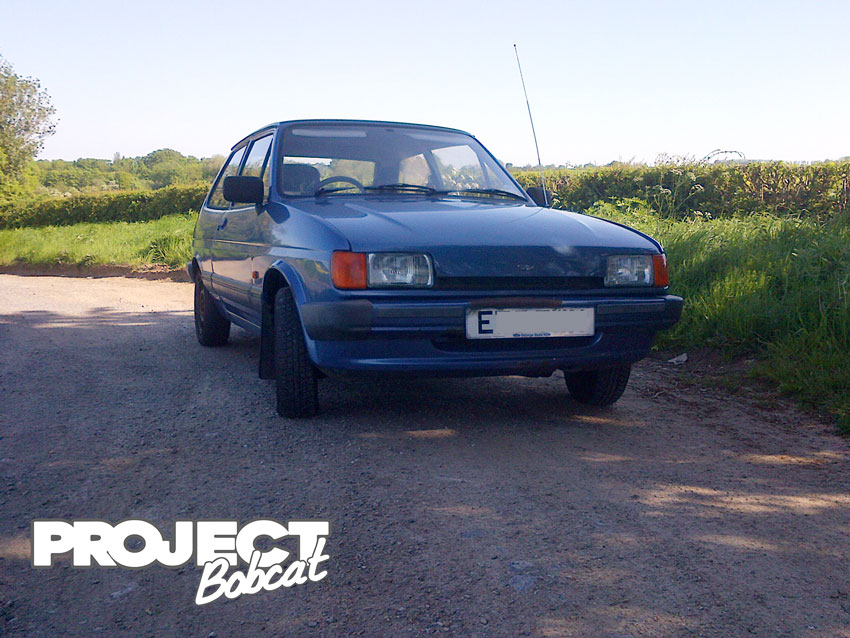
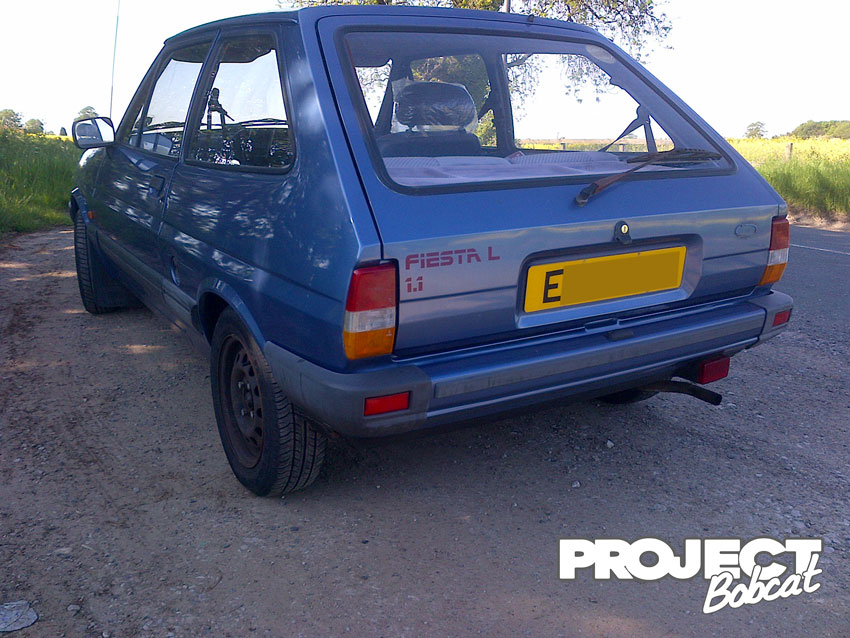
These are the first pictures I took after driving it home, the Automatic box was quite advanced for its time but it takes some getting used to, the whole drive felt a bit unsafe.
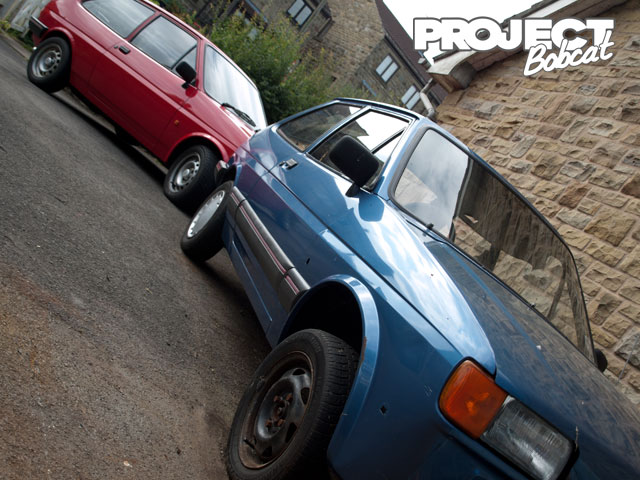
The donor car has arrived
26th May 2012
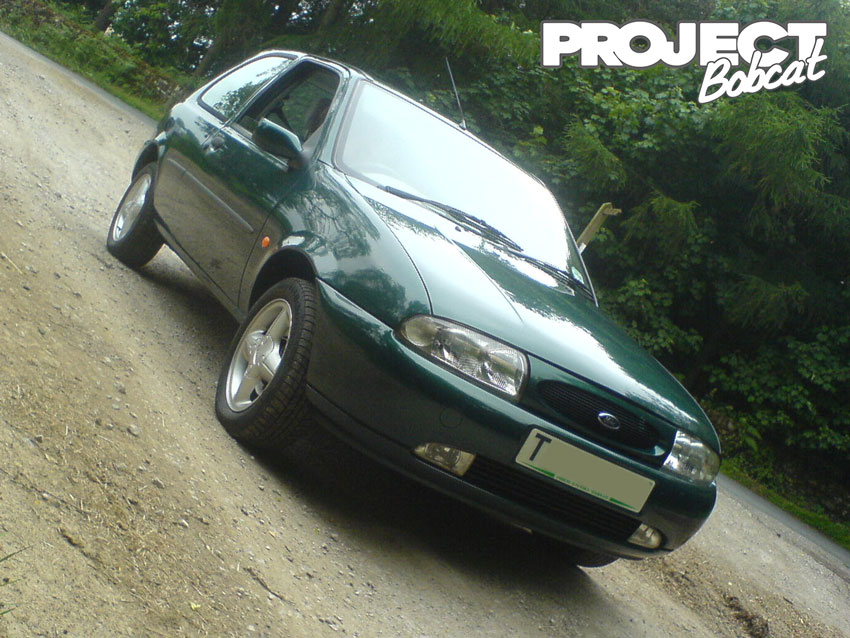
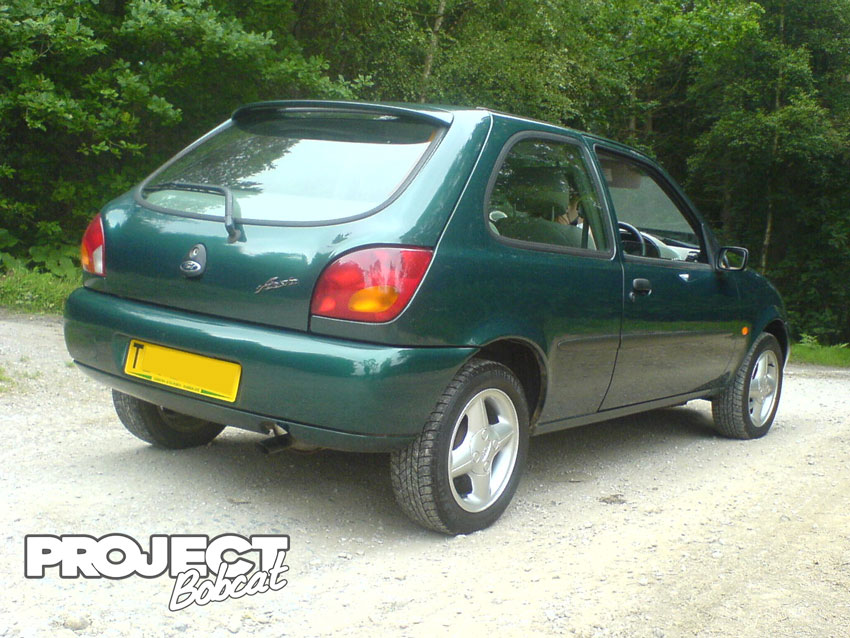
I've also picked up this low mileage 1999 Mk4 fiesta on a T registration to use as a donor, it's a manual 1400 Zetec SE which is ideal for my plan of building a OEM+ version of the fiesta, it also means that I'll be able to throw in a 1700 puma engine at a later date if I decide I'd like a little power hike. The puma conversion has to be one of the simplest going, it's really just a case of dropping in the engine and ecu and swapping over the key transponder if retaining the factory pats system.
Mk4 Instrument Cluster
27th July 2012
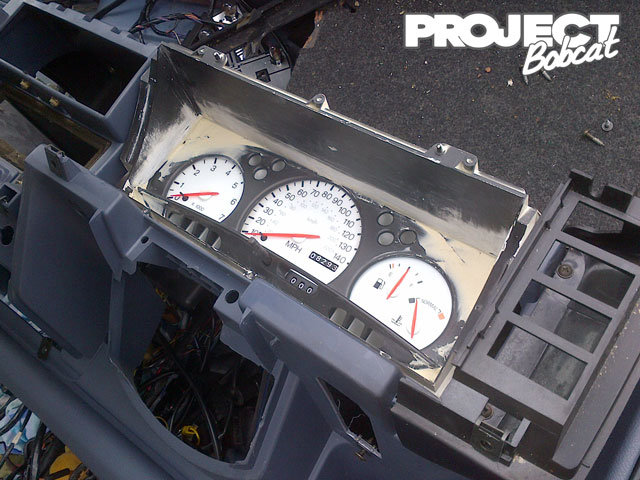
I like the look of the original dash and want to keep things looking standard but the instrument cluster is always poorly lit in the Mk2 Fiesta. Its common for people to remove the filters from the bulbs or fit brighter ones but I've decided to do something a bit different, im fitting the entire panel from a late Mk4 model.
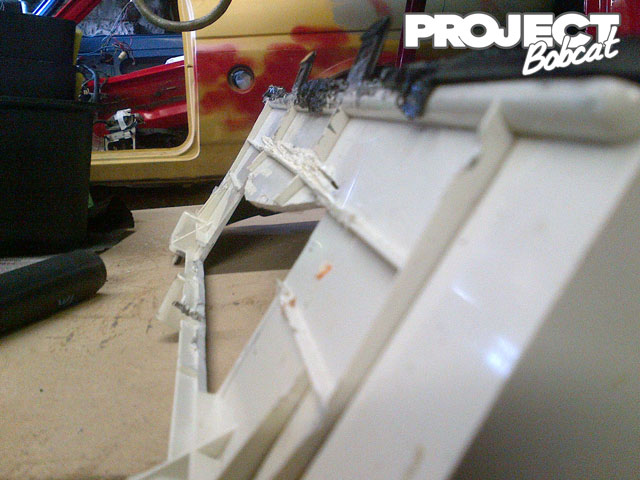
First of all I seperated the Mk4 cluster surround from the clocks so that i didnt damage them when chopping things up
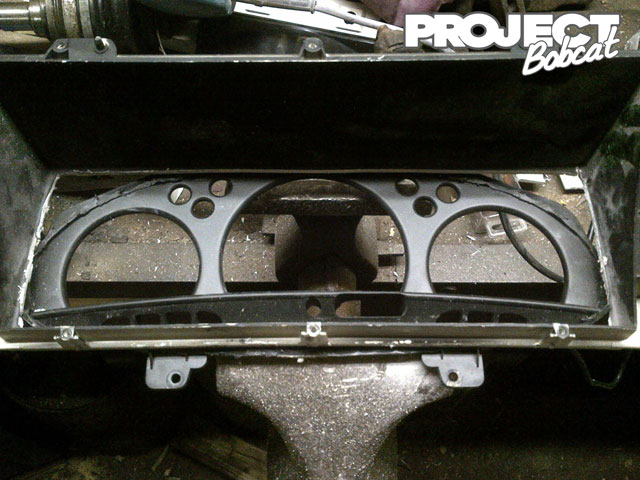
The next step was to do the same with the Mk2 cluster.
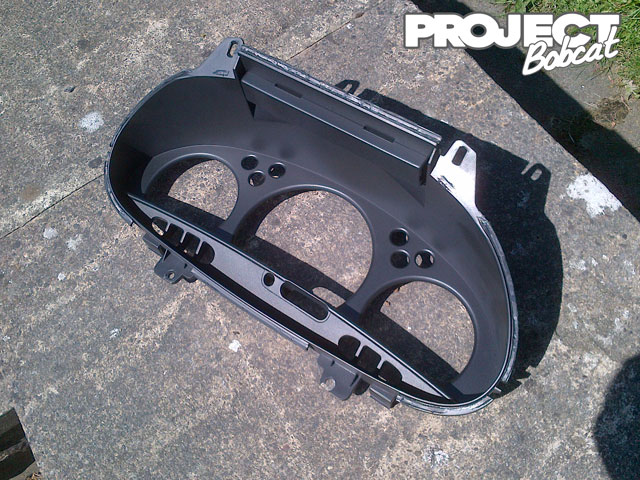
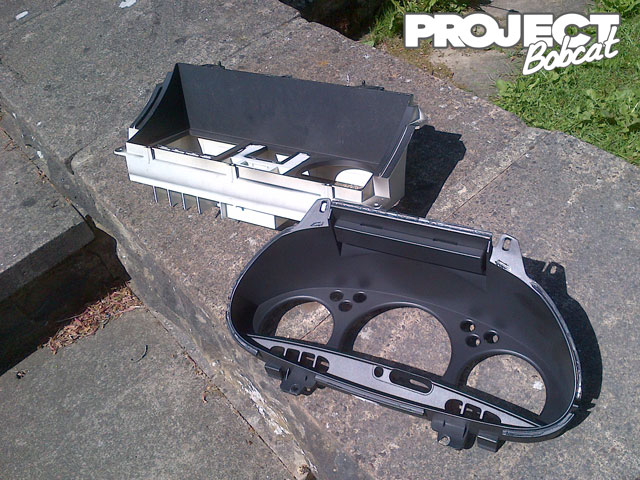 Next I cut the centre of the mk2 cluster away and removed the oval surround from the Mk4 leaving me with something like this..
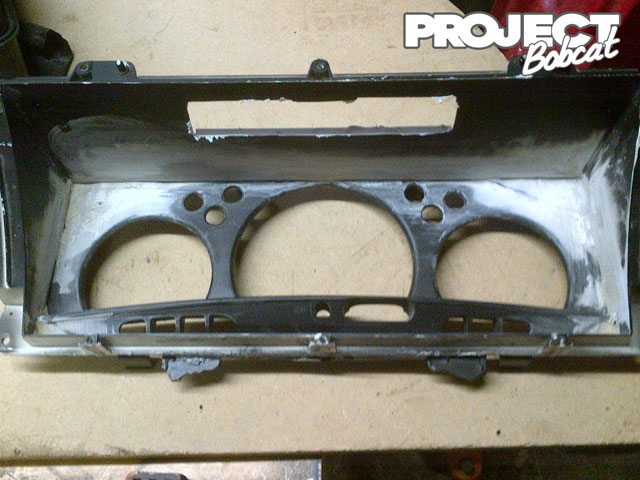
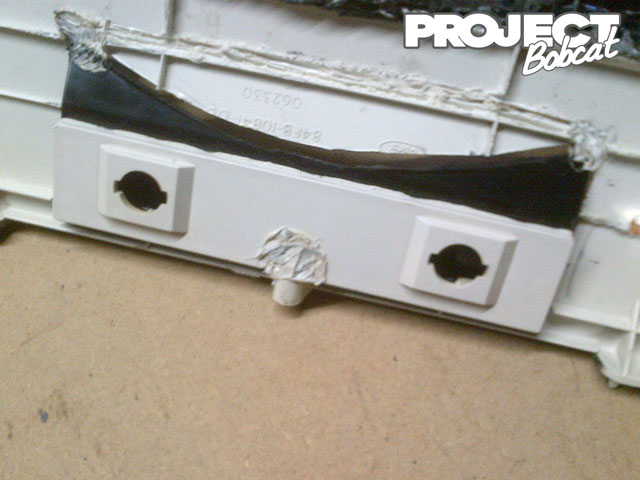
 I used some of the left over plastic surrounds to make infill pieces to fill up the gaps in the corners, after plastic welding them in I skimmed them over with some bodyfiller.
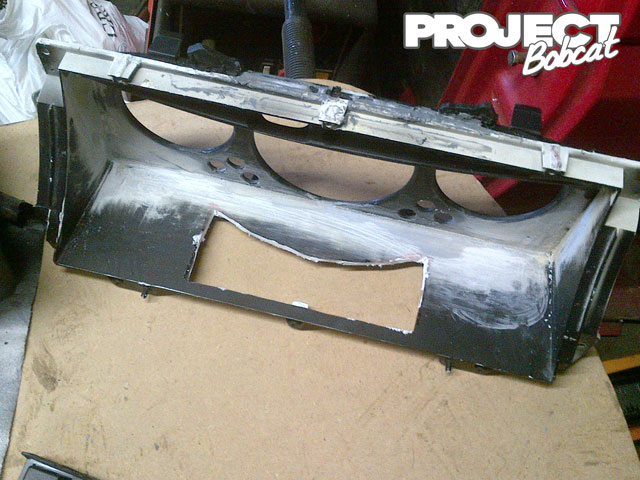
The Mk4 uses a bulb enclosure in the top of the cluster that sits closer to the driver than the dials. It then shines back towards the clocks giving a fairly even illumination thats really easy to see at night. To add this to my new hybrid cluster I had to cut out a hole in the roof of the enclosure.
 The bulbs need a recess creating to direct the light, I cut out the curved shape with a dremel and then heated the plastic until it was soft enough to bend upwards.
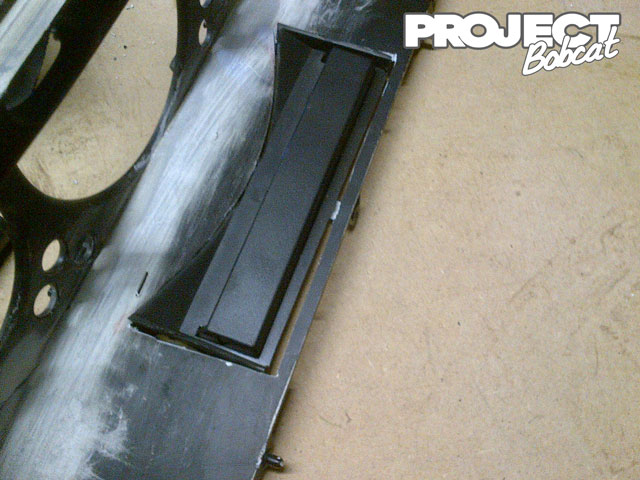 The light bulb holder was then plastic welded into place. In order to create more clearance between the cluster and the dashboard surround I am using led's inserted into the original bulb holder holes as they dont stick up as far as a traditional bulb would.
Zetec SE mounting
8th September 2012
The intention today was to carry on with strengthening the mounts for the Zetec and IB5 box.
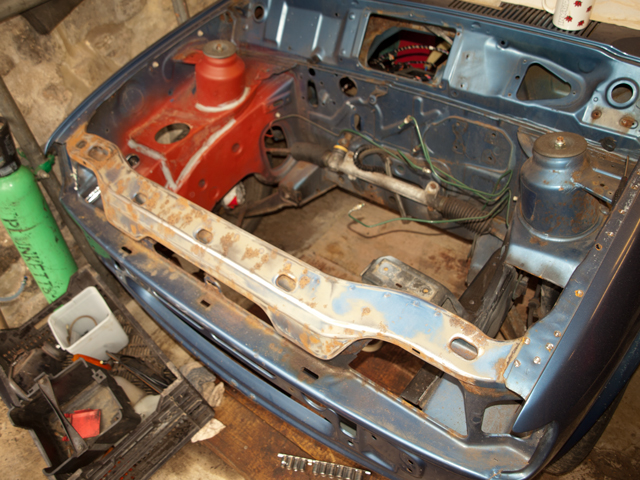
I started off by revisiting the Mk4 gearbox mounting point that I'd previously tacked in, I wanted to beef it up a bit and add in the Mk4 battery tray bracket. This should free up an area of the inner wing to mount the airbox in a position that is close to factory on the Mk4.
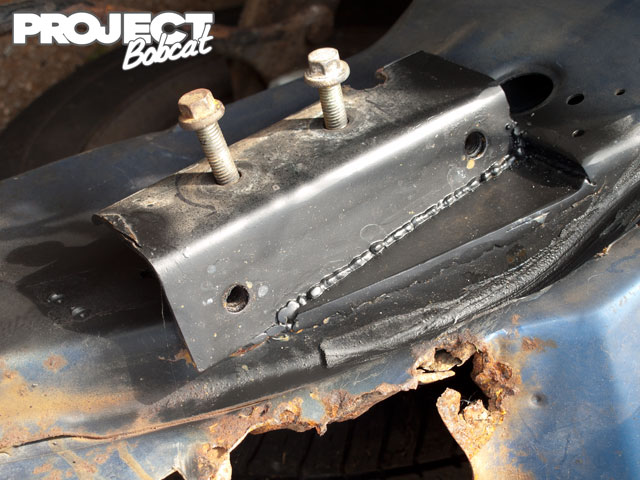
I had to use some of the offcuts of the Mk4 inner wing to assemble something that would be strong but hopefully look fairly 'factory' when finished. Ive brought the front edgeof it forward to meet the triangular crossmember reinforcement brackets. This will mean that the horn will have to be relocated but theres plenty of room under the wing for it. Ive cut out the rotten area of the inner wing, I held off on this because I knew it would have to be cut away for the airbox but now I can accurately mock it up.
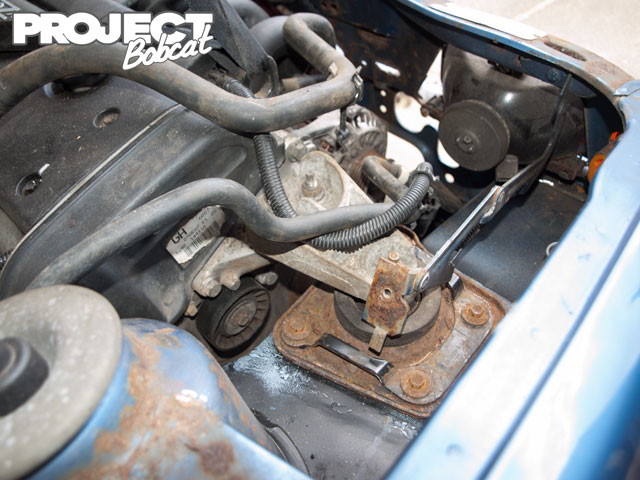
With the bracket welded in place I dropped in the engine to double check everything fitted ok. The battery box fitted on without too much problem although the bulge in the bonnet sound deadening does touch it. I think I will use a product like silent coat on the underside of the bonnet in that area so its not an issue.

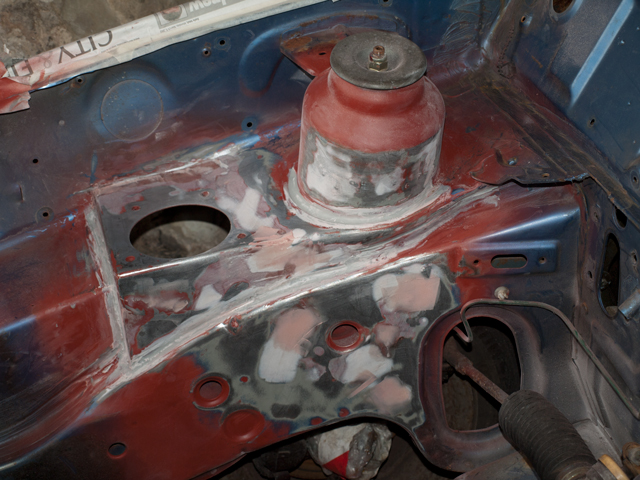
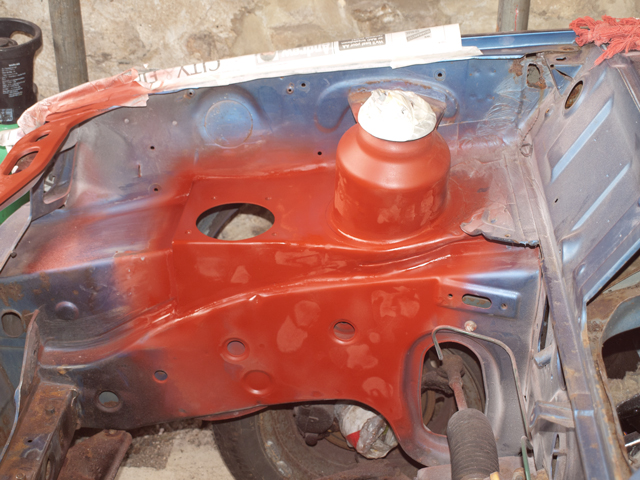
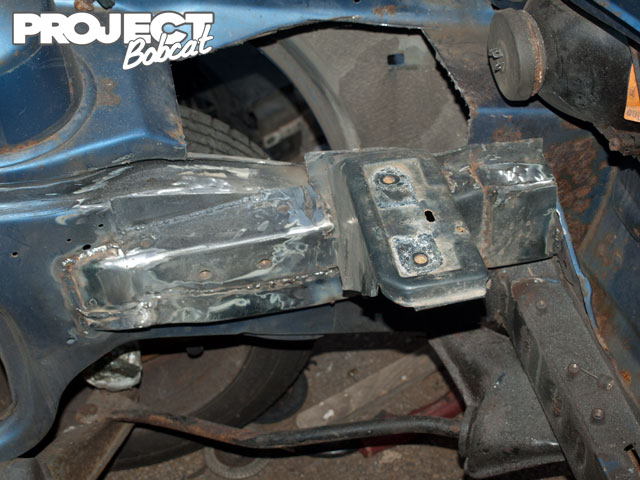
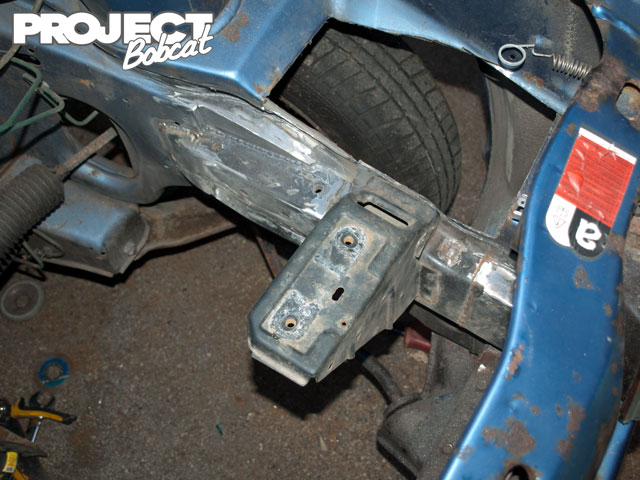
Seeing as the gearbox mount had been so straightforward, I had another go at the driver side and boxed in the section of Mk4 wing to make a sturdy mount capable of supporting the weight of the engine properly. For now I've just finished it in some old spray paint to keep the elements off.
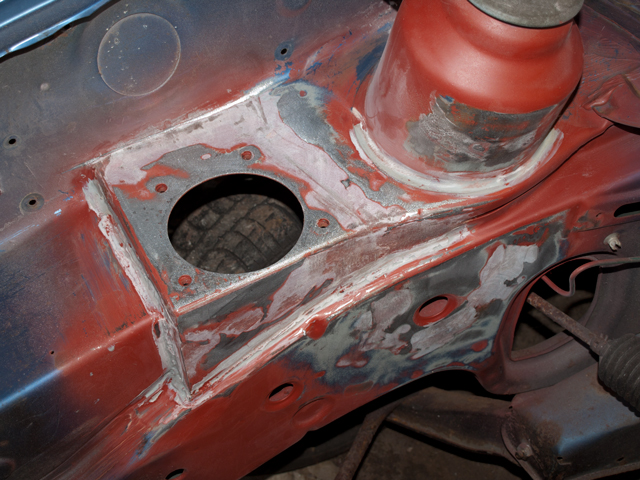
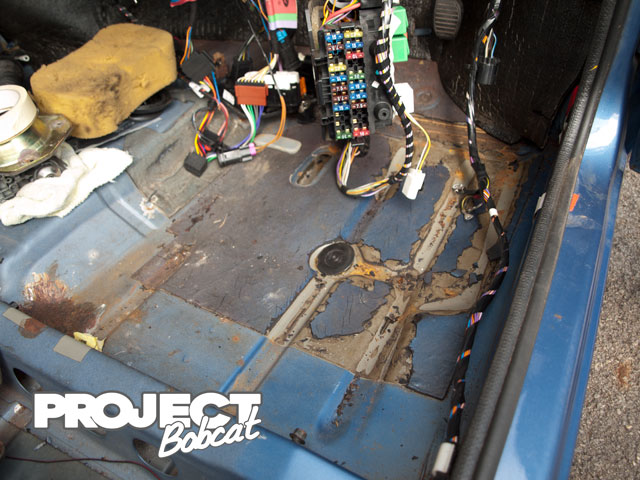
The next step is to add in the engine stabilising bar which will be welded to the floor/chassis leg at the bottom of the bulkhead but time was against me so i decided to clean up the drivers floorpan, water had been leaking in at the bottom of the door seal and it was a bit of a mess. It only took a few minutes with a scraper and some thinners
Before:
After:
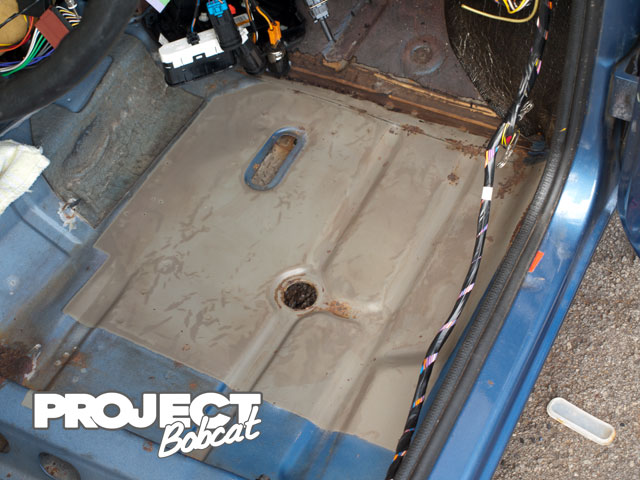
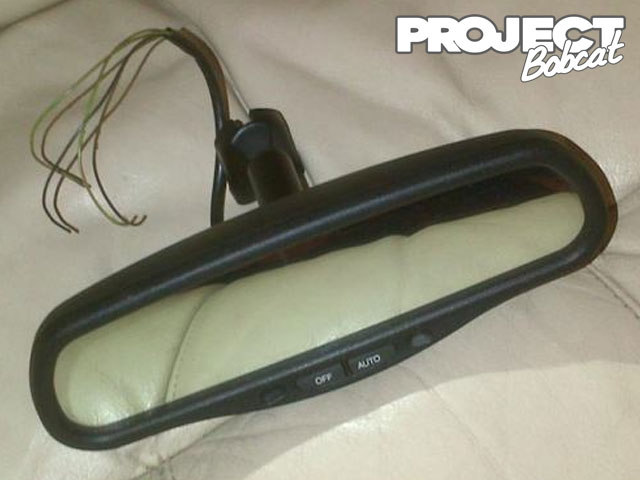
Its highlighted the extent of the corrosion but luckily it all looks really minor. Finally for today, I finished off with a quick purchase on eBay, I bought a auto dimming rear view mirror from a Mk3 Mondeo. It comes with a small section of wiring which is a bonus.
Add a Comment
Page Last Updated: Saturday 18th of May 2024


 I then used the wire brush attachment to remove the thick of the rust. I had a few half full containers of various rust treatment products so I firstly gave the entire panel a thick coat of Hammerite rust removal gel, then used a sanding disc on the grinder to further remove more unwanted material.