Adjustable rear beam fitted
6th March 2009
Finished fitting the Rutland rear Beam today. Will let it settle for a few days on its wheels. Then will look into settings etc.
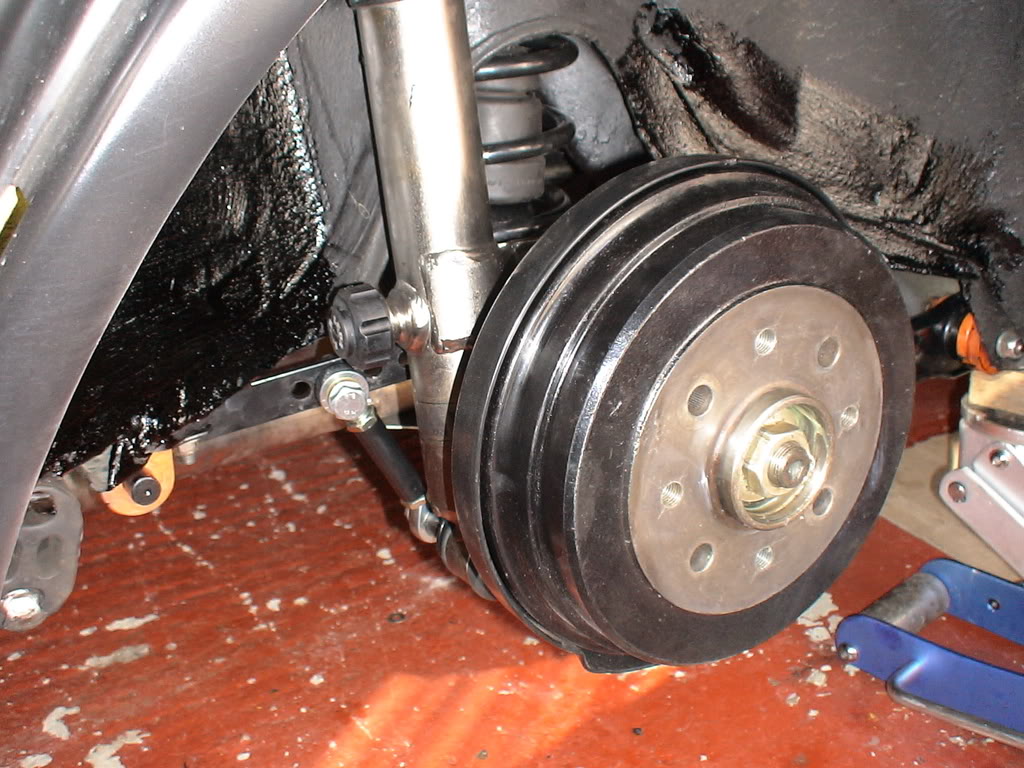
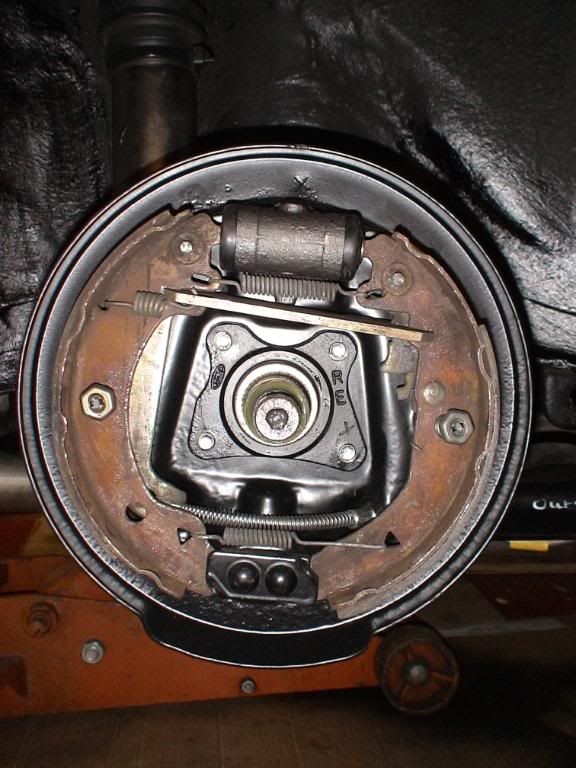
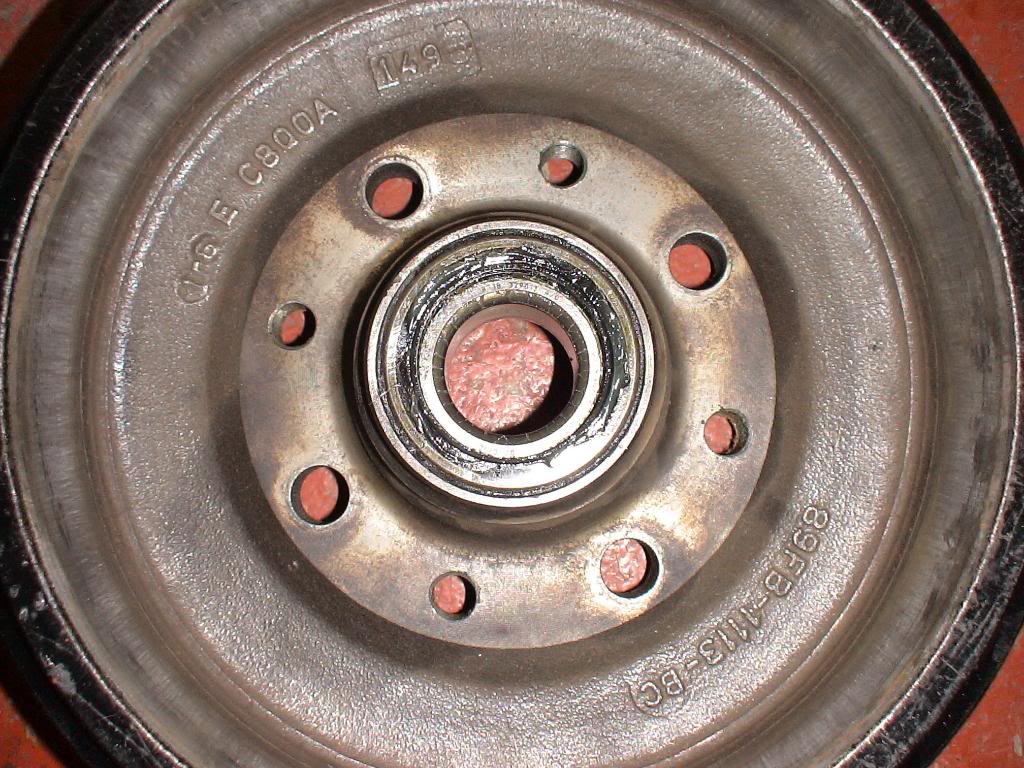
As mentioned before. I went for the Mk3 Fiesta stub axles. I had the back plates powder coated sating black. Fitted new brake drum cylinders, new plungers. The original XR2 handbrake cable fitted the mk3 setup, and the original solid brake hose was ok. I had to drill the drums for the wheel bolts I use with the wheels im currently running, as I cant use the studs that were fitted to the drums.
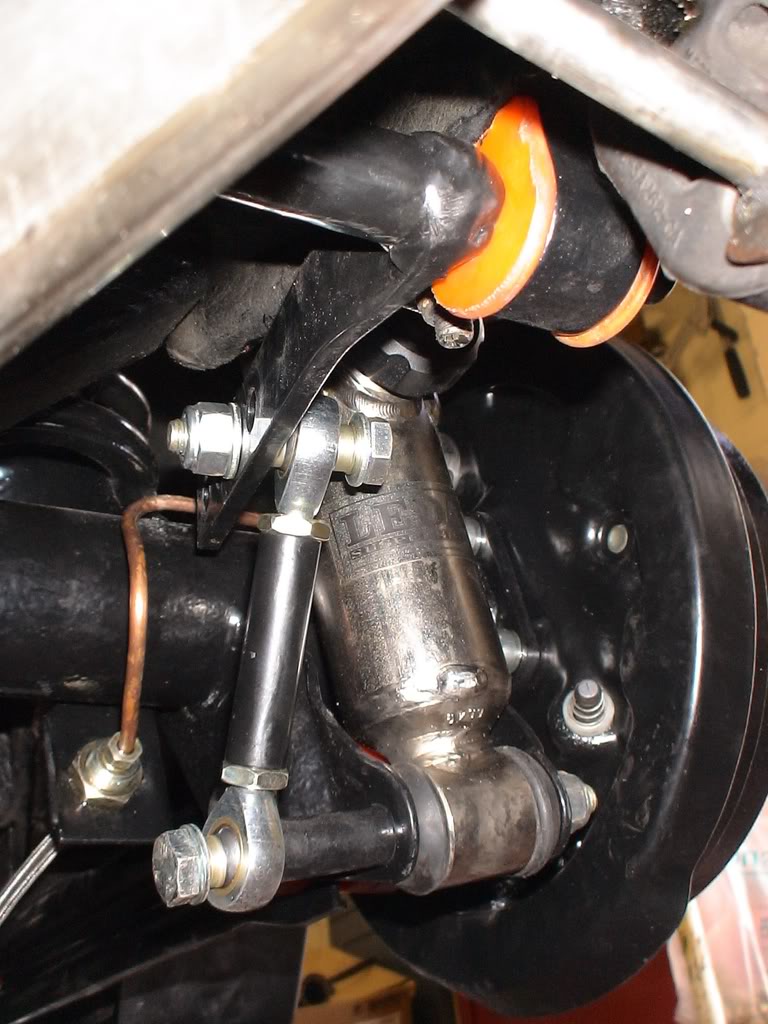
The picture below shows the end of the adjustable roll bar, and drop links. When I got the roll bar it had 5 positions for the drop links. But it looked to close to the axle, so I cut off the last hole. So only now 4 settings. But thats going to be more than enough.

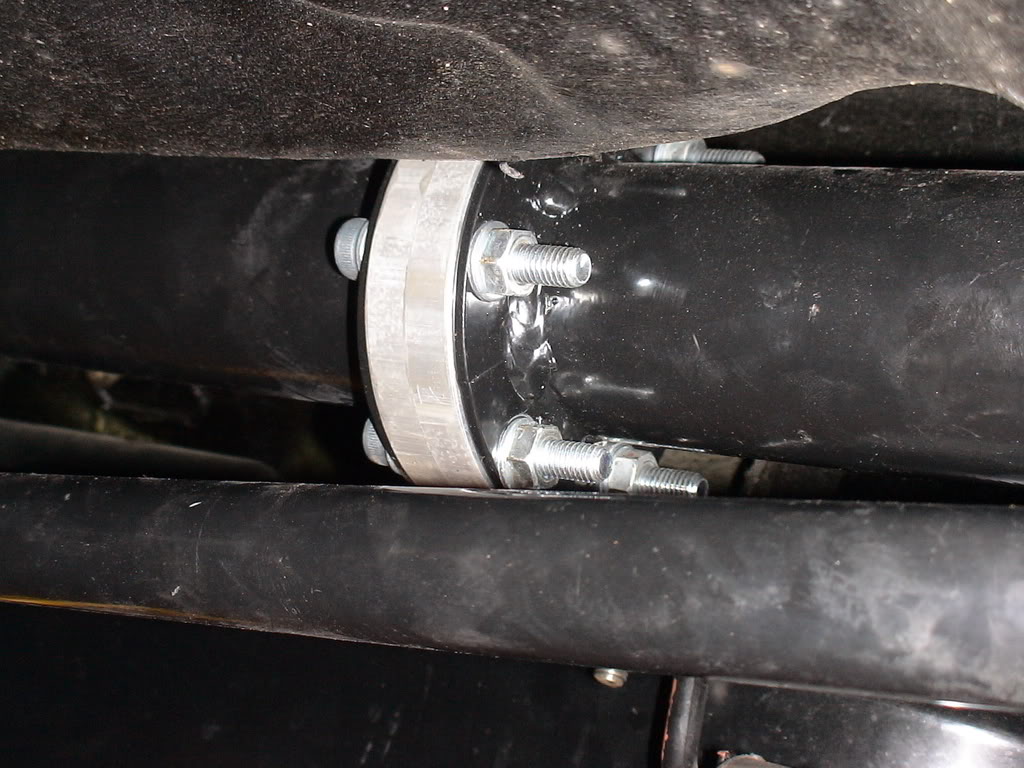
And finally the adjustment in the center of the axle (will fit nylocks later).
And between myself and my mate kev. We have bought this handy tool.
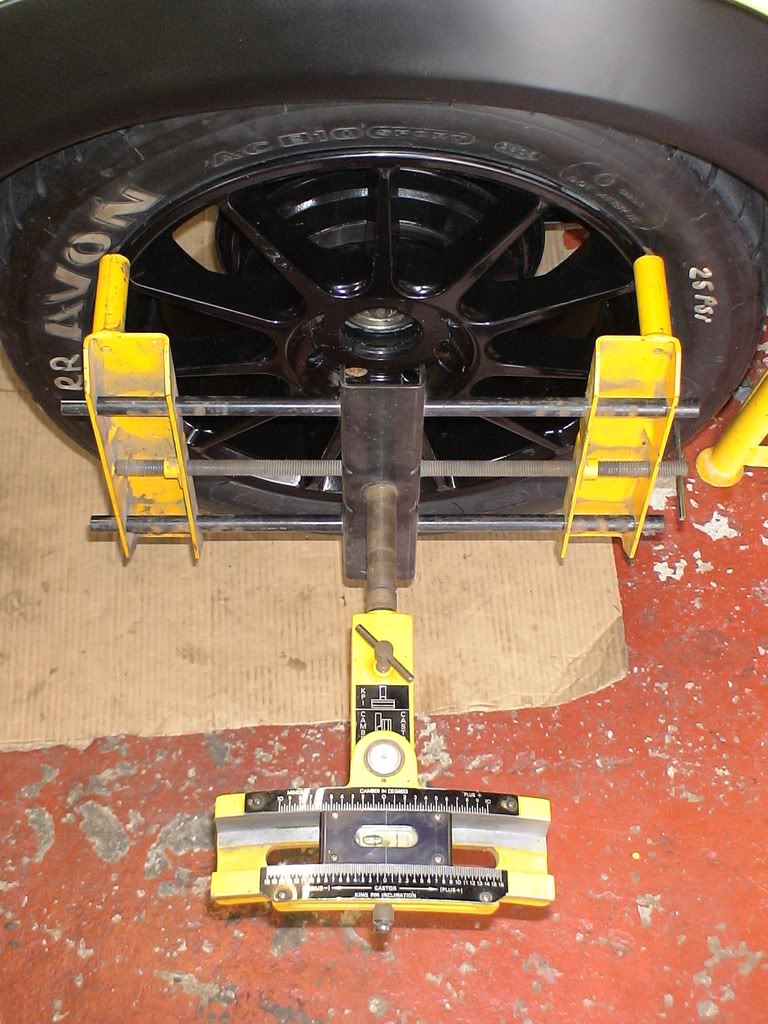
It will be used to setup both camber and castor on our cars. It also came with two turntables for use under the front wheels so the steering can be moved to make getting to the adjustment easier. Does upto 15" wheels, steel and alloys. Im going to make another set of bars for it, which will alooy us to use it on larger diameter wheels as well.
Custom fuel tank
16th February 2010
Blimey, last time I updated this thread was back in March 2009!!
Well thought it was about time to list what I have been doing to the car. So here goes.
Due to the Rutland rear axle which has a MK3 Fiesta drum setup, so bigger rear cylinders. I thought it would be best to look into fitting a bias valve into the brake system, to limit the pressure going to the rear drums. So I removed all the original rear pipework from the master cylinder back to the flexi braided hoses by the axle.
In its place I made up a new sction of pipe work from the master cylinder to a bulkhead fitting. Then I had Hi Spec make me two lengths of braided hose with hardline fittings. The first section runs from inside the bulkhead to near the handbrake, were it goes into the Willwood bias valve. The second section runs from the other side, to below the rear seat hump to another bulkhead fitting.
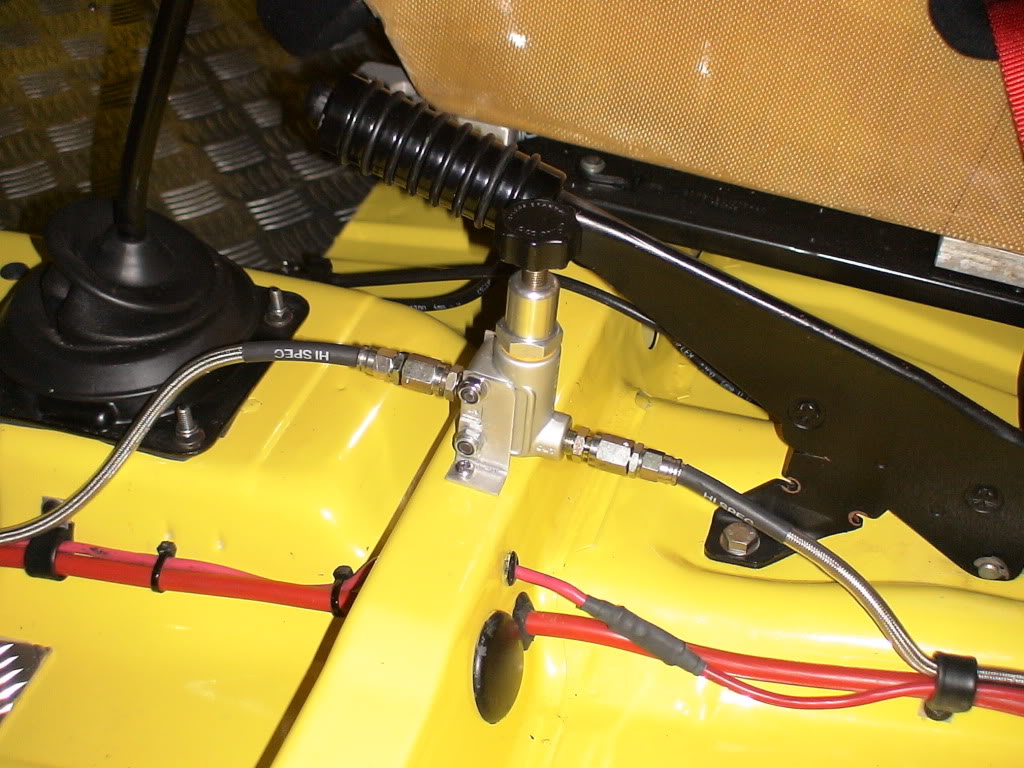
Under the rear I have a T-piece, with solid pipe running to each flexible braided hose.
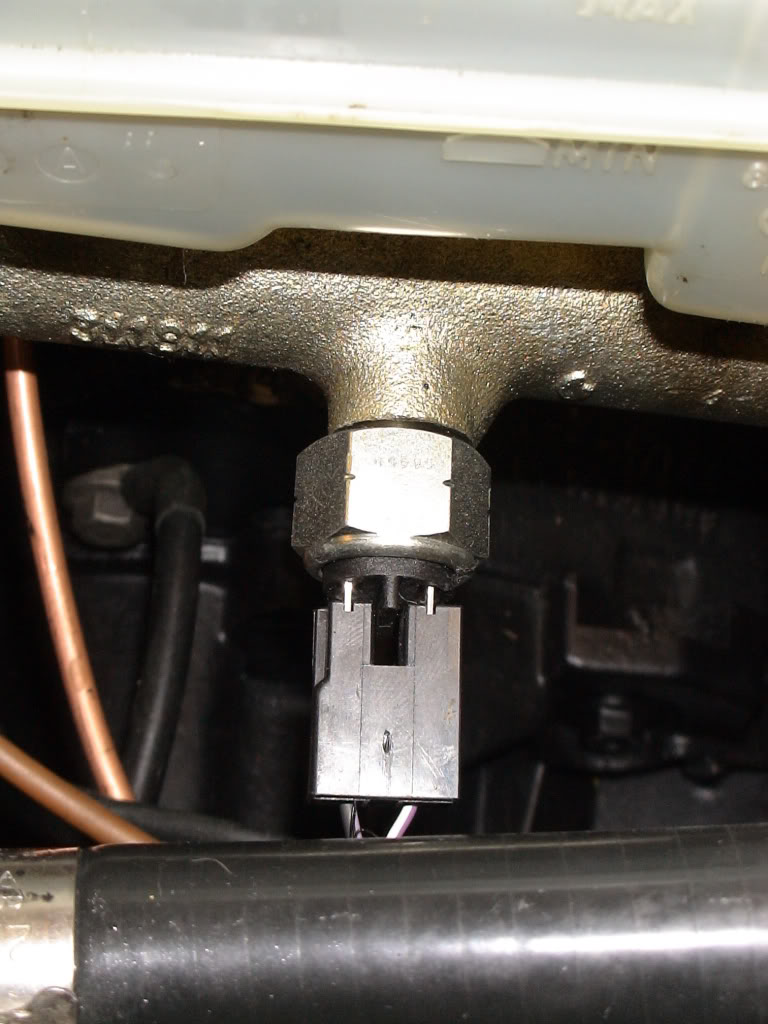
I also removed the standard brake switch from the top of the brake pedal which was on it last adjustment, and would fall out leaving me with no brake lights! And fitted a switch into the spare position in the master cylinder. Then just run wires from this to the original wirring under the dash.
Another item I have been wanting to change for ages now is the standard fuel tank. I was getting allot of surge problems when out on track. So I contacted Pro Alloy, and between them and myself we worked out what exactly I needed.
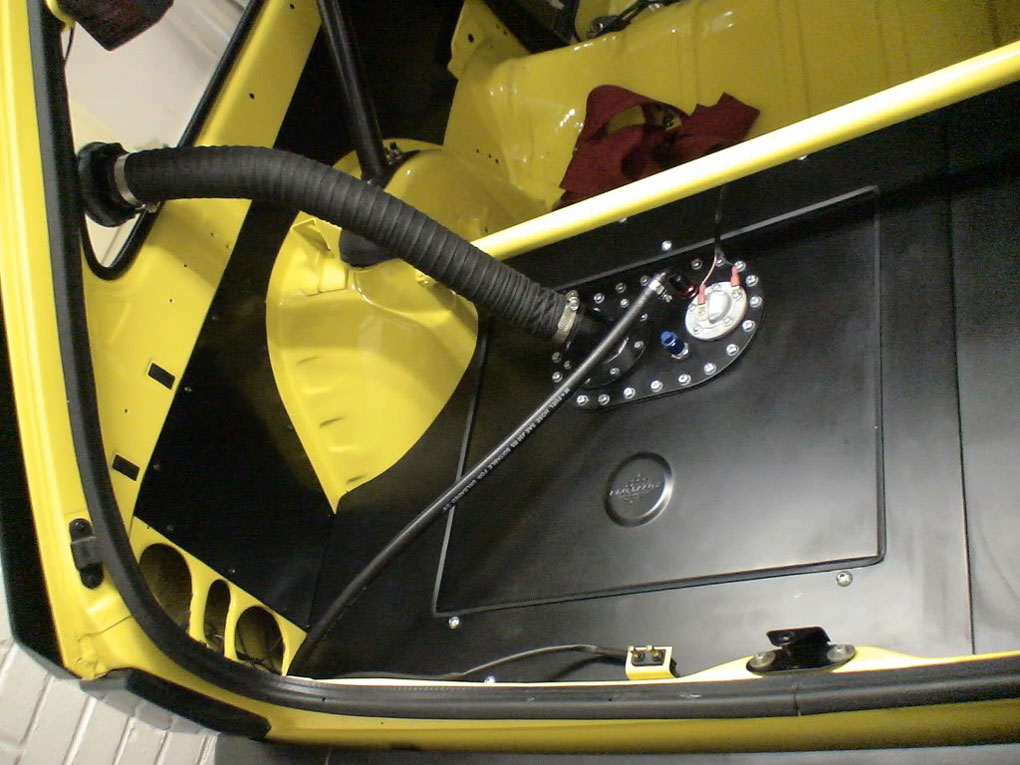
So I had a custom XR2 alloy fuel tank with internal collector assembly, foam filled etc.
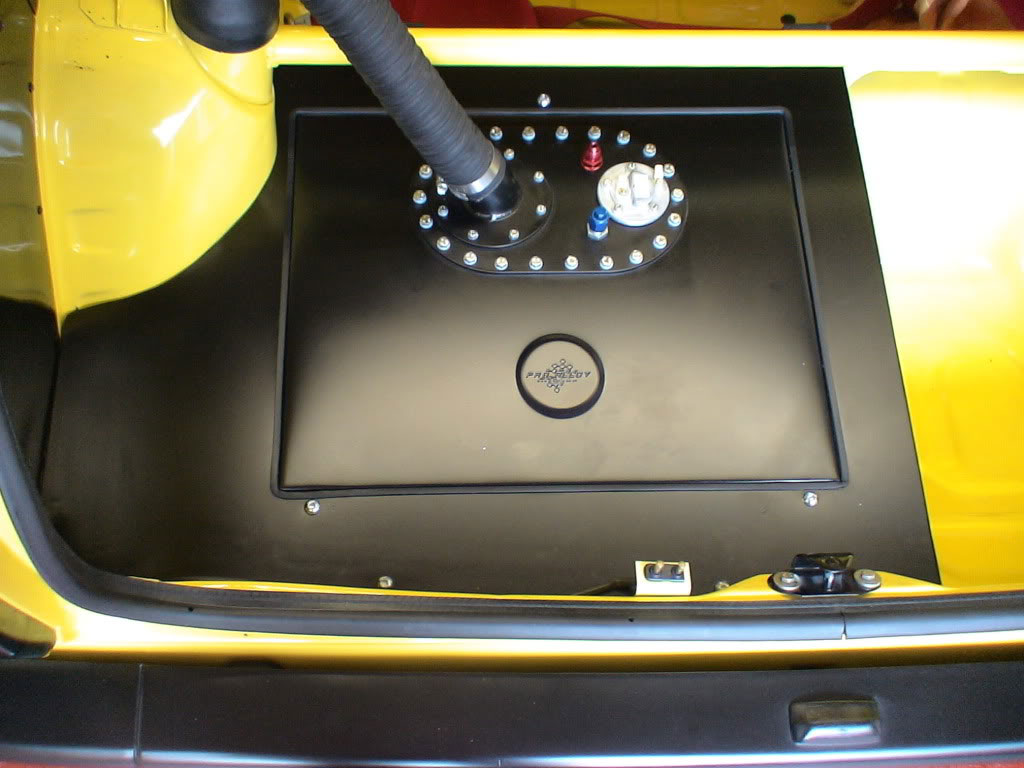
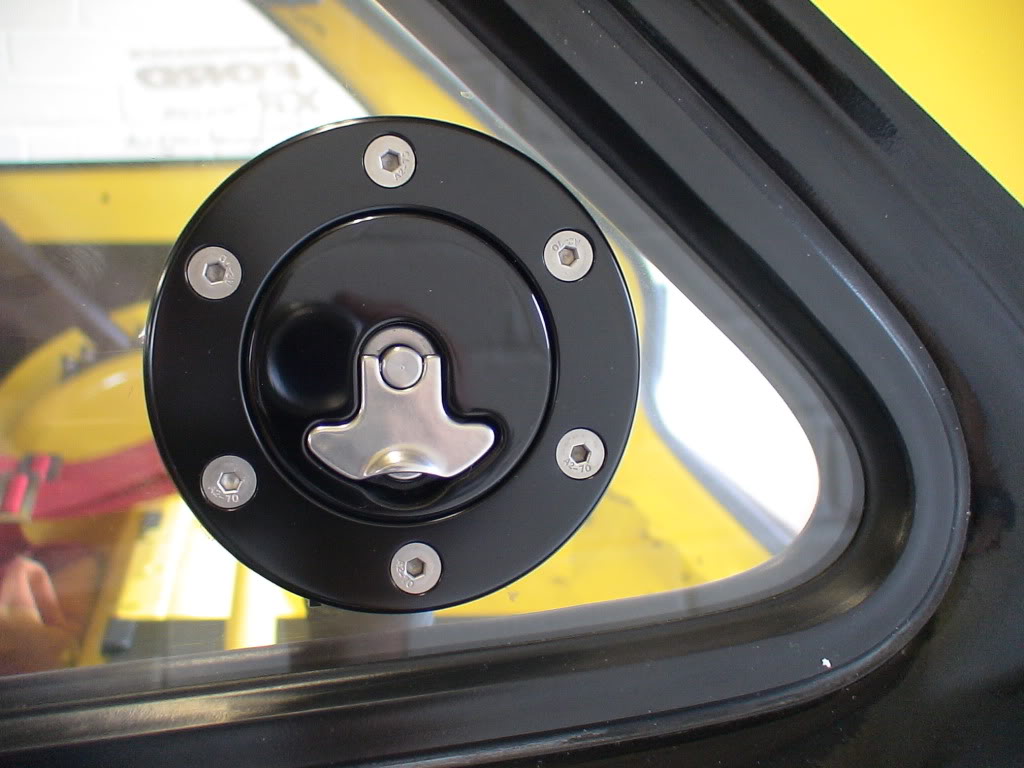
They fitted a lockable Aero 300 black filler cap into rear quarter side poly window, and 50mm diametre wirewound filler hose from this to tank.
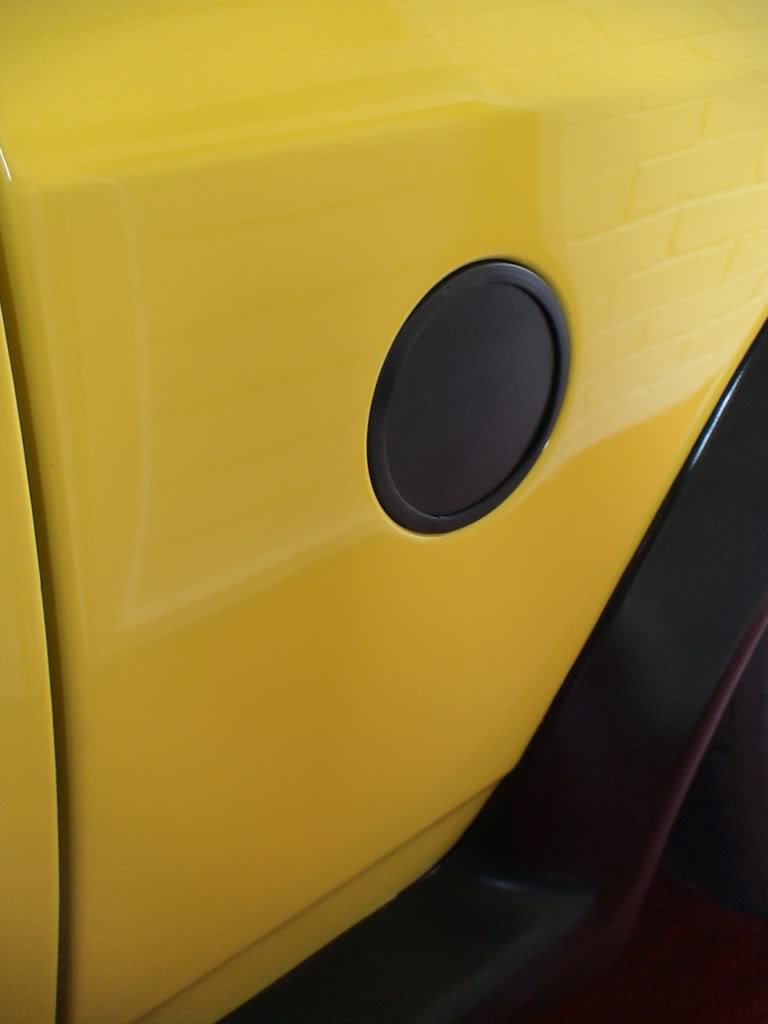
And they made a blank to replace the original fuel filler cap.
Has been Fitted with a VDO fuel sender and supplied with VDO fuel level guage. I had them make up a alloy panel to go around the tank which matches the panel the other side of the boot area I had made previously. The small pipe running across the tank to the corner is the breather/vent pipe which exits were the original fog light used to sit. Everything was finished off with a coating of powder coat.
I had to fit the guage, and run wires from the tank etc. Purchased the correct JIC black aluminium fittings, and fuel hose to plumb the tank in. Fuel feed hose runs along boot floor, thru the p/s rear quarter, and out to the underside of car were original fuel filler hose went into the original tank. And connects to the original solid fuel pipe that runs to engine. I had the fittings on the tank ready for if I ever go to throttle bodies, hence the blue blanking connector which is a return from the engine which I currently do not require with my setup. Also the fuel outlet from the tank is the correct size for a injection setup. I had to reduce it down for my current carb setup. So the tank is upgradeable for the future.
Picture below is of the final setup.
I have had the car up and running with this setup to check, and all seems fine. So all I have done since is give it a oil and filter change, and will be looking forward to this years track events to have no more surge issues going round right hand bends know.


